ابزار Xhorse VVDI
Xhose VVDI نرم افزار برنامه نویس اصلی و سخت افزارابزار Xhorse VVDI
Xhose VVDI نرم افزار برنامه نویس اصلی و سخت افزارXhorse Key Tool Plus Program Porsche Cayenne S Key no Soldering
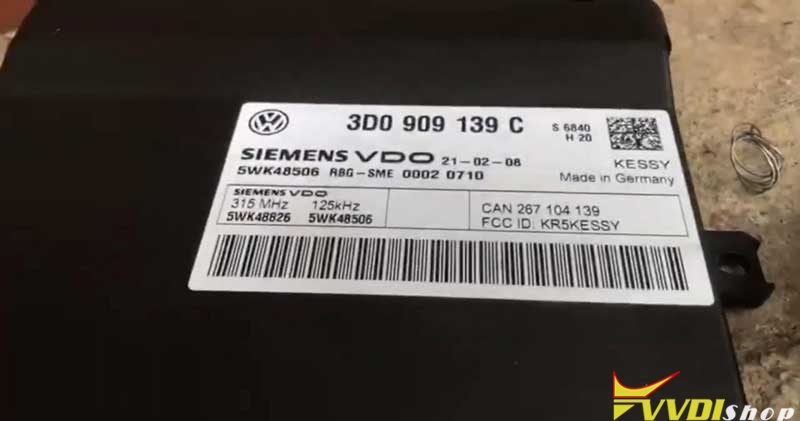
Purpose: Add a key for Porsche Cayenne S IC93C86 via Xhorse VVDI Key Tool Plus Pad
Tools:
Porsche Kessy Module
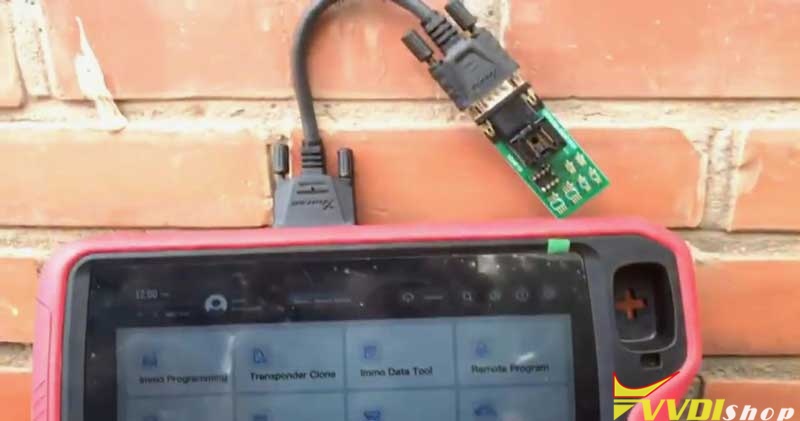
Xhorse VVDI Key Tool Plus + BCM Solder Free Adapter
A blank new smart key
Procedure
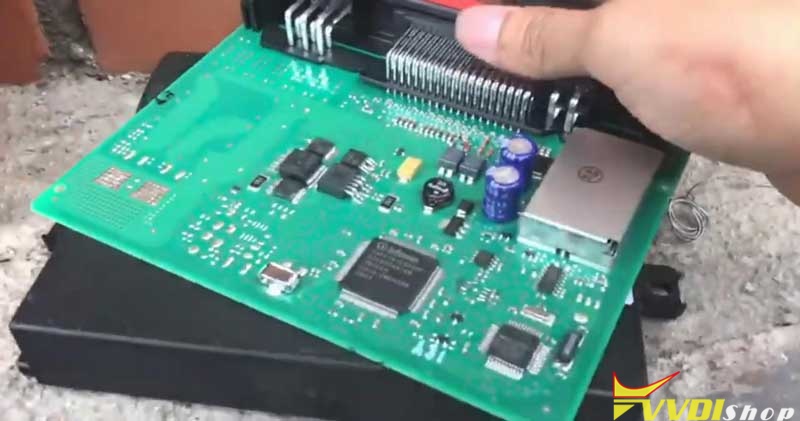
Remove Kessy outer shell & IC93C86 chip.
Insert to BCM Solder Free Adapter to connect with VVDI Key Tool Plus.
Read & Save EEPROM
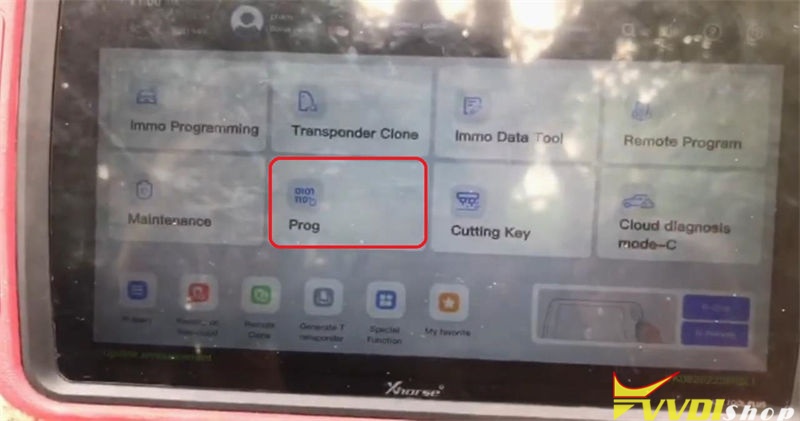
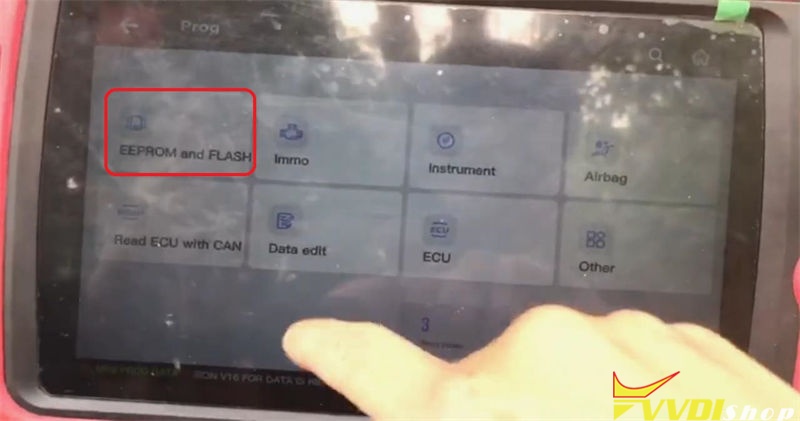
Press on main page,
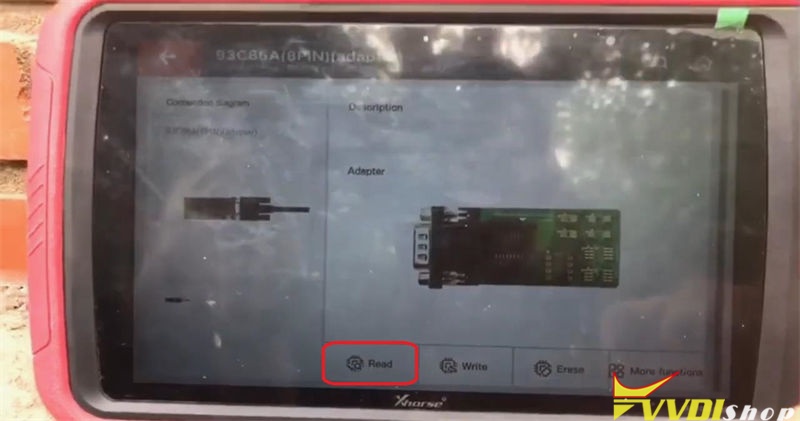
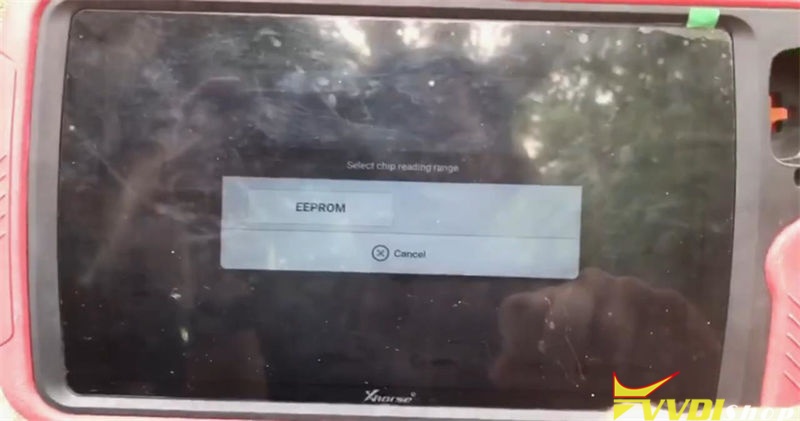
Prog >> EEPROM and FLASH >> Microchip >> 93CXX >> 93C86A(8 PIN)(adapter) >> Read >> EEPROM >> Begin >> Continue
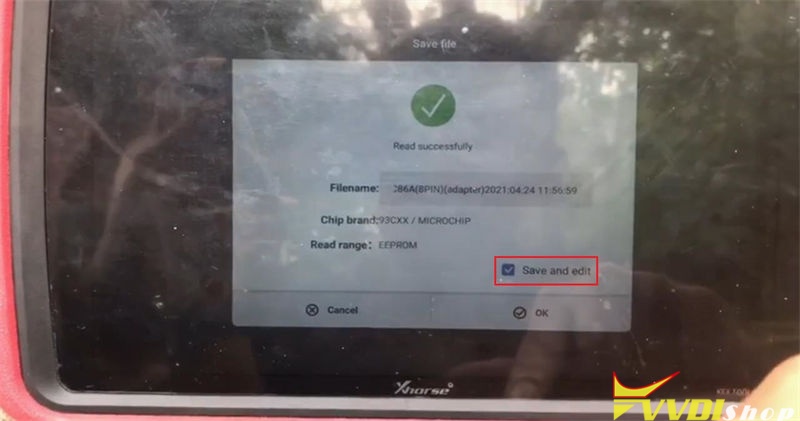
Read successfully.
Select “Save and edit” >> OK >> Save as >> Rename, OK
Save success.
Make Dealer Key
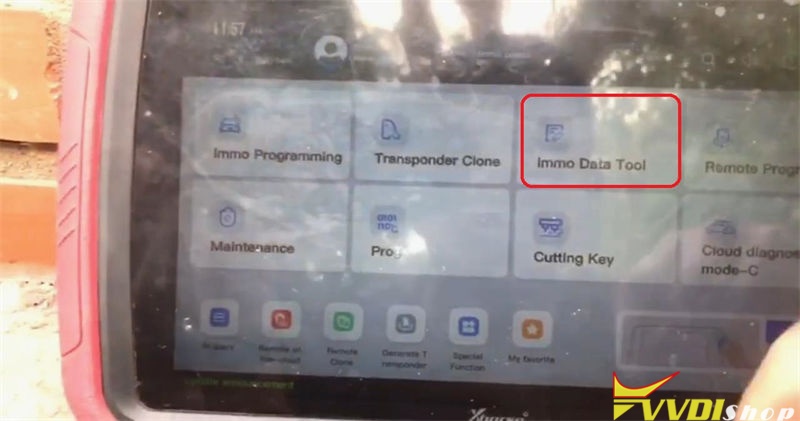
Go back to main page, press
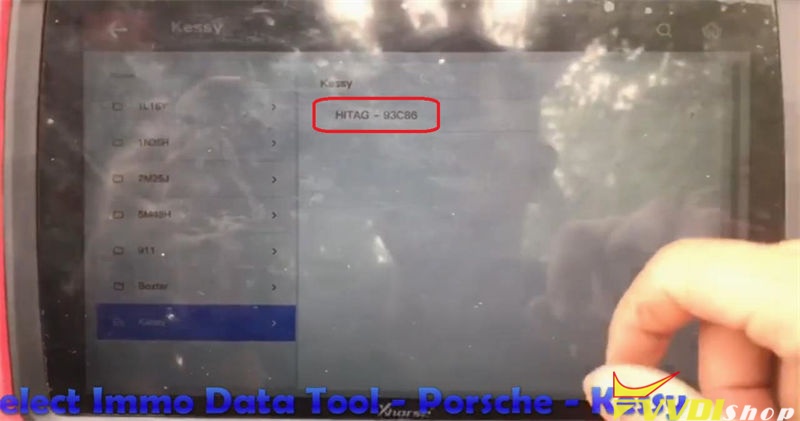
Immo data tool >> Europe >> Porsche >> Kessy >> HITAG – 93C86 >> Begin >> Load saved file just now >> Open
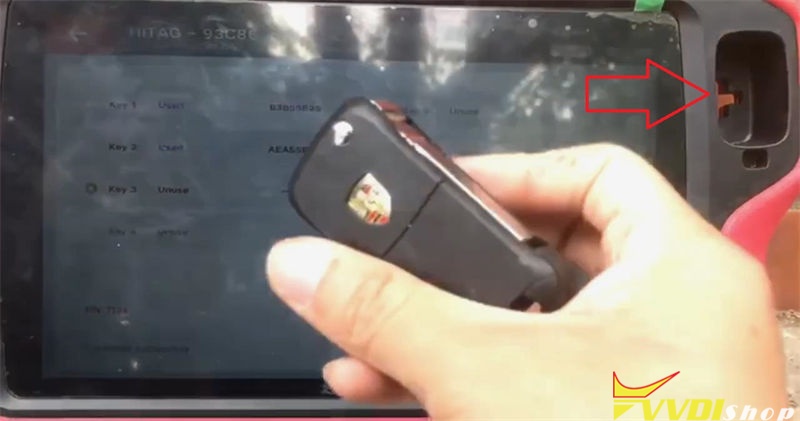
Put the new key into Key Tool Plus slot.
Select an unused key position: Key 3, press “Prepare dealer key”.
Select “PCF 7936(PCF 7946)”, press “OK”.
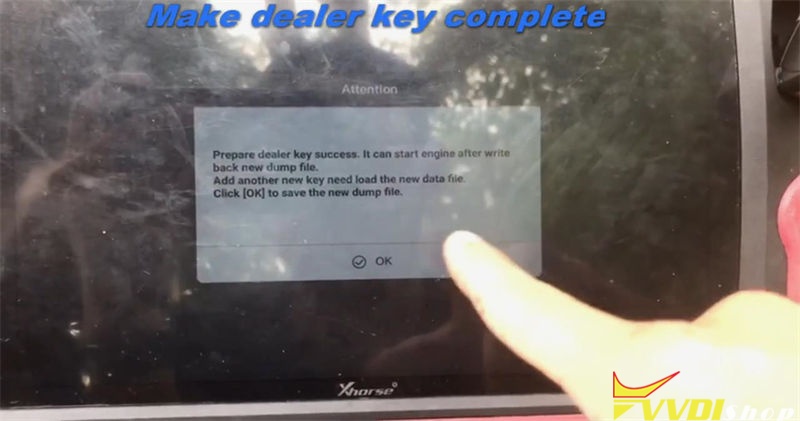
Prepare dealer key success.
It can start engine after write back new dump file.
Press “OK” to save dump file.
Save here >> OK >> OK
Save file success.
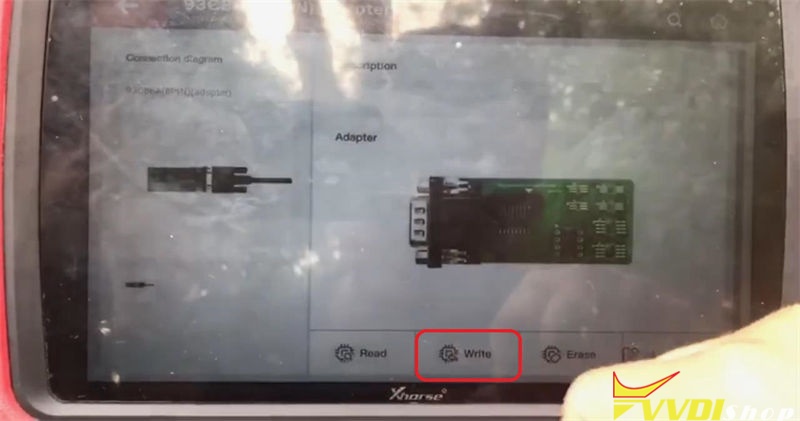
Go back to main page, press
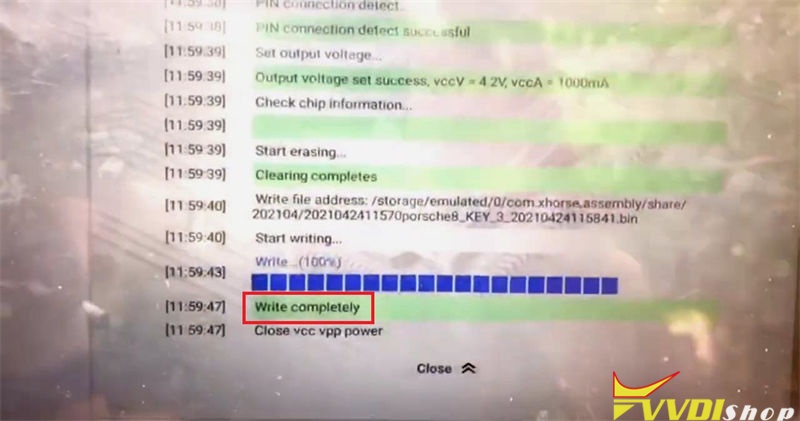
Prog >> EEPROM and Flash >> Microchip >> 93CXX >> 93C86A(8 PIN)(adapter) >> Write >> EEPROM >> Begin >> OK >> Load saved file just now >> OK >> Continue
Write completely.
Take out the new key to have a try.
It can start the engine, and its remote works well.
Done!
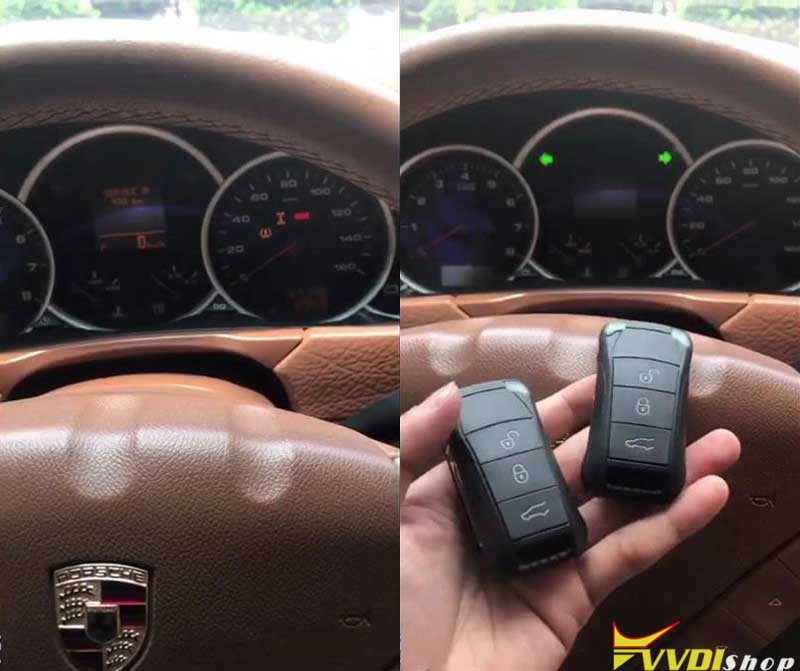
This is using VVDI Key Tool Plus to program a new key for Porsche Cayenne S successfully.
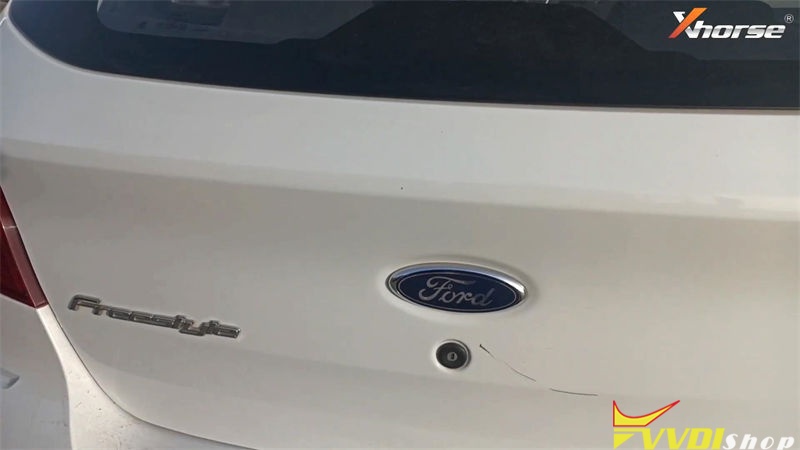
How to Add Ford Freestyle 2018- Key with Xhorse Key Tool Plus?
This is a quick demonstration of how to add a key ID49 for Ford Freestyle(2018-) with Xhorse VVDI Key Tool Plus Pad Programmer.
Prepare an original working key & a blank new key.
Connect Key Tool Plus with car OBD.
Turn ignition on, let’s start:
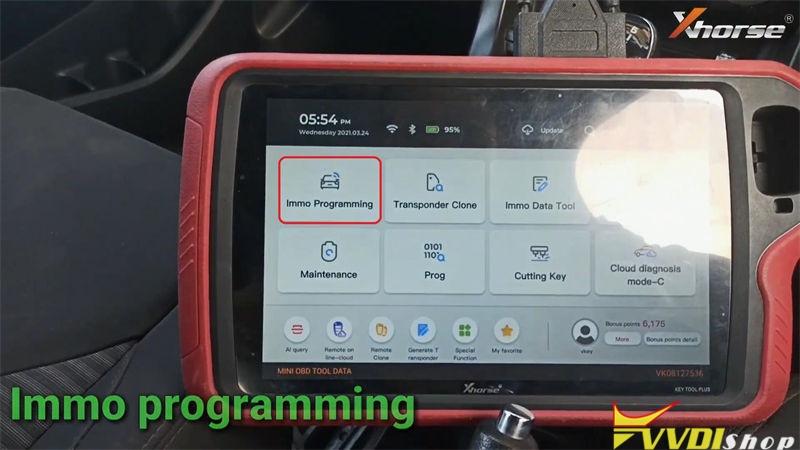
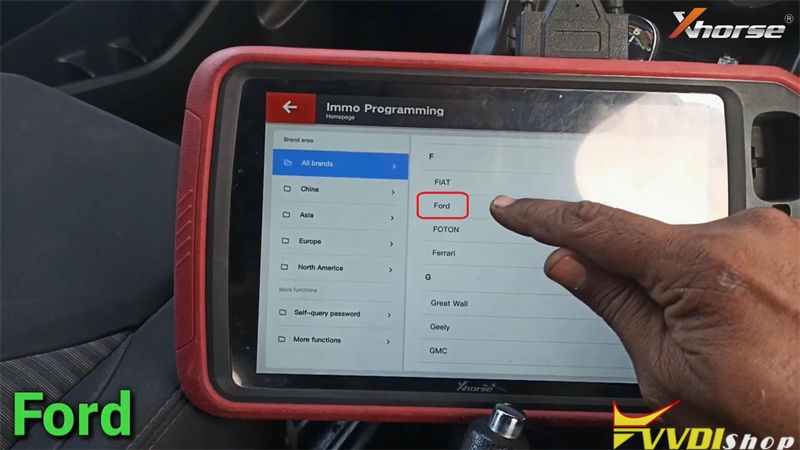
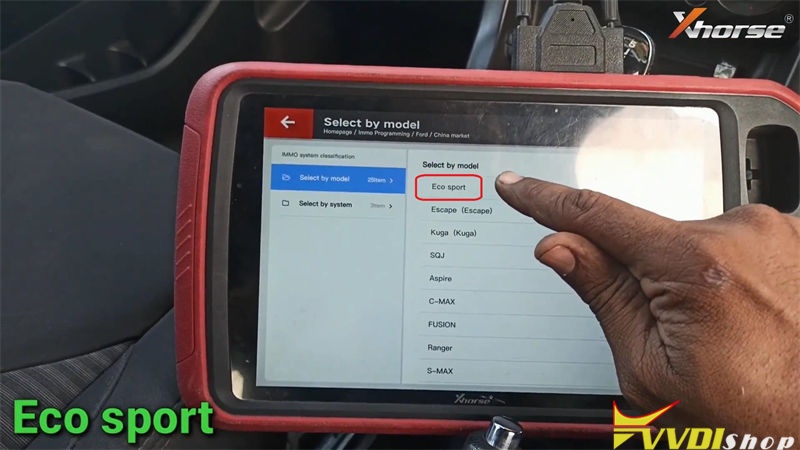
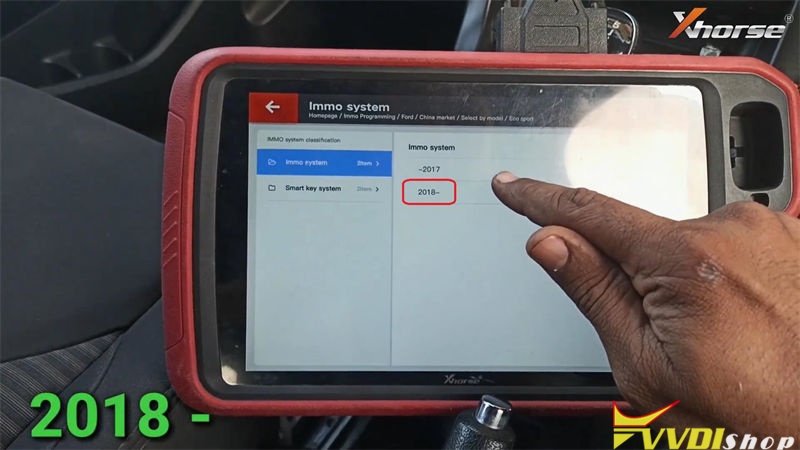
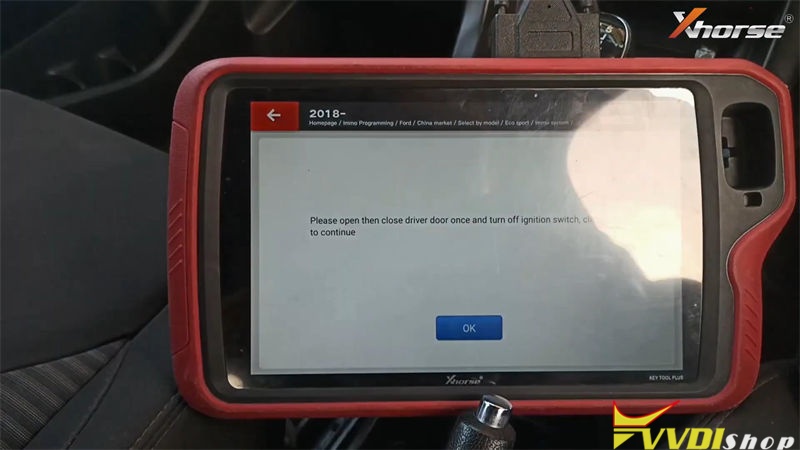
Immo programming >> Ford >> China Market >> Select by model >> Eco sport >> Immo system >> 2018- >> Start programming
Open then close drive door once and turn off ignition switch, press “OK”.
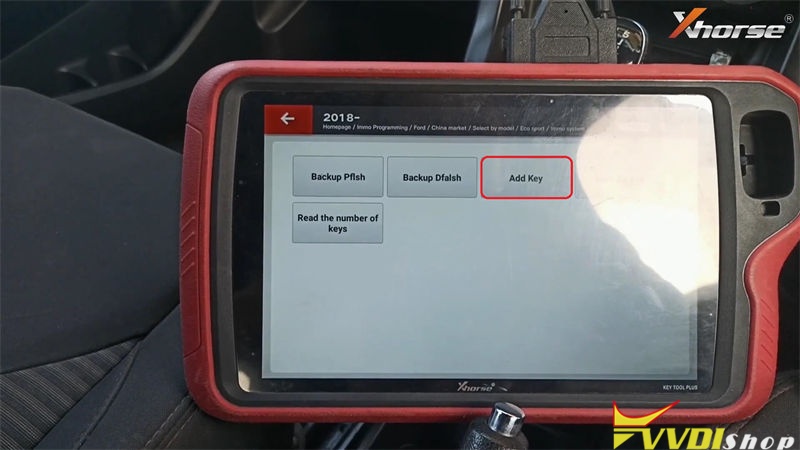
Backup D-flash before add key, have been done, so let’s go to
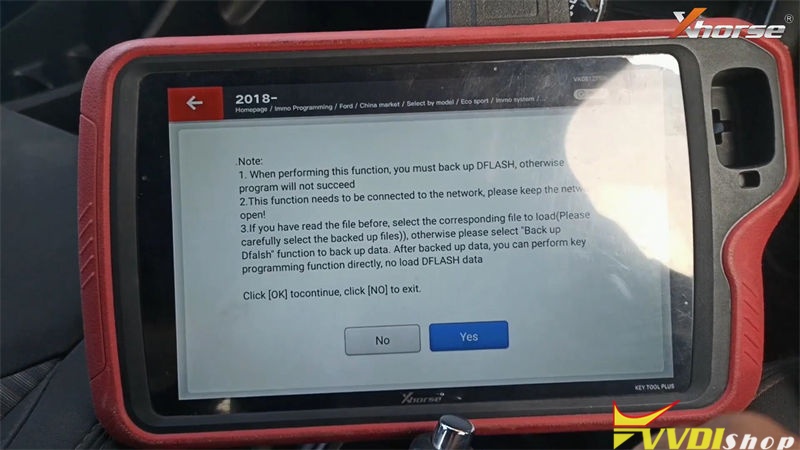
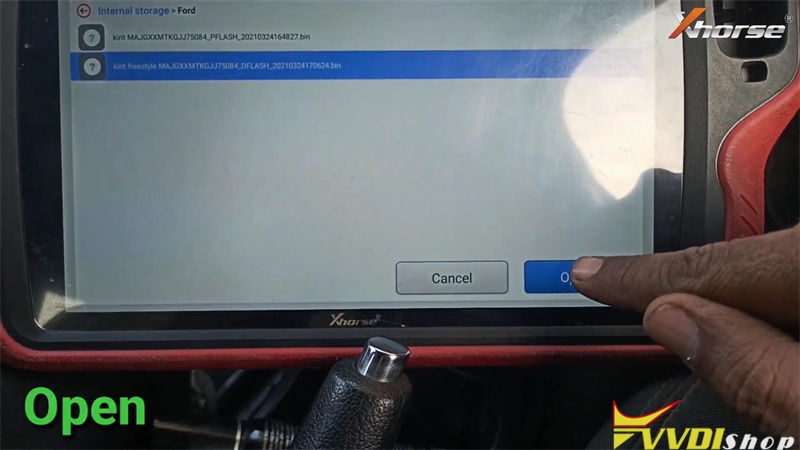
Add key >> Read note, press “Yes” >> Select D-flash file, open
Processing data, please wait…
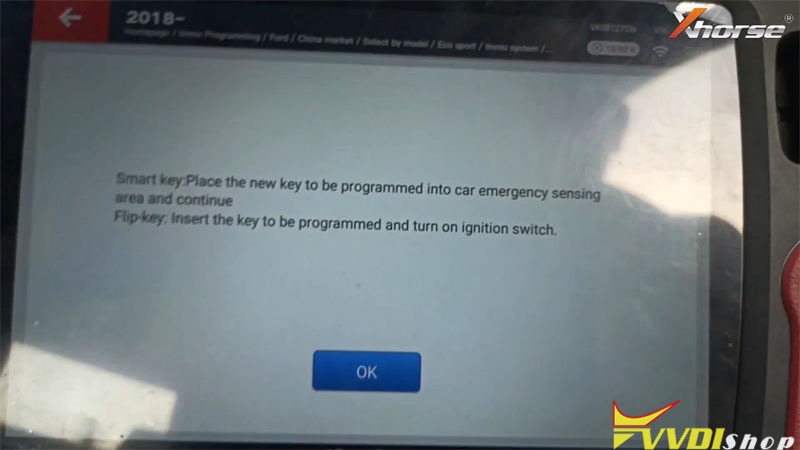
Place the new key to be programmed into car emergency sensing area and continue.
Flip-key: insert the key to be programmed and turn on ignition switch.
Press “OK”.
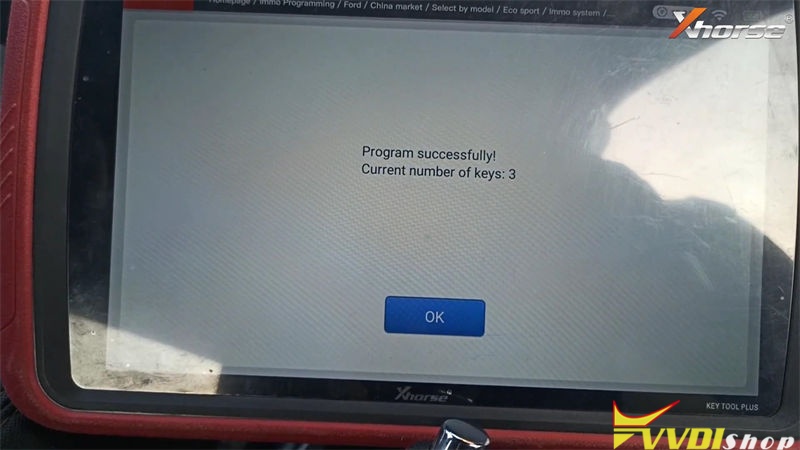
Current number of keys: 3, press “OK”.
Program successfully!
Press “No” to complete key programming.
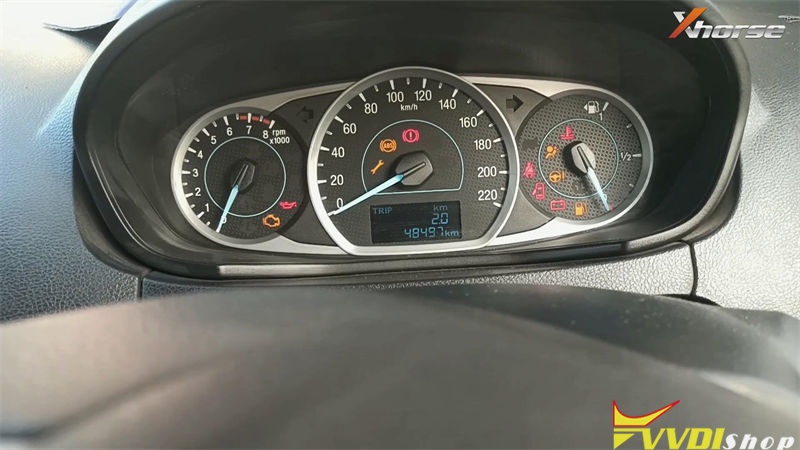
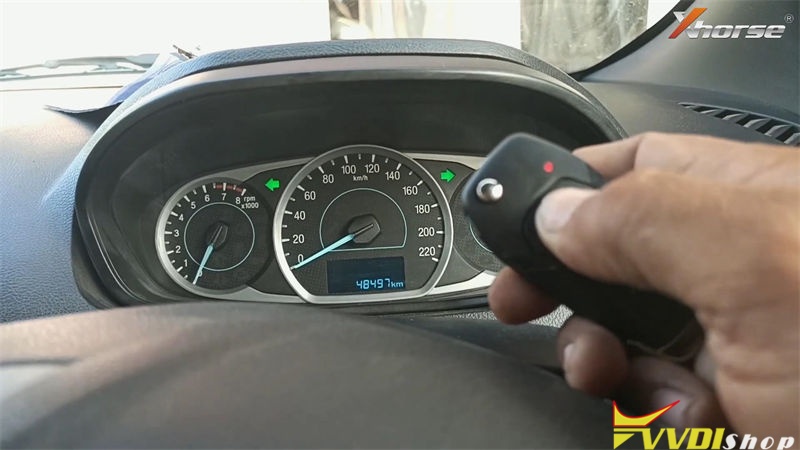
Okay, let’s test the new key now, it can start the engine and remote works well.
All done!
This is using VVDI Key Tool Plus to program a new key ID49 for Ford Freestyle(2018-) successfully.
What Xhorse Tool has no Language limitation?
Good news! Some Xhorse tools support free update multi-language. That means no more need to get the language authority from dealer. It is free with the last update.
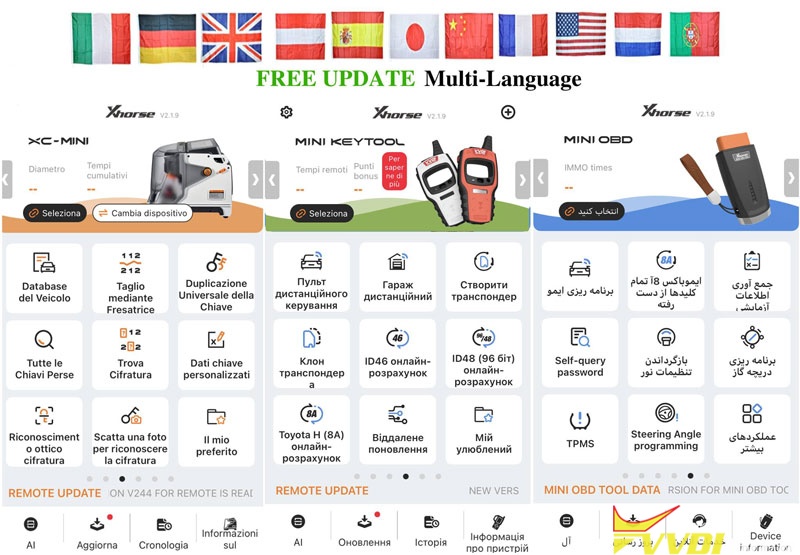
What Xhorse devices free language limitation now?
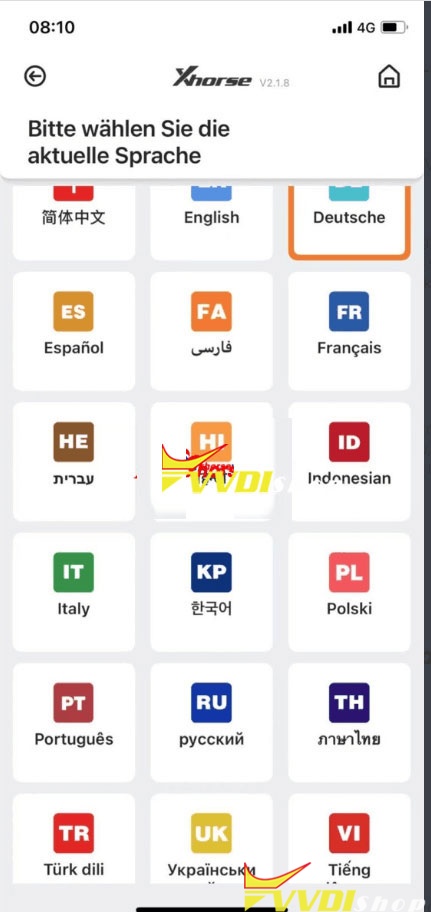
VVDI Key Tool
Mini Key Tool, Key Tool Max, Dolphin XP-005 app language:
English, German, Spanish, Persian, French, Hebrew, Hindi, Indonesian, Italian, Korean, Polish, Portuguese, Russian, Thai, Turkish, Ukrainian, Vietnamese
Condor Mini/Mini Plus language:
Portuguese Spanish French German Czech Arabic Turkish Dutch Polish Bulgarian Norwegian Slovak Italian English Russian Chinese
Provide device serial number to change language you desired.
What Xhorse devices are still language limited?(until 23th, Apr.)
Panda key cutting machine
Any questions welcome to contact us.
How to Read Renault BCM 95040 with Xhorse Mini Prog
How to use Xhorse VVDI Mini Prog & Key Tool Max to read Renault Duster BCM IC95040 eeprom? As below I’ll show step by step.
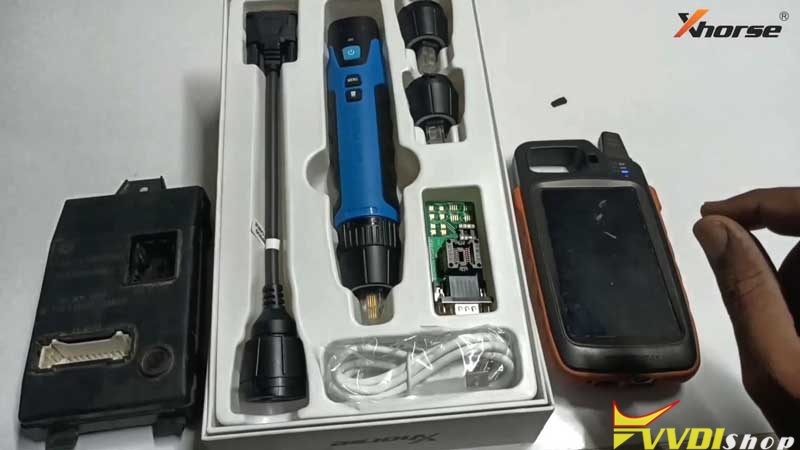
Tools
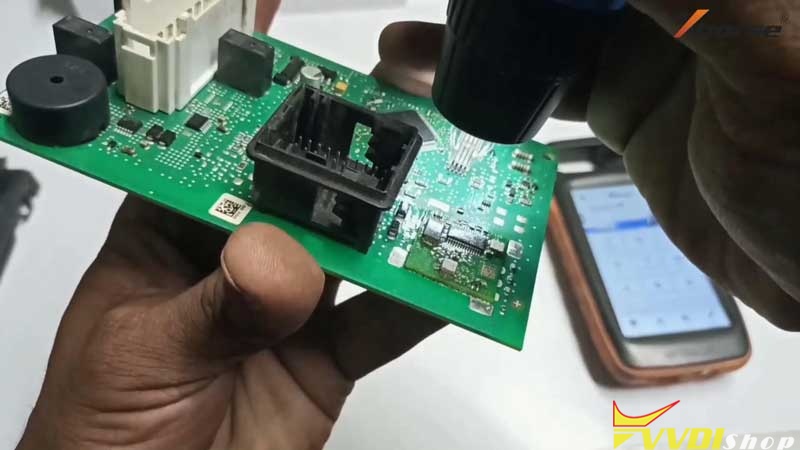
A Renault Duster BCM IC95040 module
A VVDI Mini Prog
A VVDI Key Tool Max
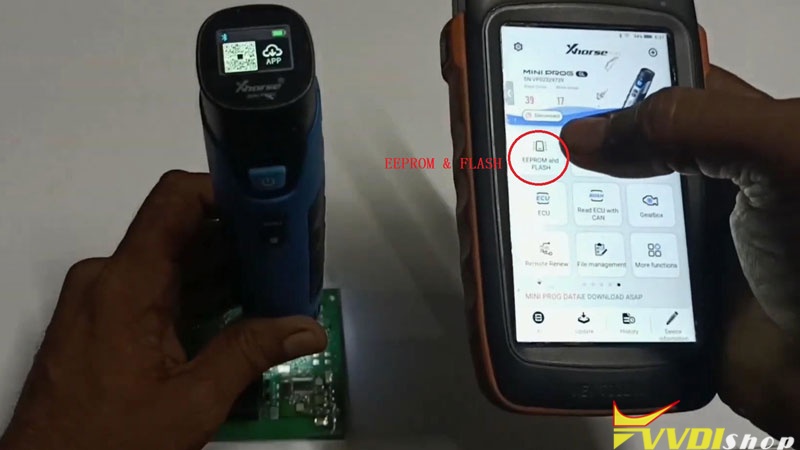
Connect Mini Prog with Key Tool Max via Bluetooth firstly.
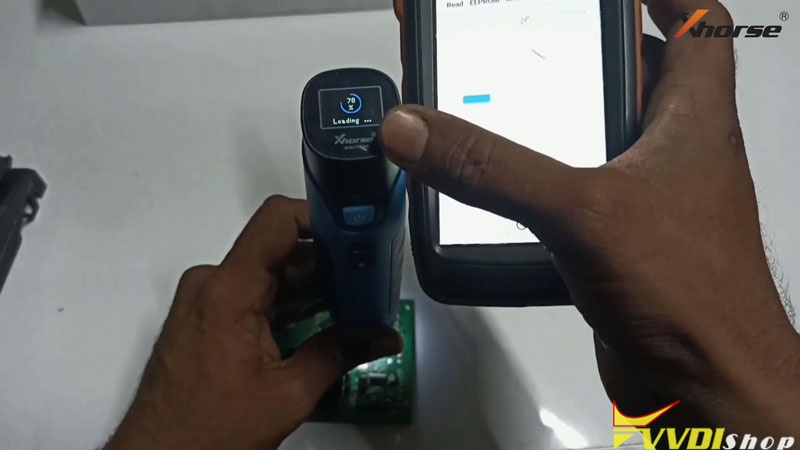
Remove BCM IC95040 outer shell, hold & push Mini Prog down straight on chip to read;
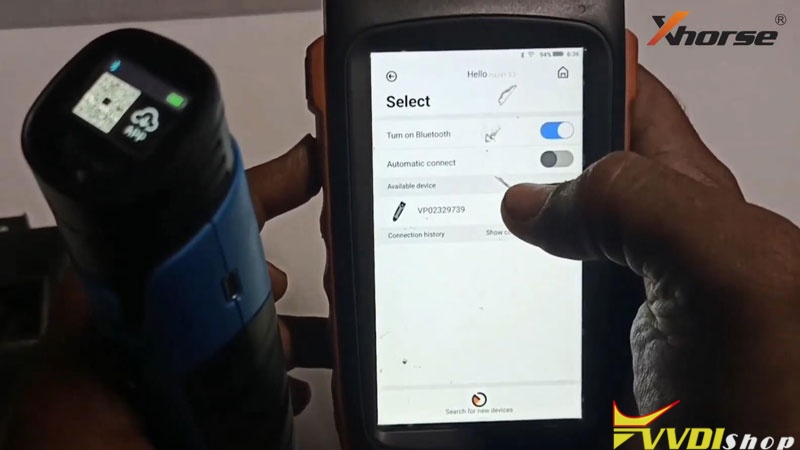
Press on Key Tool Max,
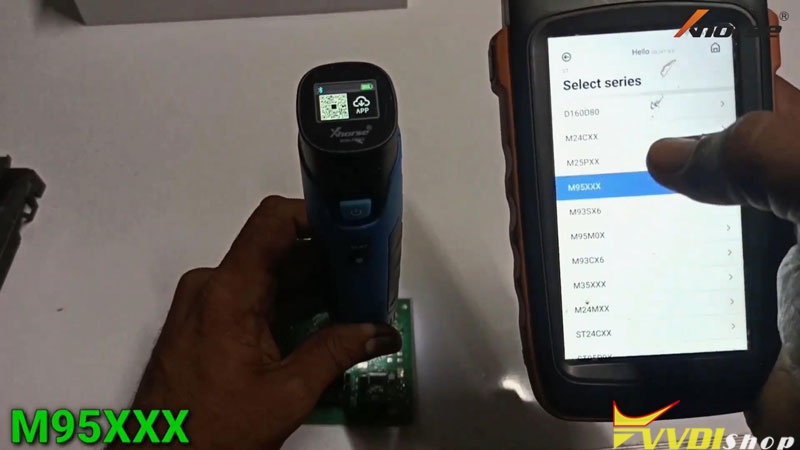
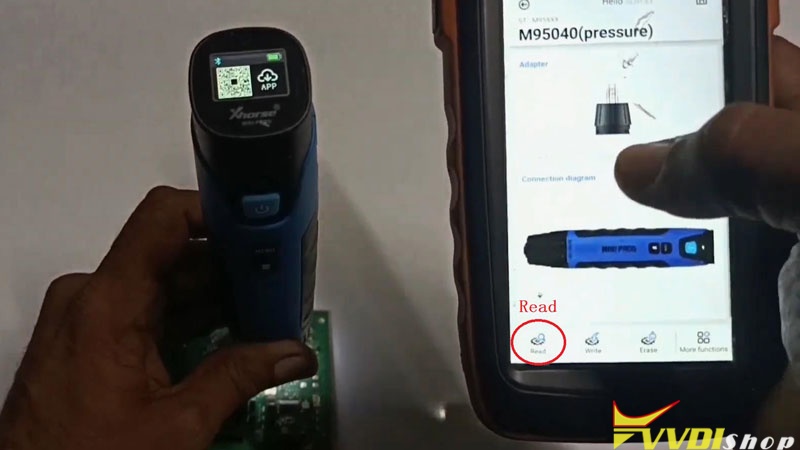
EEPROM and FLASH >> ST >> M95XX >> M95040(pressure) >> Read >> Eeprom >> Start operation
It is loading on the Mini Prog screen meanwhile, wait until 100%…
Rename and press “OK” to save data file.
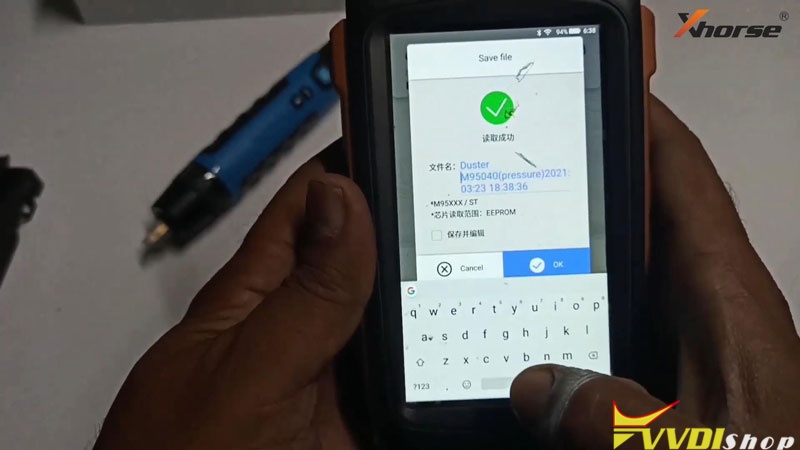
Read EEPROM successfully.
Now you can use it with VVDI Super Chip to program transponder.
Using VVDI Mini Prog + Key Tool Max programmer to read EEPROM is quite easy & efficient.
Xhorse VVDI Key Tool Plus Adds Range Rover 2017 Key by dump
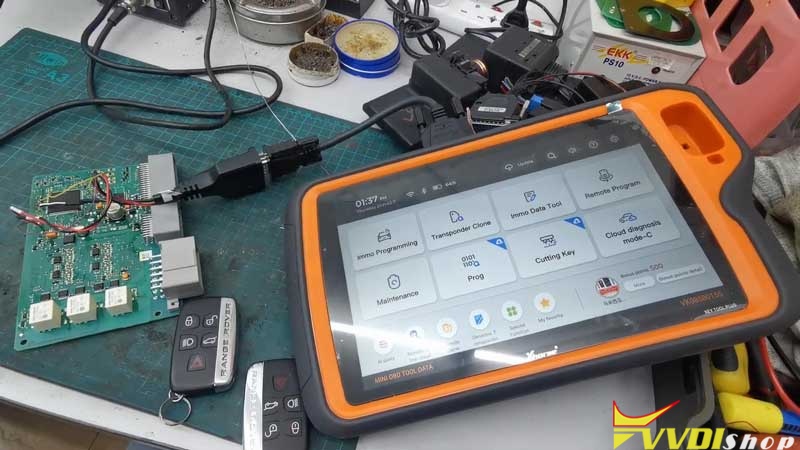
Toady I’m gonna try to add a key for 2017 Range Rover with Xhorse VVDI Key Tool Plus on Bench.
Tools
A Land Rover KVM module chip
VVDI Key Tool Plus
A new smart key to be programmed.
Having been removed KVM module, welded wires to connect Key Tool Plus, I’ll suggest to use Xhorse Solder Free Adapter to save time.
You may refer to
Program Land Rover KVM 2015-2018 AKL with Solder Free Adapter
http://blog.vvdishop.com/xhorse-vvdi-key-tool-plus-program-land-rover-kvm-2015-2018-akl/
Procedure
- Read, Save & Load Key Data
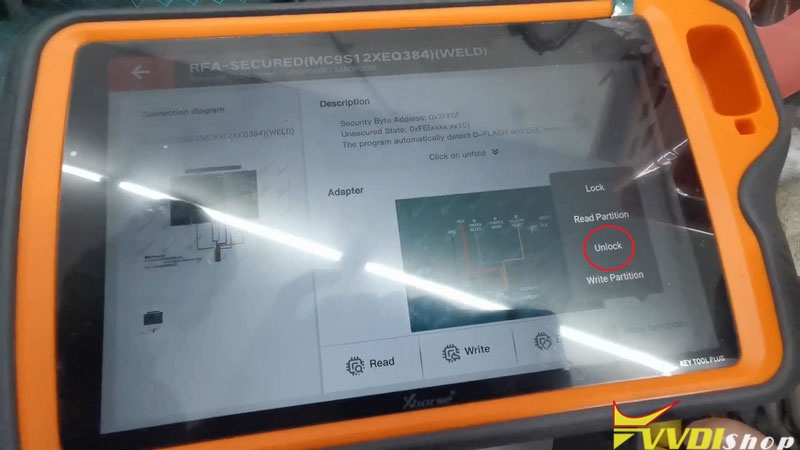
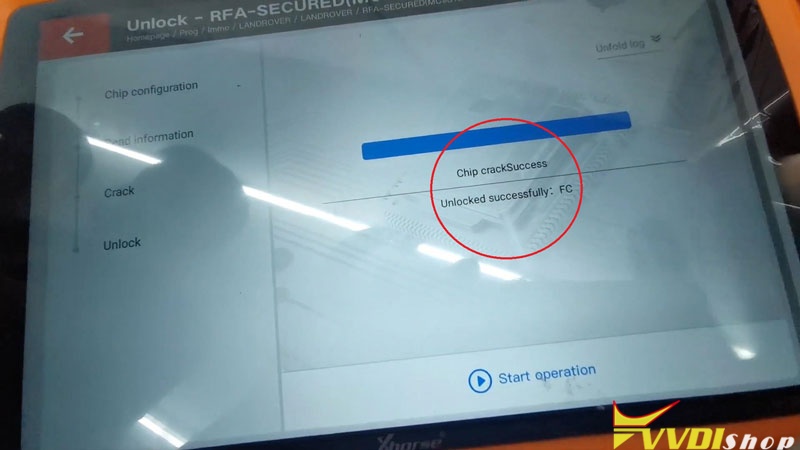
To get chip info, it requires to unlock firstly. Press
Prog >> Immo >> Land Rover >> RFA – SECURED (MC9S12XEQ384)(WELD) >> More functions >> Unlock >> OK >> Begin >> Continue
Unlocked successfully: FC (remember the code)
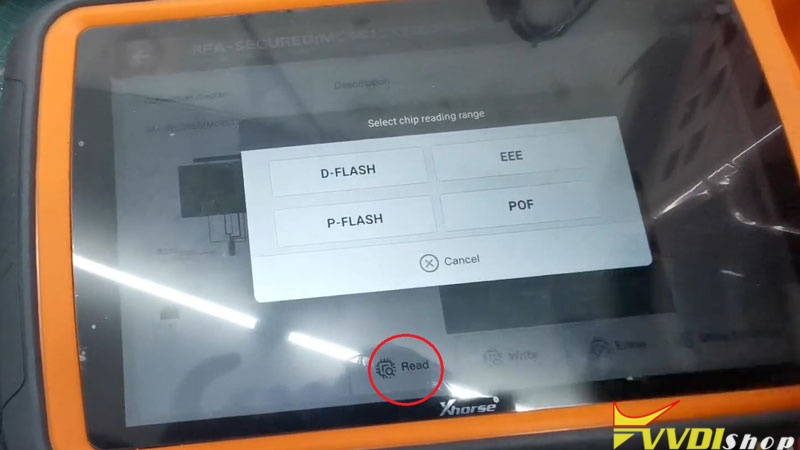
Go back to press
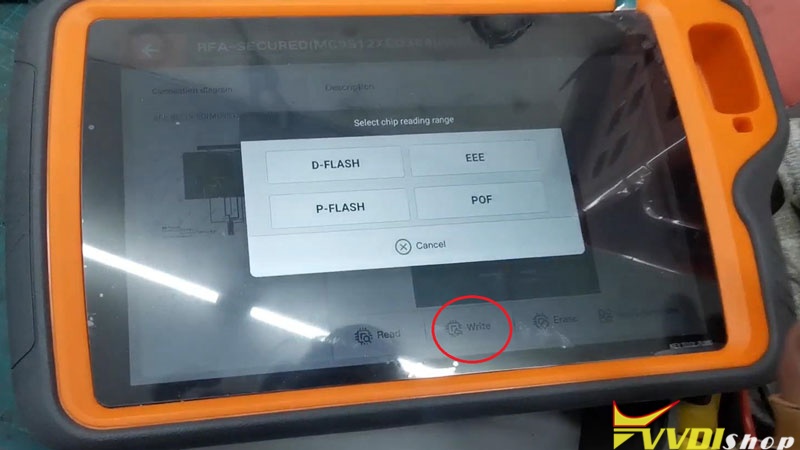
Read >> D-FLASH >> Begin >> Continue >> Select “Save and edit”, OK >> Save as >> Rename, OK
Save success.
Go back to read EEE & P-FLASH.
Repeat same operations to rename and save files.

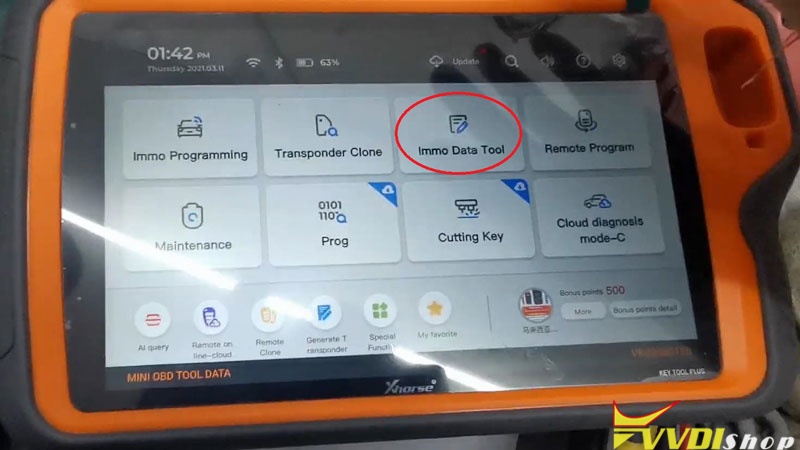
Go back to main page, press
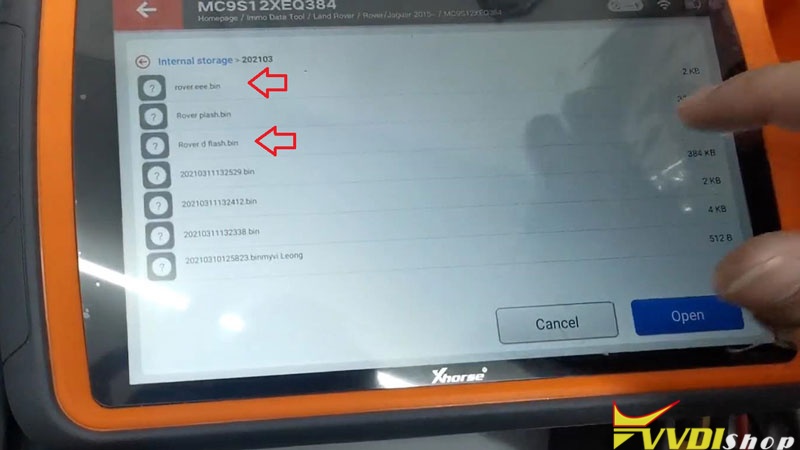
Immo data tool >> Europe >> Land Rover >> Rover/Jaguar 2015- >> MC9S12XET256/MC9S12XEQ384 >> Begin
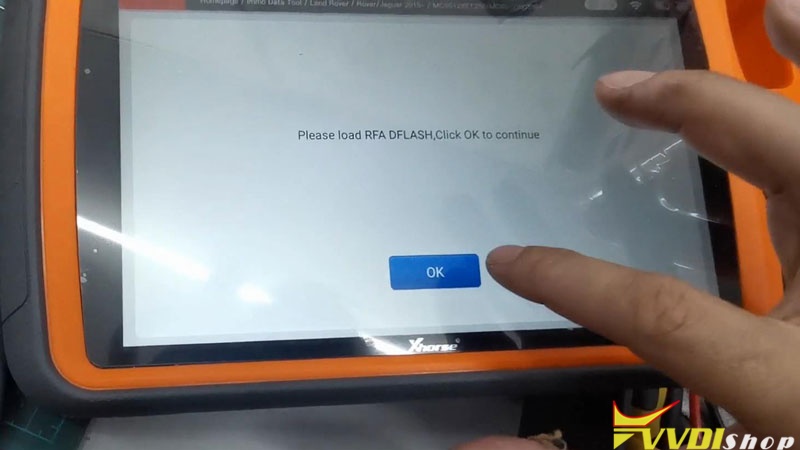
Please load RFA DFLASH, press “OK”.
Select D-FLASH file, press “Open”.
Please load RFA EEPROM, press ”OK”.
Select “EEE” file, Press “Open”.
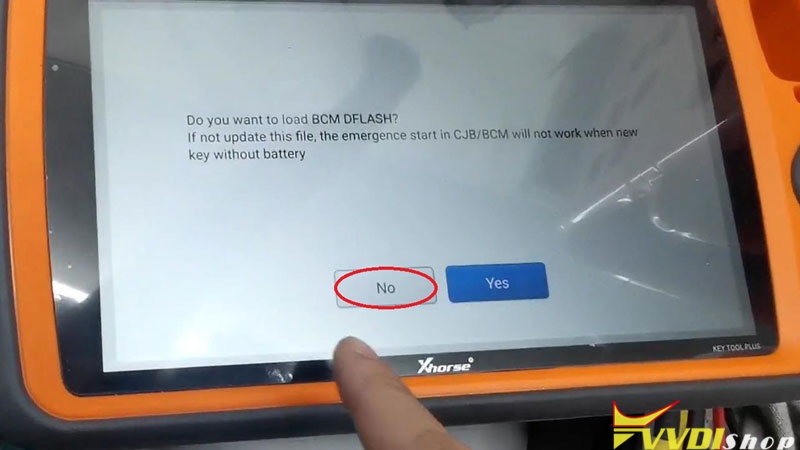
Do you want to load BCM DFLASH? Press “No”.
- Make Dealer Key
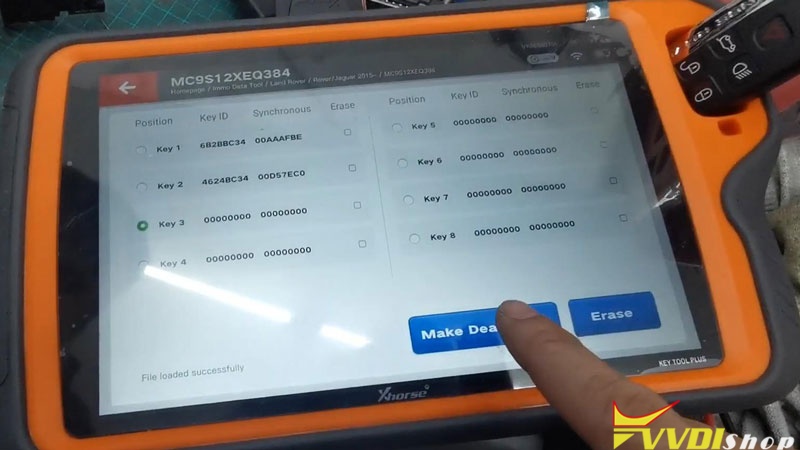
Put the new key into Xhorse Key Tool Plus slot.(Better to remove key shell to detect)
Select a blank key position: Key 3, press “Make dealer key”.
Save here >> OK
Save here >> OK
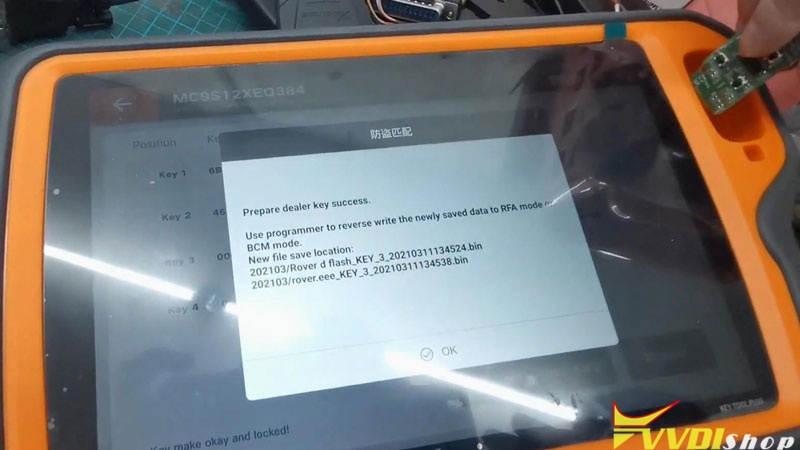
Prepare dealer key success.
Use Key Tool Plus to reverse write the newly saved data to RFA mode or BCM mode.
Press “OK”.
Go back to main page, press
Prog >> Immo >> Land Rover >> RFA – SECURED (MC9S12XEQ384)(WELD) >> Write >> D-FLASH >> Begin >> OK
Select D-FLASH file saved just now, press
OK >> Begin >> Continue
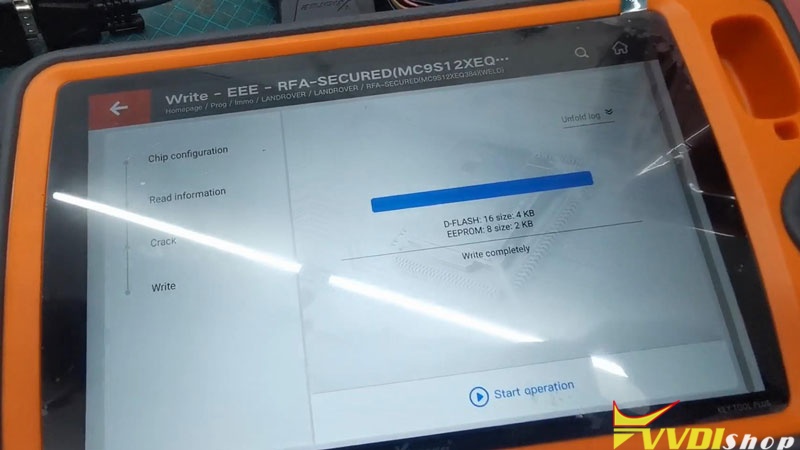
Write completed.
Repeat same operations to write EEE.

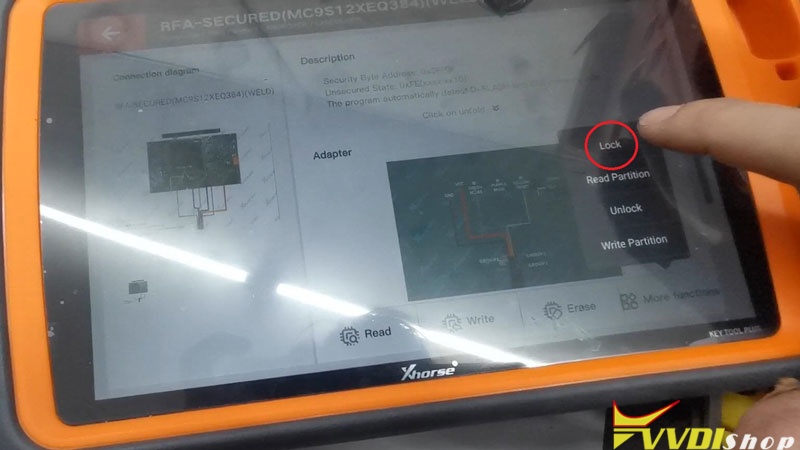
Go back to “More functions” when writing completed. Press
Lock >> Begin >> Continue
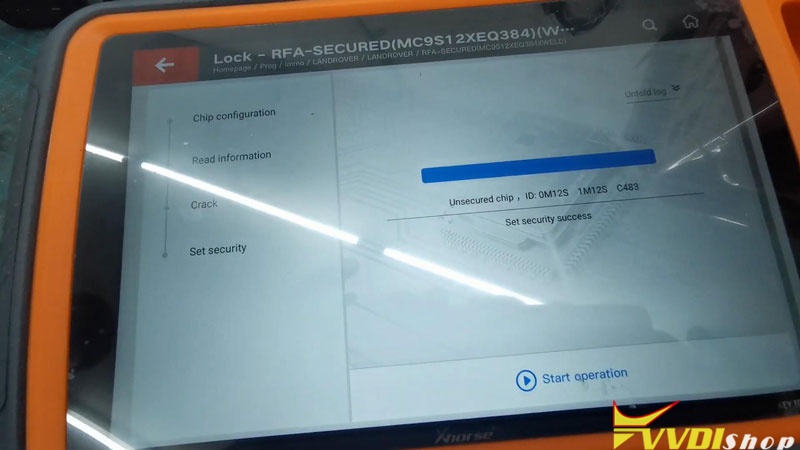
Enter chip secret key: FC, press “OK”.
Set security success.
Done!
After installing back KVM module, let’s test the new key.
Its remote works fine, and it can start the engine normally.
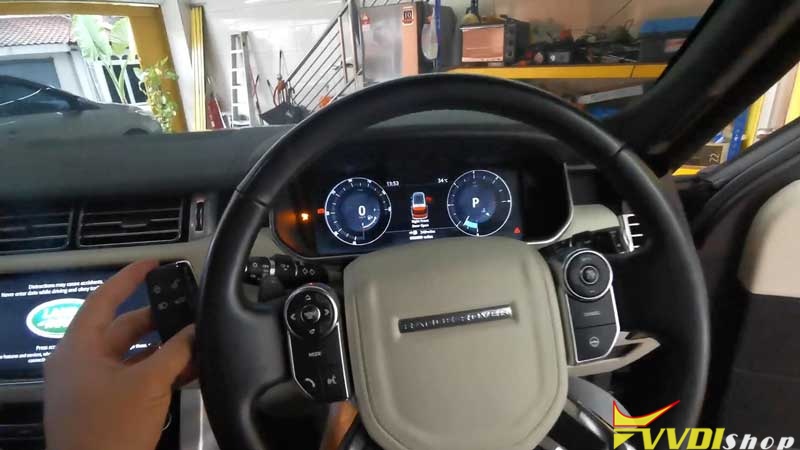
This is using VVDI Key Tool Plus to program a new smart key for 2017 Range Rover successfully.