ابزار Xhorse VVDI
Xhose VVDI نرم افزار برنامه نویس اصلی و سخت افزارابزار Xhorse VVDI
Xhose VVDI نرم افزار برنامه نویس اصلی و سخت افزارHow to Solve Cannot Get Xhorse Login Security Code?
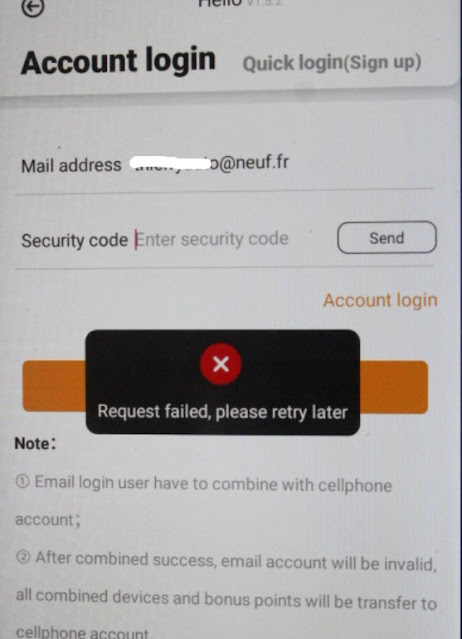
Here comes the common problem. Some users reported they did not receive the login verification code when registering xhorse account. Error request failed.
1.Better use gmail or hotmail instead of other email address.
2. Change a good network and try again.
3. Check spam folder to see if security code is there
NOTE: If use quick login via mobile phone but did not receive the security code, send your mobile number to www.vvdishop.com to get the verification code.
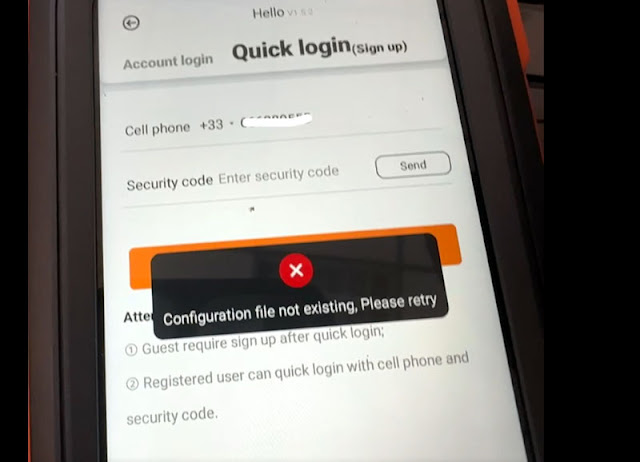
If quick login displays error “Configuration file not existing”, in this case, need to reset tool to the facroty setting, then try again.
Repair BMW CAS3++ Module with Xhorse VVDI BIMTool Pro
How to Repair BMW CAS3++ after bad flash with Xhorse VVDI BIMTool Pro programmer.
Take CAS3++ 0L15Y as an example.
Credit to: Mr. Fechtel.
Tools used:
Procedure:
Step 1: Read eeprom and flash
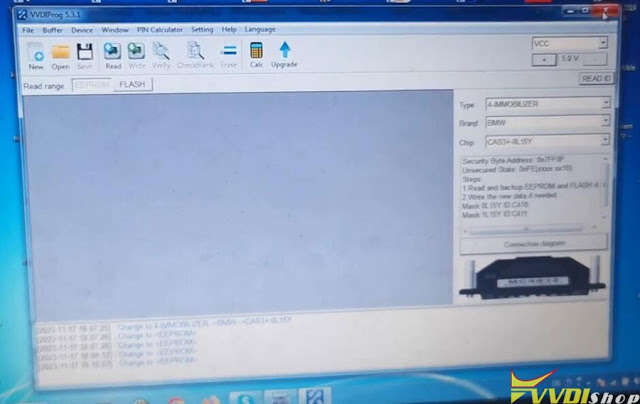
Read eeprom and flash with vvdi prog
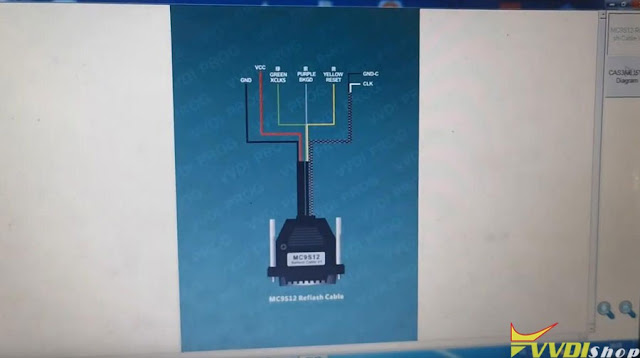
You can use CAS3 solder free adapter or read it with mcu adapter in the traditional way.
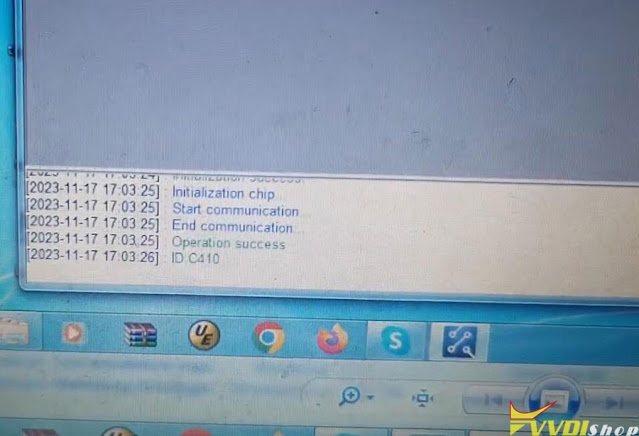
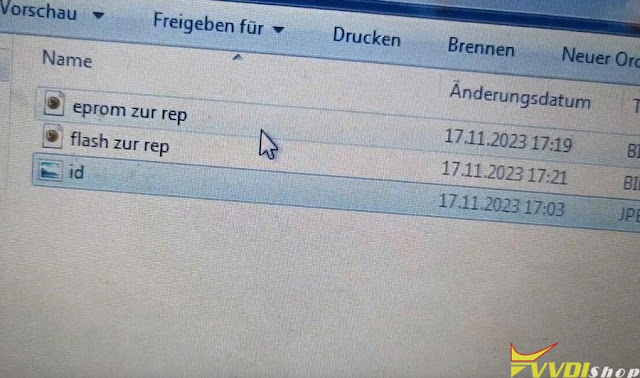
Read ID, eeprom, flash and save.
Step 2: Repair BMW CAS3++
Set up CAS3++ module and VVDI BIMTool pro bench connection as following:
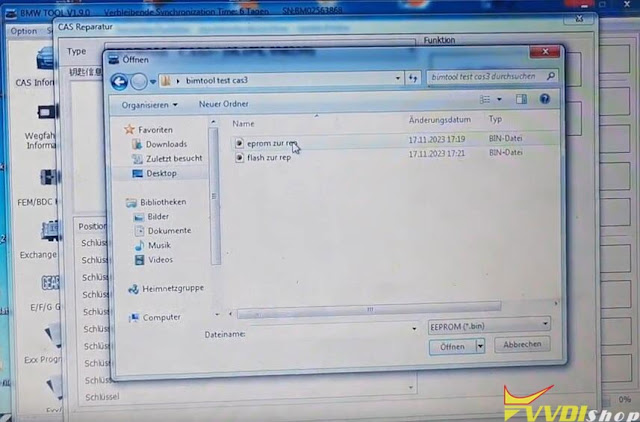
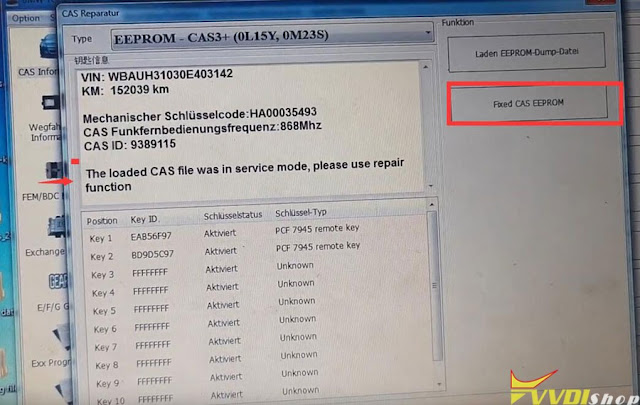
Run BIMTool software, select Special Function->CAS Repair-> EEPROM -CAS3+(0L15Y, 0M23S)->Load EEPROM Dump File
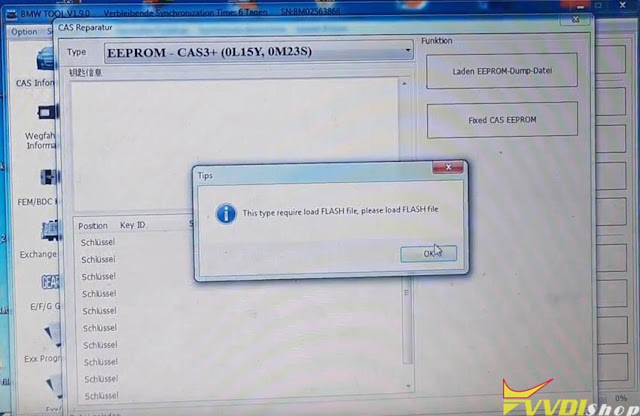
This type also requires load FLASH file.
Load EEPROM and Flash
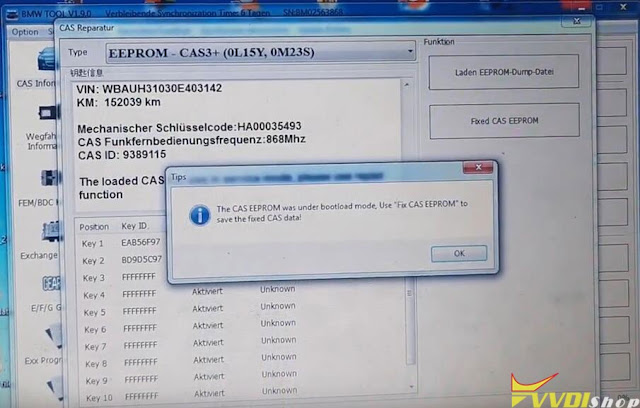
Use ‘Fix CAS EEPROM’ to save the fixed CAS data
The loaded file was in service mode. use repair function.
Press ‘Fix CAS EEPROM’ function
Save new eeprom
Save new flash
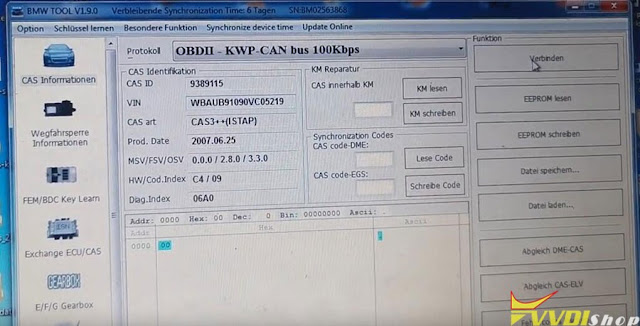
Then Auto detect CAS information. You will see CAS information.
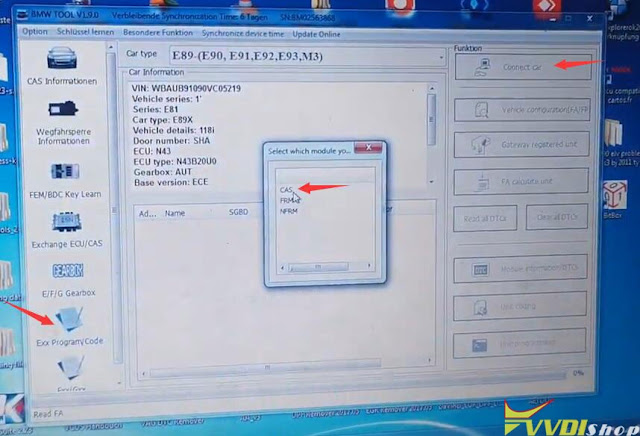
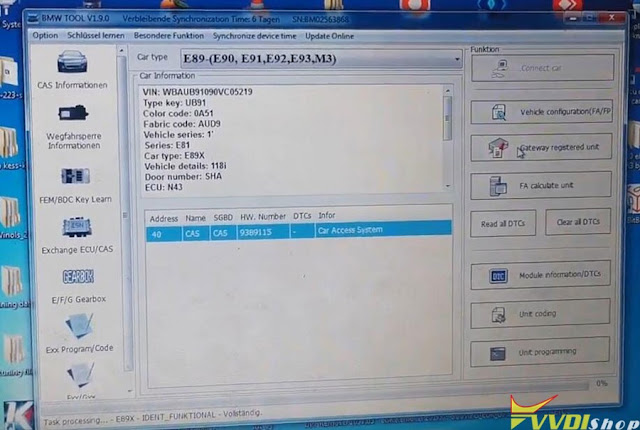
Select Exx Program/Code function, select car type and Connect Car, CAS module
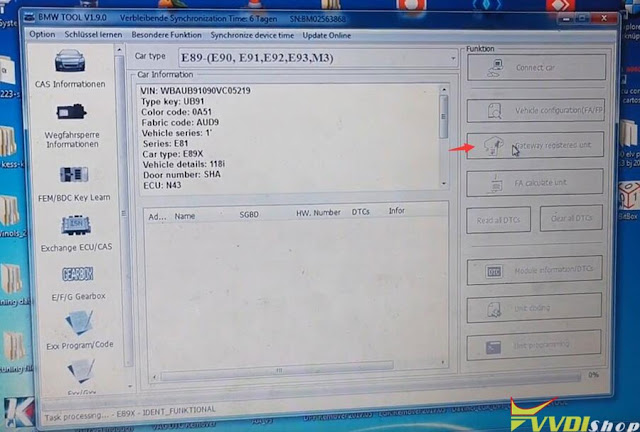
Select Gateway registered unit
VVDI BMW tool gives you an error Car Acess System which means CAS module is bad.
Since you get the new repaired eeprom and flash, write back to CAS3++ module with vvdi prog.
Then reinstall CAS3 module back to vehicle.
Clear fault code with OBD programmer.
Done.
How to Cut ZD24R Motorcycle Key with Xhorse Dolphin XP005?
Since I’ve used the ZD24R LISHI to pick and decode a Can-Am Spyder 3-wheel motocycle ignition, so next I’m going to cut the key with Xhorse Dolphin XP005 by bitting. In case to wreck a pretty expensive key blank, I would try X270 TMC1 key for a test at first. The bitting codes decoded by LISHI is 232234.
Cut by bitting >> Silca – ZD24R >> ZD24R, 6 bitting, 770*2350
M1 clamp Shoulder align.
This type recommend use 1.5mm to cut.
Press “OK”.
Input the bitting codes: 232234
Put and fix the key on M1 clamp according to prompts.
Cut key >> Cut
Dolphin XP005 machine starts cutting automatically.
Please wait…
Get the key out when cutting completed.
It’s working perfectly in ignition.
It should be noted in particular here this Can-Am ignition is from 2011 or 2012, it’s wide open and easy to get the keyway. The key can work with no problem at all.
But some of the newer ones starting like 2019/2020/2021, this black bezel here that actually covers most of this ring. So either have to pop that off or what I like to do is just to cut the head of key off.
When you try to put the key in, it stops on the bow of the key and it won’t go all the way in. So you may think your cuts are wrong. Just cut the whole head of key off, test it and make sure it’s working here before cutting.
This is how to cut ZD24R key with Dolphin successfully, you may use the newer Dolphin II Key Cutting Machine to do the job as well.
How to Solve VVDI BEE Key Tool Lite USB Not Working
Problem:
My Xhorse VVDI BEE Key tool lite is not working. It seems that the USB contact is not good.
I managed to get the blue light on and a message sent with code. Error “device connect failed”. Any solution?
Solution:
Go to mobile phone Settings, check if the mobile phone supports OTG function.
If yes, turn on OTG.
How to Enable OTG Android:
To Enable the OTG mode, Find OTG mode in Settings ⇾ Tap on OTG connections ⇾ Then Enable the connection (OTG Mode)
- Search for “OTG” in the mobile settings.
- Tap on the “OTG connection” option.
- Toggle the OTG connection to enable it.
- Once enabled, you can connect a pen drive or USB device to your smartphone.
Xhorse Key Tool Max Failed to Copy XM38 via EEPROM Solution
Problem:
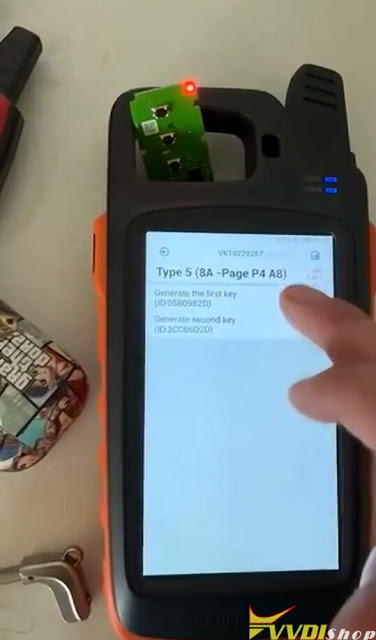
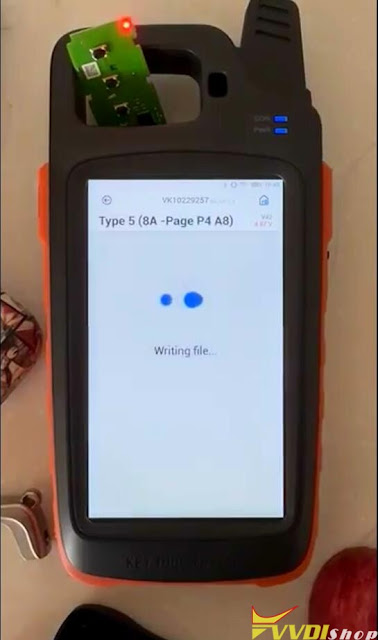
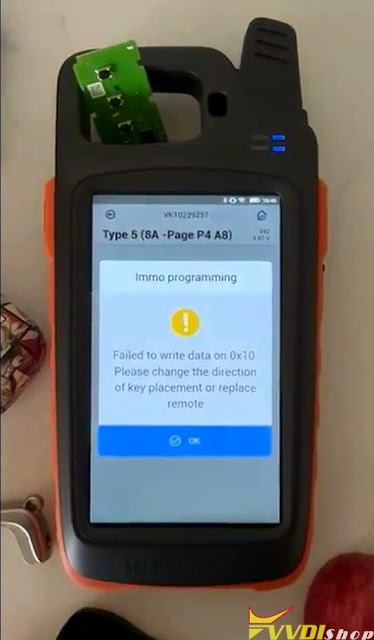
Xhorse VVDI key tool max cannot copy the new key car file. When generating emergency key with xm38 via EEPROM. it said failed to write data. Any solution?
Solution:
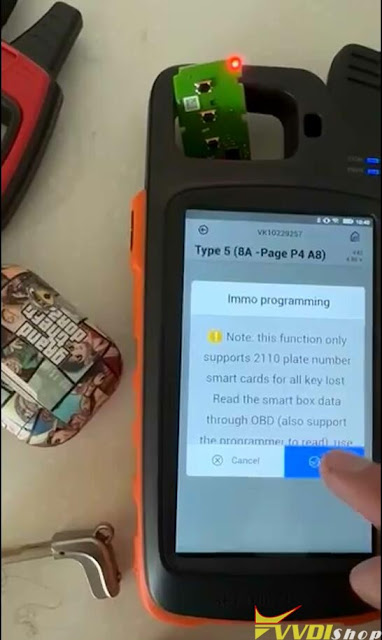
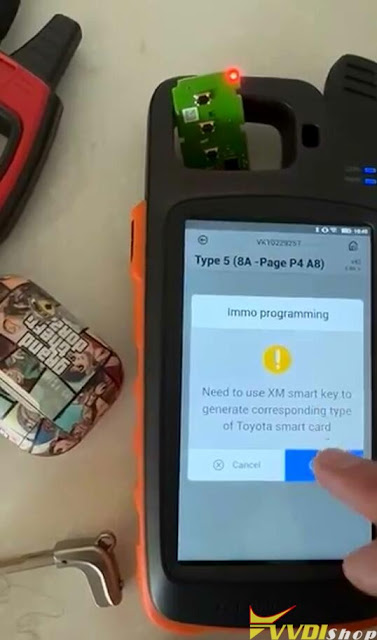
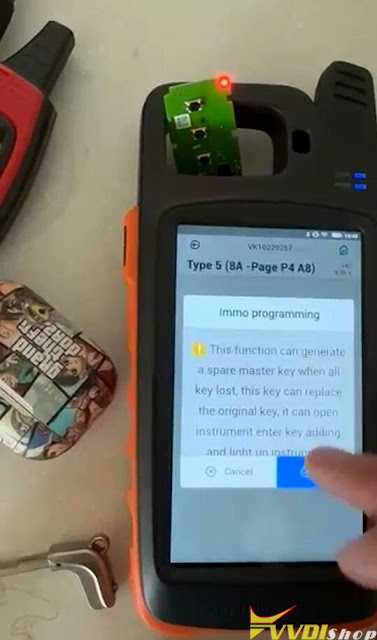
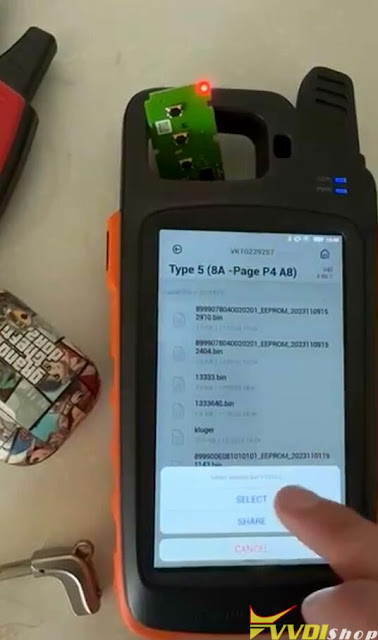
You cannot directly generate emergency key via eeprom. Need to use XM38 smart key to generate the corresponding type of smart card. Then generate AKL emergency key via eeprom.
Generate emergency key function only supports 2110 plat number smart cards for all keys lost.
Read the smart box data through OBD.








.jpg)
.jpg)
.jpg)
.jpg)
.jpg)
.jpg)
.jpg)
.jpg)
.jpg)


