ابزار Xhorse VVDI
Xhose VVDI نرم افزار برنامه نویس اصلی و سخت افزارابزار Xhorse VVDI
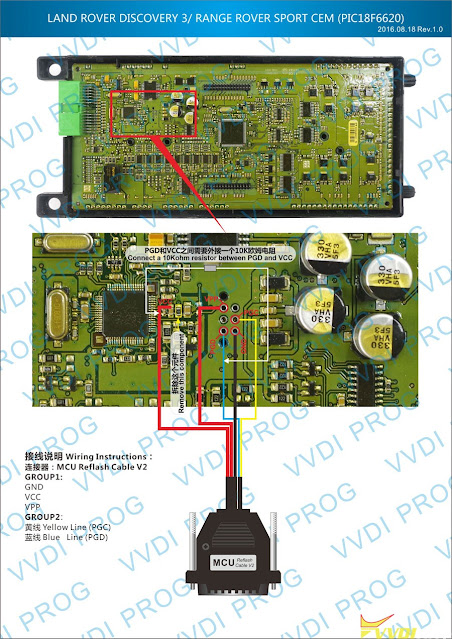
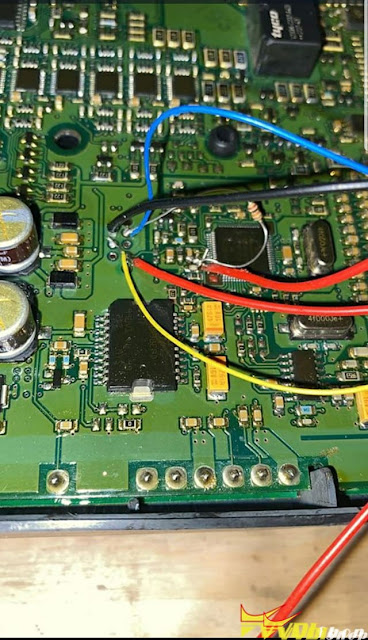
Xhose VVDI نرم افزار برنامه نویس اصلی و سخت افزارXhorse Key Tool Plus Failed to Read Discovery3 CEM?
Q: Trying to do Land Rover Discovery 3 All keys lost via xhorse vvdi key tool plus prog immo but cannot find option for discovery 3 prog immo option.
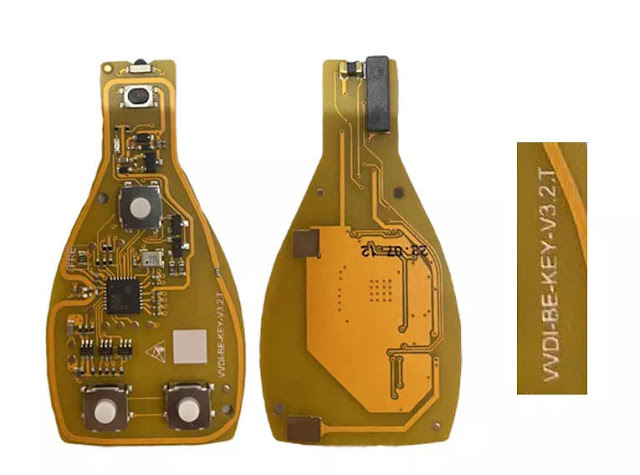
Difference Between Xhorse VVDI BE Key Yellow and Green Board
Xhorse Tech rolls out new VVDI MB BE Key pro V3.2 with yellow board in 2022. What’s the difference between new BE key and the old one with green board?
| Item | VVDI BE Key Yellow Board | VVDI BE Key Green Board |
| Image | ||
| Version | V3.2 | V1.5 |
| Frequency | 315Mhz/433MHz | 315Mhz/433MHz |
| Points | without 200 points | with 200 points (can be exchanged to 1 MB Token) |
| Compatible devices | Multiple MB programmers, VVDI MB, Key Tool Plus, Autel etc | Multiple MB programmers, VVDI MB, Key Tool Plus, Autel etc |
| Reusable | Yes | Yes |
| Applicable chip models | 705 Moto(1997-2000) NEC(2001-2005) NEC(2006-2010) BGA(after 2011) | 705 Moto(1997-2000) NEC(2001-2005) NEC(2006-2010) BGA(after 2011) |
They have the same coverage and use the same key shell. The yellow board is cheaper because it does not contain 200 points.
Both BE keys frequency can be exchanged manually or by vvdi mb/key tool plus software.
Method 1.Remove PCB FRE resistor change to 433MHZ.
Method 2.Change Via VVDI MB Tool/Key Tool Plus Software.You can use VVDI MB software check key frequency firstly in EIS Software,other function set frequency.Then it shows 315mhz when you read frequency.Choose 433mhz to set,and check frequency again.
Xhorse Condor Internal Error 1(-2) Solution
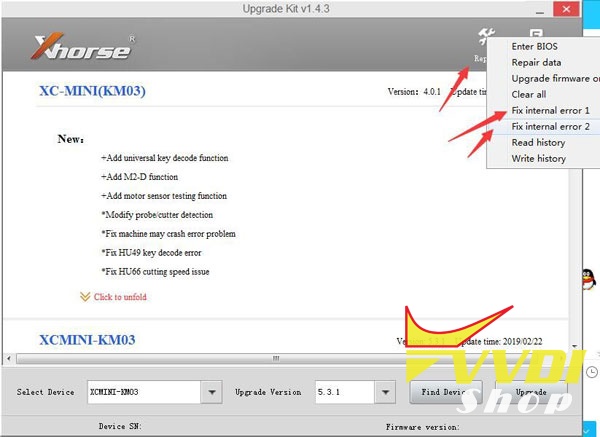
If your xhorse condor mini plus/condor ii key cutting machine got an Internal error on startup screen, follow solution here to get it fixed
Solution:
In Xhorse upgrade kit, select Condor device
Do Repair data-> Fix internal error 1-> Fix internal error 2-> Clear All (3 times)
Then update software.
If still not working, change another laptop or USB cable, try solution above again.
Skoda octavia NEC Cluster AKL with VVDI2 via Pogo Pin
How to add a key when Skoda octavia 1Z all keys lost or at least accessing immo data. For newer VAG NEC Clusters by Pogo pin ground cable with xhorse vvdi2 vag key programmer.
Skoda octavia 1Z AKL by Vvdi2 (Pogo Pin Method)
Main steps:
Step 1: Read Immo data
Step 2: Make dealer key
Step 3: Learn key
Procedure:
Step 1: Read immo data
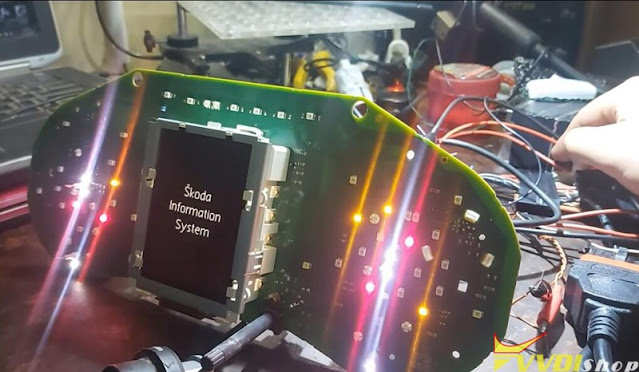
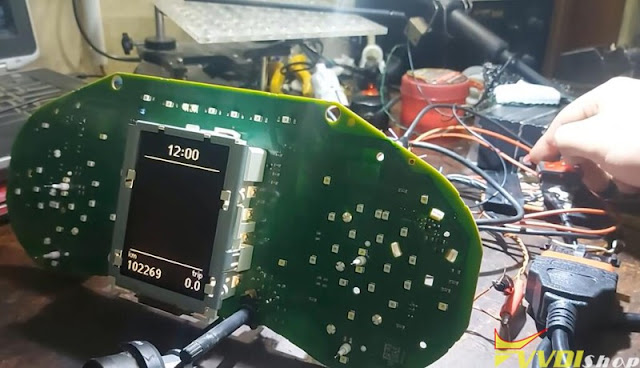
Before read immo data, set up pogo pin connection
Use this pogo pins all keys lost
http://blog.vvdishop.com/pogo-pins-all-keys-lost-for-pin-cs-with-vvdi2/
Input transponder key into vvdi2
Run vvdi2 software, go to Transponder Programmer
Detect transponder type Megamos 48- Unlock
Turn on ignition switch
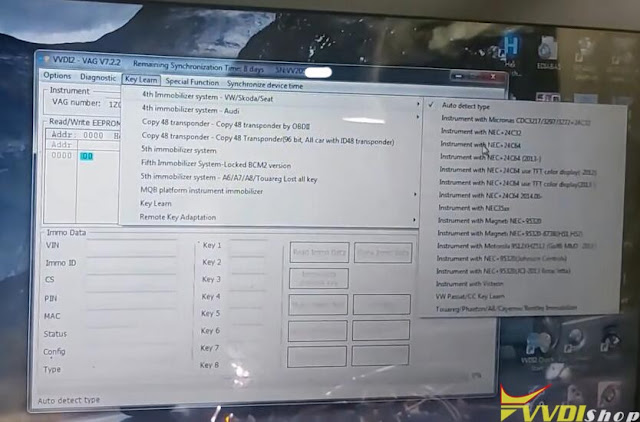
Go to VVDI2 VAG, Key Learn->4th Immobilizer system-VW/Skoda/Seat-> Instrument Cluster NEC24C64
Read EEPROM and Login method 2
Save eeprom file
Step 2: Make dealer key
Press Make Dealer Key and select login method 2
Program normal dealer key
Make dealer key success
Step 3: Learn key
Insert new key into ignition switch
Turn on ignition
Select Add key
You should backup eeprom and immo data before learn key
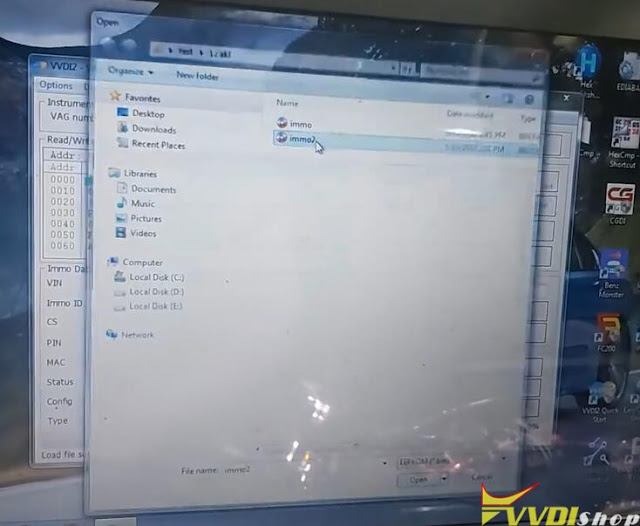
Select Learn key, load immo data
if vvdi2 ask is car has keyless, press No
Insert the dealer key imto car and switch on for at least 2 seconds
all keys learn successfully
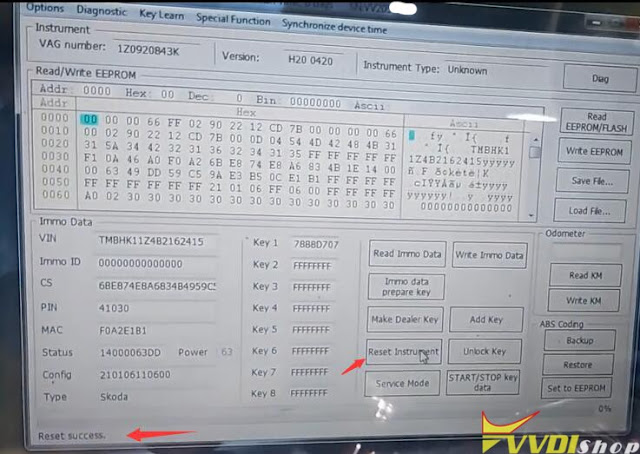
Reset instrument
Install instrument cluster back to the vehicle and test the new key.
Done.
Technical support from www.vvdishop.com
http://blog.vvdishop.com/skoda-octavia-1z-all-keys-lost-with-xhorse-vvdi2/
VAG NEC Cluster Pogo Pins All Keys Lost
What is a Pogo Pin Cable?
The pogo pin is part of the SVG cable and you can find the right position on google. You must connect the pogo pin to right position on the dashboard. If you place the pogo pin in the right position you can get the valid data file. With this datafile you can unlock the dashboard at any time without a working key.
When the pin is connected, turn the power supply ON and press the OK button.
Applicable to: Dashbards VDO UDS or Micronas 2009—2012
How Make POGO Pin Cable To Read NEC Cluster PIN & CS With VVDI2?
You can use Xhorse VVDI2 key programmer with super vag cable and the supervag manual.
It works great to get pin and CS with cable supervag svg157 cable with POGO pin is just a GND wire nothing special. 2min to make itself.
You can make your own cable for NEC cluster with “POGO pin” and all is working
wiring diagram for bukse from nec dash and OBD2, to make your cable
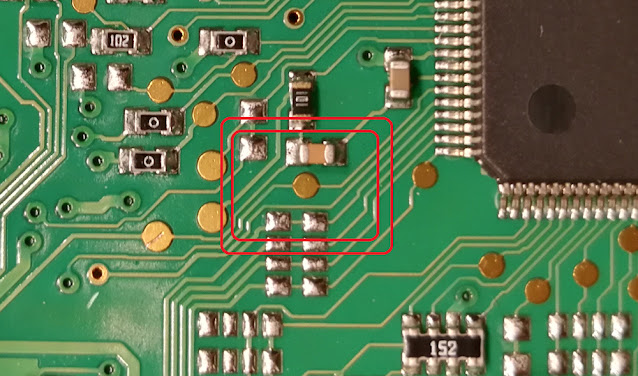
POGO pin cable is a just GND cable you connect to RESET PIN on PCB (tested on NEC 24C64 cluster, no have currently any Micronas cluster, however micronas read EPP is easy, no need remove dials etc)
with that example is easy to find on most of NEC cluster where is that
compare with renesas V850 datasheet you will understand what is this and where is available
you can also find epp connection near NEC, and read EPP via BDM points
anyway, more practice will make you more professional.
You can also get more pogo pins all keys lost here
http://blog.vvdishop.com/pogo-pins-all-keys-lost-for-pin-cs-with-vvdi2/


