ابزار Xhorse VVDI
Xhose VVDI نرم افزار برنامه نویس اصلی و سخت افزارابزار Xhorse VVDI
Xhose VVDI نرم افزار برنامه نویس اصلی و سخت افزارXhorse Condor Mini Plus II Error Code 3 Solution
Problem:
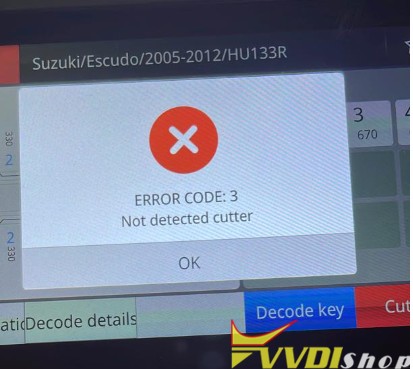
I had a problem cutting Suzuki HU133R key blank. My Xhorse Condor II key cutting machine gave me error code 3. Not detected cutter. Any advice?
Solution:
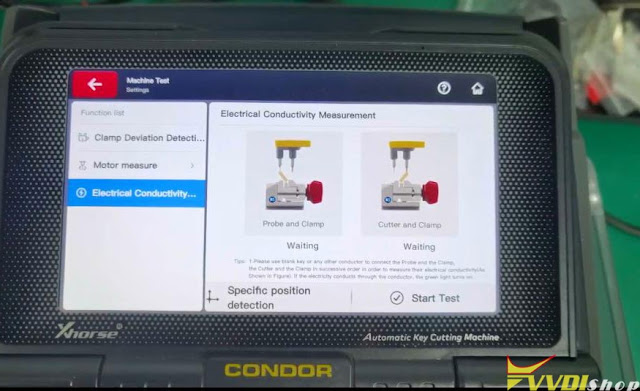
First of all, do an Electrical Conductivity test.
In Condor II main menu, go to Settings->Machine Test-> Electrical Conductivity Measurement->Start Test
If there is a problem with the conductivity test, do following:
https://www.vvdishop.com/service/xhorse-condor-ii-conductivity-test.html
Xhorse VVDI MB Application Unable to Start Solution
Problem:
I just got the xhorse vvdi mb tool and tried to install software on Windows 11. But no luck keeps getting error Application was unable to start. Any solution?
Solution:
Better install software on Windows 10 system.
Disable anti-virus program.
Disable firewall.
Reinstall software.
The solution works other version xhorse vvdi software as well.
Does Xhorse MQB License Require Sync Data for KM?
Question: I am ready to order the xhorse MQB nec35xx license for vvdi2. Is this option Ok for Odometer correction. Sync data also needed for odometer? or just for the Immo part.
Answer:
MQB license works for odometer as well.
Sync data is just for IMMO of course. Sync data is for dealer key generation.
The whole dump is encrypted and the processors are locked. But for odometer you don’t need sync data. The servers of VVDI/AVDI and the other tools decrypt the dash/immo data but they cannot get the sync data which is only stored in the working key.
So currently you have one option to get the SYNC data (when key is missing) – use paid service to get it from VAG server. Soon there may be a second option – to generate the SYNC yourself by reading all the computer modules in the car (ECU, DASH, ELV, Transmission…) but for the moment there’s no tool which can read the ELV if fitted.
Xhorse MQB mileage correction review:
1). Today did Skoda Octavia 2016 with MQB Visteon 5E0920781B dash D70F3529 MCU. Read, Write, ZERO issues.
Xhorse Dolphin XP005 M5 Clamp Cut Toyota Prius TOY48 All Keys Lost
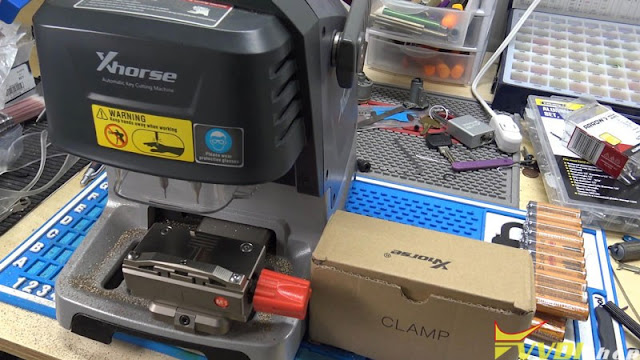
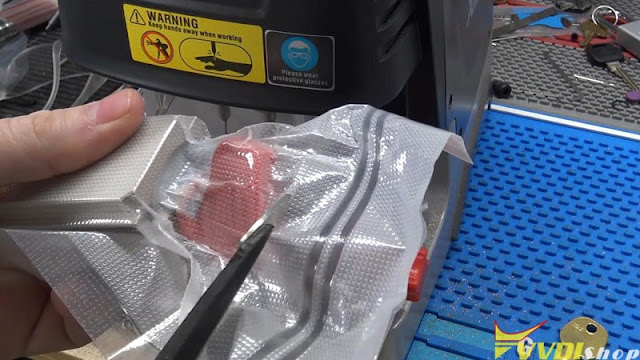
Xhorse released an update on the app that users can now use the M5 Clamp, which is a combination of M1 and M2 clamp on the Dolphin XP005. So I went on www.vvdishop.com and for about $249 dollars. I got a clamp. I’m gonna unbox it here.
I’ll put the M5 clamp on the machine to try it out. I do have to update my firmware and Xhorse app for this function. In terms of M5 clamp type, vacuum seal it is to keep it fresh, I guess.
The cool thing about M5 clamp is that I don’t have to keep swapping them. Just open it all the way up and rotate it over to the B side, which is like the M2 clamp. You don’t need to swap the clamp back, which is really nice if you ever doing a lot of keys in one place.
So I’m going to go ahead and loosen out slide off the M1 clamp. Do a little house cleaning , then install the M5 clamp. Crank it down, power on the machine. To be sure, M5 clamp doesn’t need a calibration, but it needs to be set up.
Open app, connect to Xhorse Dolphin:
Device information >> Cutting setting >> Clamp >> M5 >> Set parameters
Setting parameter success.
Following I’m going to cut a Toyota Prius TOY48 key for a test.
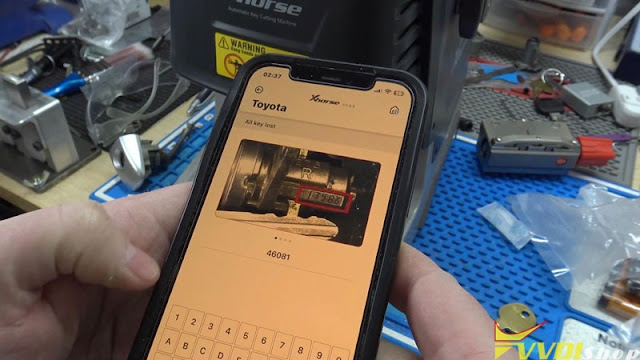
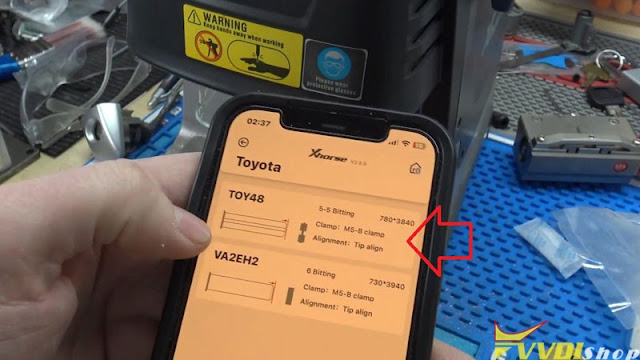
All keys lost >> Toyota >> Inter key code: 46081 >> TOY48
It says to use M5 clamp B side, tip align line 2.
I have a Dolphin 2 as well. The knob is actually different. But as long as it works, it doesn’t really matter. After tightening the key blank, here we go.
OK >> Cut key >> Cut
The Dolphin starts cutting…
After finishing, flop it around to cut the second side.
Key cutting is now completed.
Take out the key to test if it works.
Alright, key goes in, and it turns perfectly. There’s no calibration here but M5 clamp can actually index the key and cut by code well.
This is the M5 clamp on Xhorse Dolphin XP005 key cutting test review.
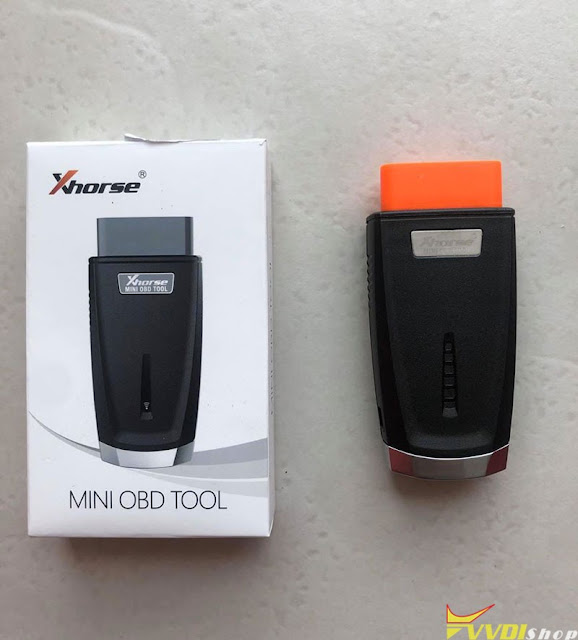
Add Volvo XC60 2017 Key by Xhorse VVDI Mini OBD Tool
The car model is a Volvo xc60 from 17/7/2017 half keyless system with CEM R32C R5f64525kfd. Some have problem when reading CEM with autel xp400 also other programmers.
Here is the easy solution with the cheapest device- xhorse vvdi mini obd tool.
All problem solved with the cheapest device that can someone could imagine remote added successfully without dissembling the CEM.
Believe it or not, car is programmed with xhorse mini obd too. it just all you need.
You could use it with key tool max or just with an Android cell phone.
I connect the mini obd a go under volvo and the normal key system.
I click ok device connected and ask me if i want backup security data and he ask me if i want to continue and the procedure will take 8 hours.
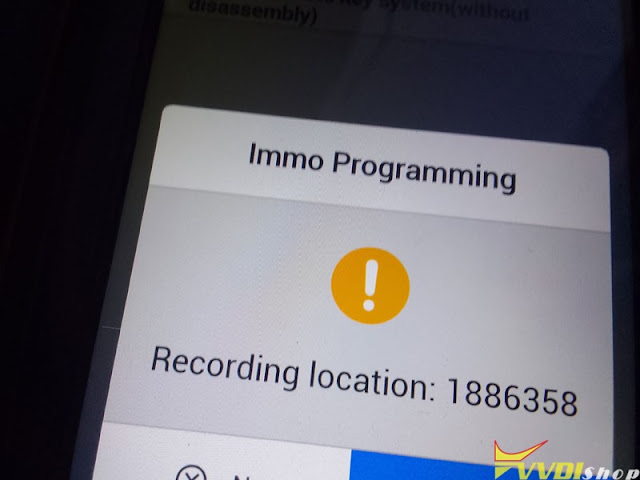
Before click ok i add an additional power supply to the car and click ok. wait kindly. After one hour and 10% of data decryption, he prompts me ” recording location” and i click ok he enter programming mode read and save security data and ask to click start button once, and put the original key then remove it. Then put the key to be programmed to the slot and all work is done.
For me it worked from the first attemp if you didnt succed don’t panic .. you have to begin from the beginning but this time at first when the device prompts you to begin you give it the recording location that the device give it to you in the first access.
Hope it helps.



.jpg)
.jpg)
.jpg)
.jpg)
.jpg)
.jpg)
.jpg)
.jpg)
.jpg)
.jpg)
