ابزار Xhorse VVDI

Xhose VVDI نرم افزار برنامه نویس اصلی و سخت افزار

ابزار Xhorse VVDI

Xhose VVDI نرم افزار برنامه نویس اصلی و سخت افزار

Xhorse Condor XC-Mini Software Update to V5.0.9

Xhorse Condor XC-Mini (KM03) key cutting machine software released to V5.0.9 (2018/05/23).


Condor Mini 5.0.9 Update Feature:

Add universal key decode function
Add M2-D function
Add motor sensor testing function
Modify probe cutter detection
Fix machine may cra sh error problem
Fix HU49 key decide error
Fix HU66 cutting speed issue


Use the xhorse update kit to update Condor software:
https://mega.nz/#!QTx3yYKb!OW3Mc4sBaMqUSCUfWtPM4__Od-OPkemRe2j4EfPHRLo

How to update Xhorse Condor XC-mini power supply

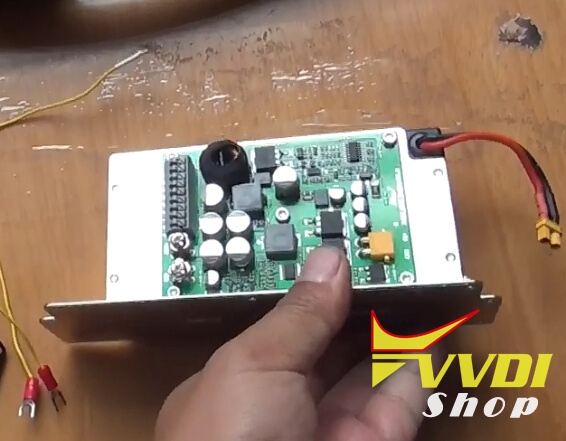
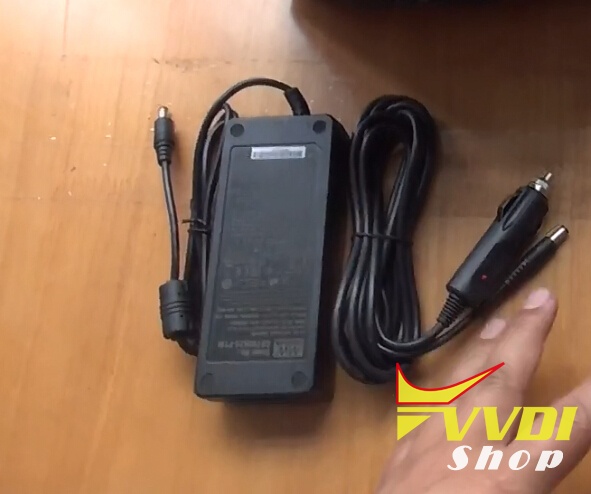
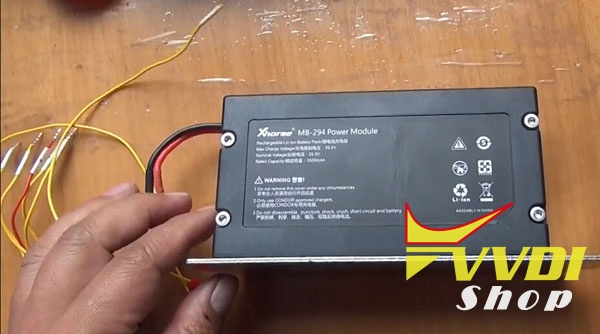
Xhorse released new power supply adapter with battery for Condor XC-Mini key cutting machine with which you can cut 40 keys per charge.

change-condor-mini-power-supply-1

change-condor-mini-power-supply-4

change-condor-mini-power-supply-3

change-condor-mini-power-supply-2

How to change/update Condor XC-Mini built-in power supply?


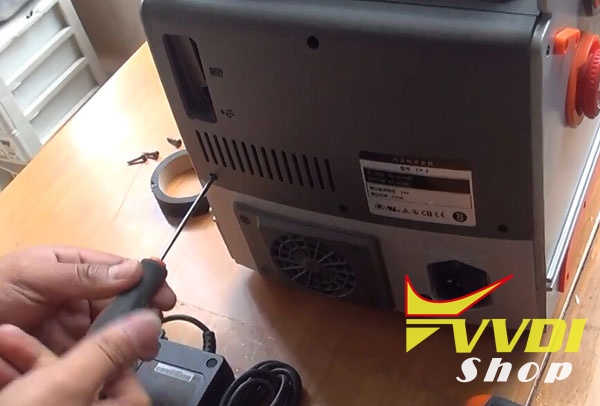
1.Remove the screws.

change-condor-mini-power-supply-5

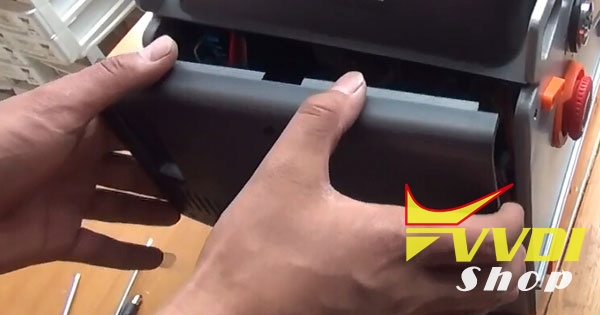
2.Remove the shell.

change-condor-mini-power-supply-6

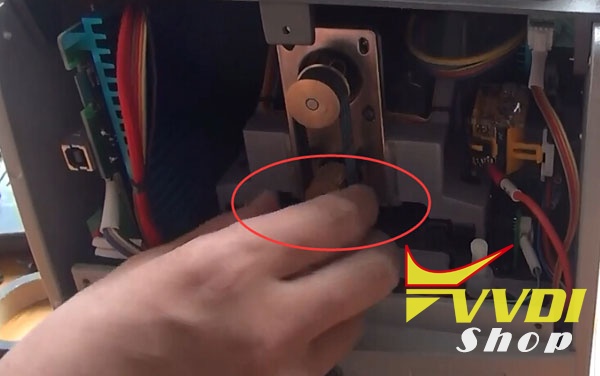
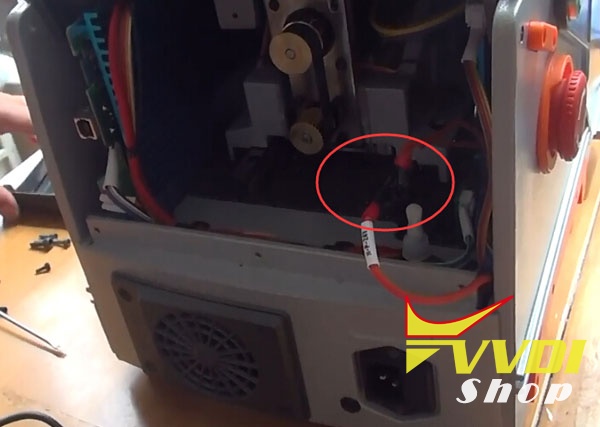
3.Rotate the little round screw to the innermost.

change-condor-mini-power-supply-7

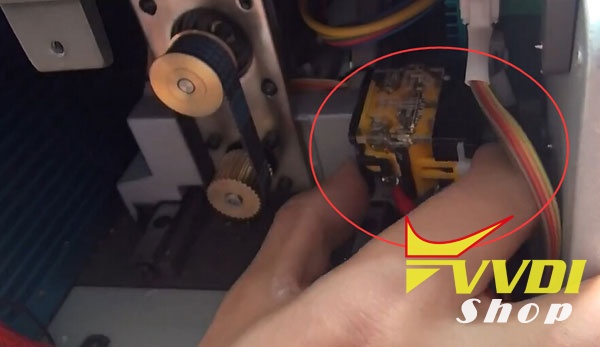
4.Then we need to remove the clip.Pull it out.

change-condor-mini-power-supply-8

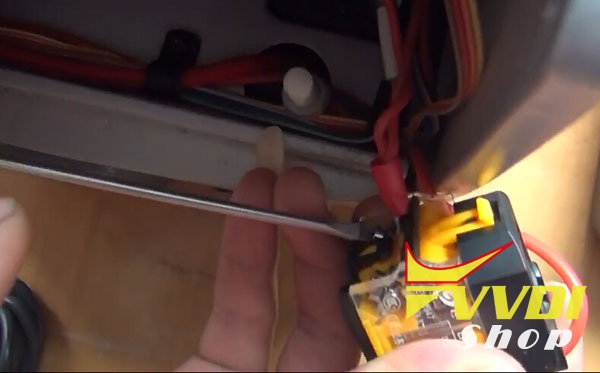
5.Rotate the screws on both sides,remove out the clip.

change-condor-mini-power-supply-9

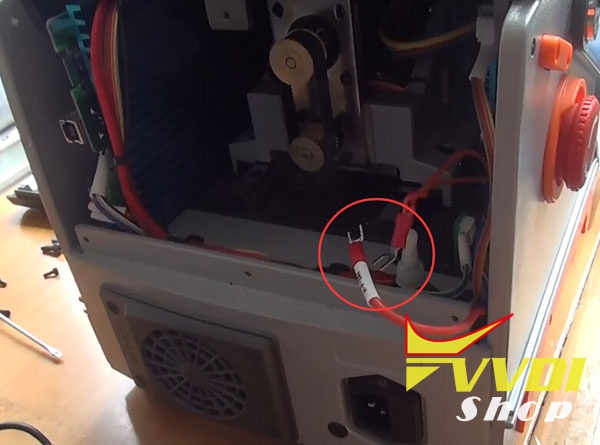
6.Use insulating tape to connect two cables together.

change-condor-mini-power-supply-10

change-condor-mini-power-supply-11

7.Lay down condor mini machine.Remove the screws.

change-condor-mini-power-supply-12

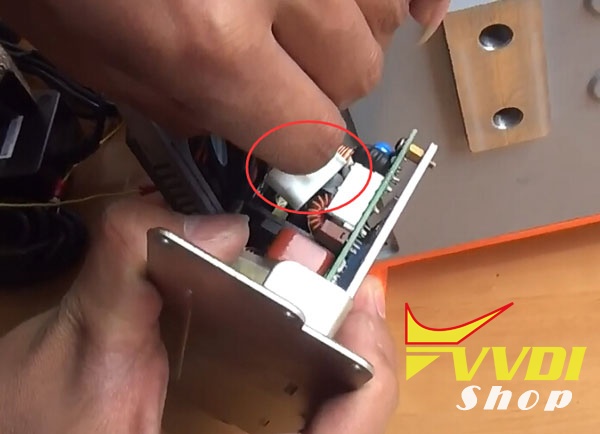
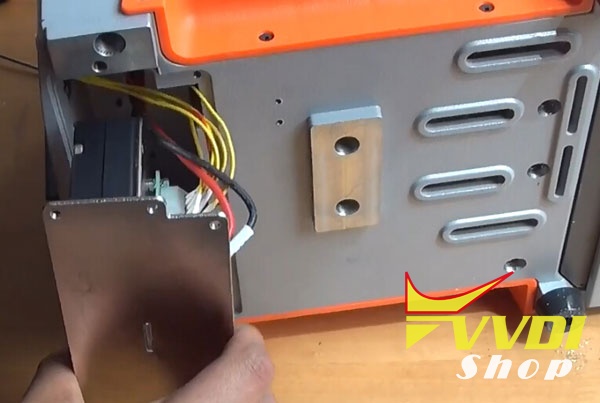
8.Take out the board.Unplug the clip.

change-condor-mini-power-supply-13

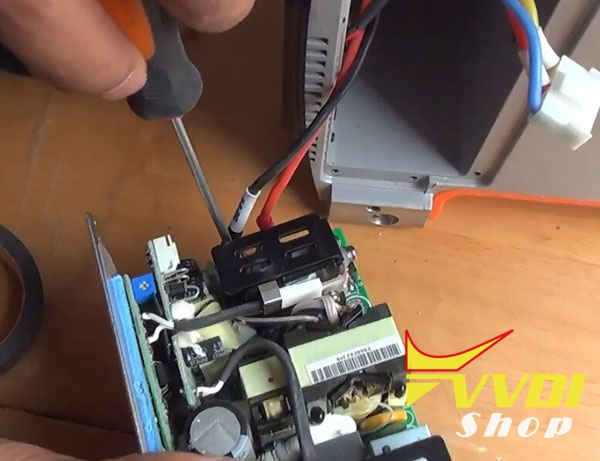
Rotate two screws to remove the cables from the PCB.

change-condor-mini-power-supply-14

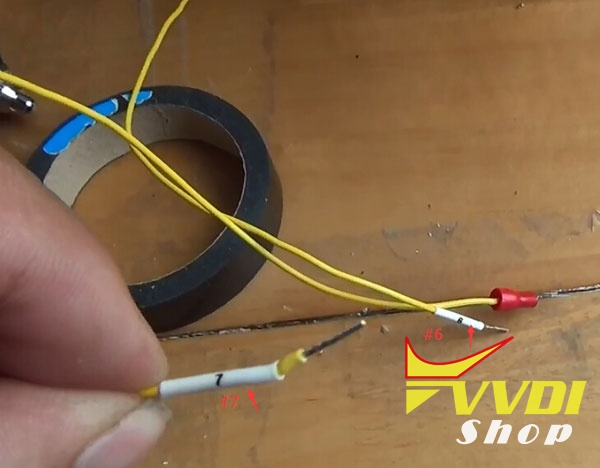
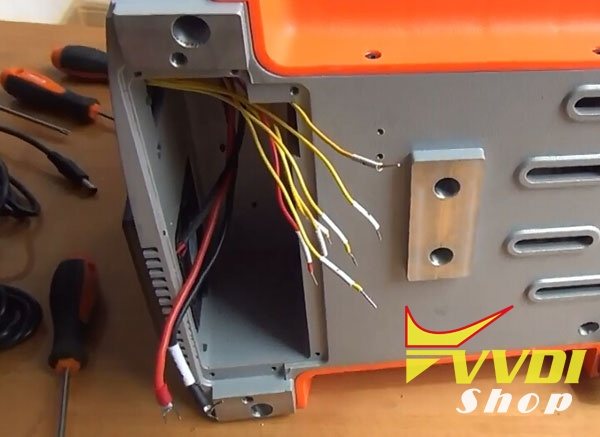
9.Here two separate yellow color cable,number 7 and 6.

change-condor-mini-power-supply-15

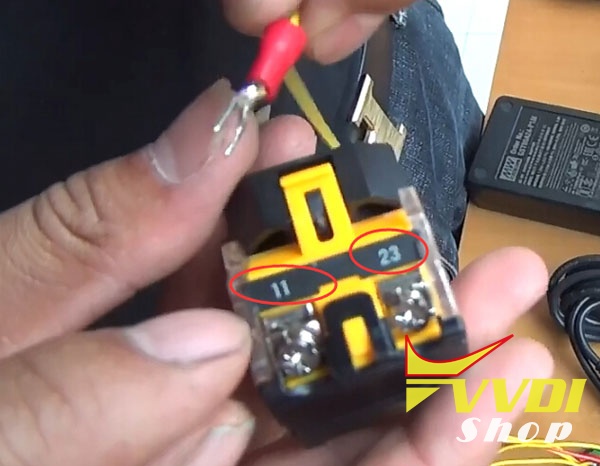
10.Number 6 cable is connected to 12 on clip.

Cable 7 connects with 11. Lock the screws.

change-condor-mini-power-supply-16

11.Put back clip to original place.

change-condor-mini-power-supply-17

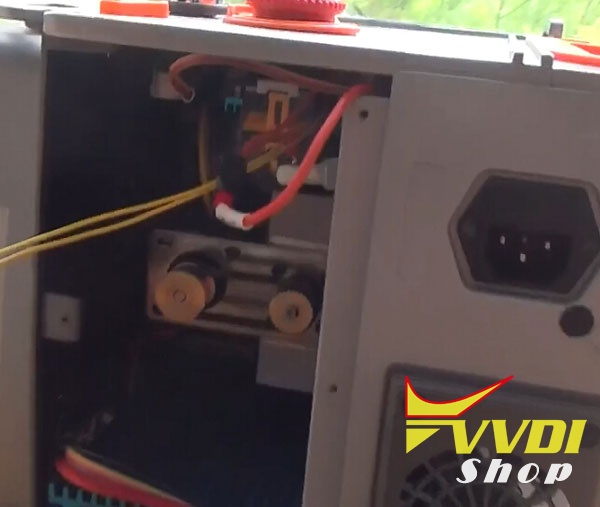
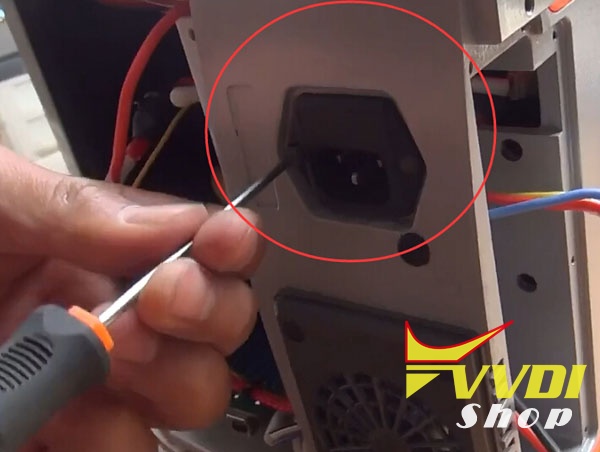
12.Next step: remove the power adapter on Condor MINI

change-condor-mini-power-supply-18

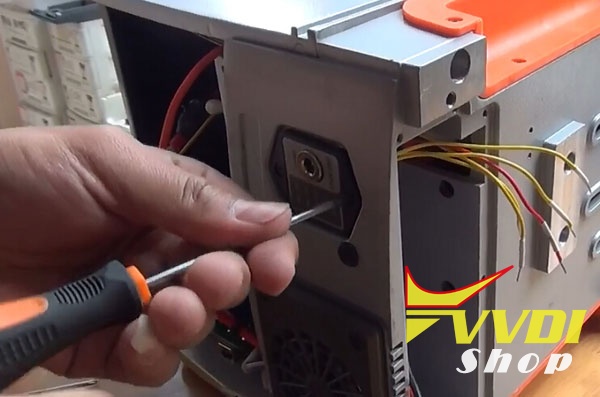
13.Put the new power adapter.You can find new power adapter in Power Supply Adapter with Battery Kit.

Put back screws and lock it.

change-condor-mini-power-supply-19

14.Put two yellow cables together with new power  adapter cables under the clip through the hole.

change-condor-mini-power-supply-20

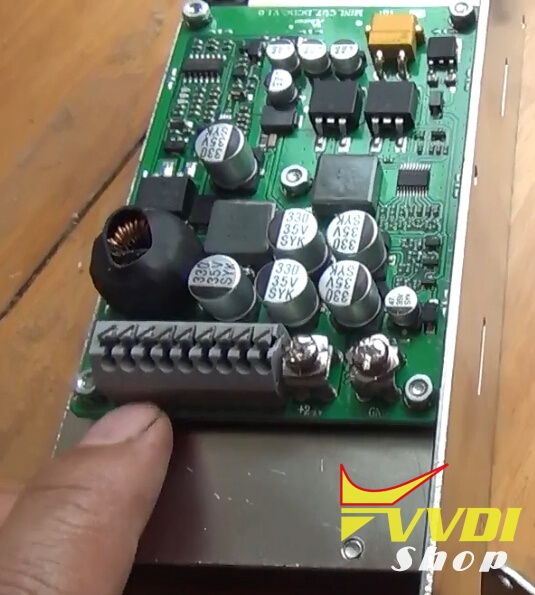
15.Connect Power Adapter battery PCB.

It lists out number from 1 to 9,and 24V.

change-condor-mini-power-supply-21

change-condor-mini-power-supply-22

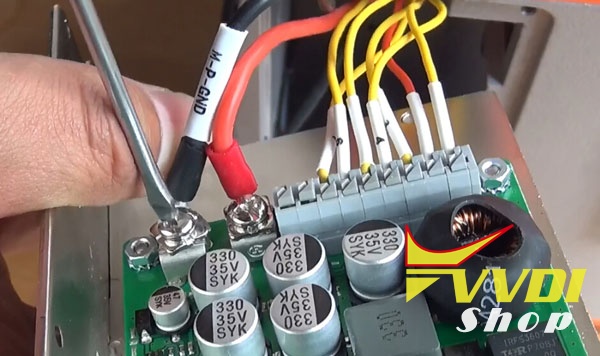
16.Connect cables to the numbers, VCC and GND. Please note the numbers must be matched.

Connect cables,as well as VCC and GND.

change-condor-mini-power-supply-23

change-condor-mini-power-supply-24

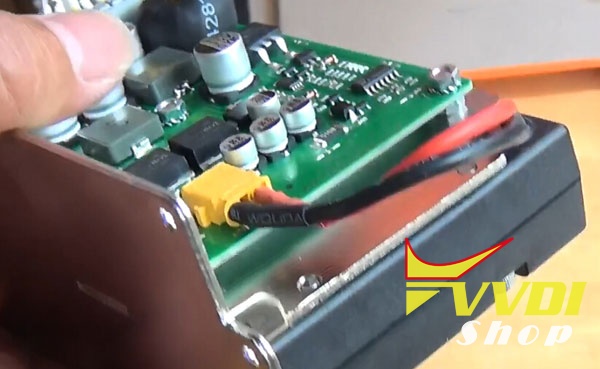
17.Put back PCB to condor mini.And two shells,lock the screws.

change-condor-mini-power-supply-25

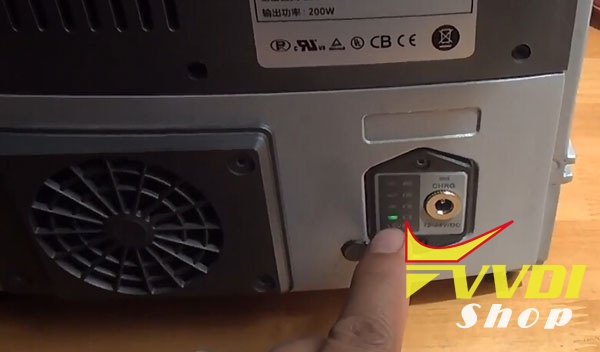
18.Now,we power on to start for test.It shows charge capacity.

change-condor-mini-power-supply-26

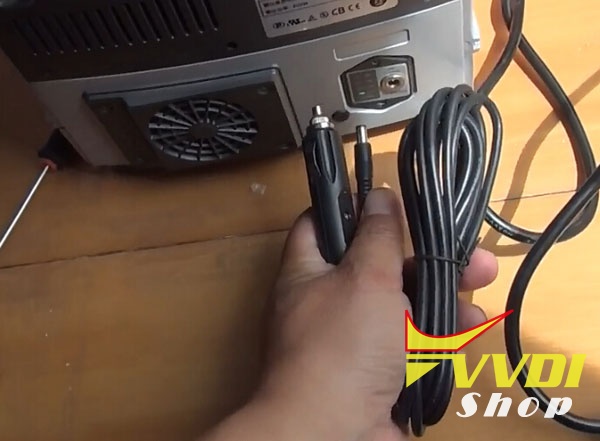
19.Use old charge cable with new charge adapter,connect with power supply,it can charge power.

We can also use Car cigarette lighter cable to charge.

change-condor-mini-power-supply-27

change-condor-mini-power-supply-28

20.Upgrade to the built-in power supply successfully.
 

www.vvdishop.com

Jetta 2008 BCM Wiring Connection to Xhorse VVDI Prog

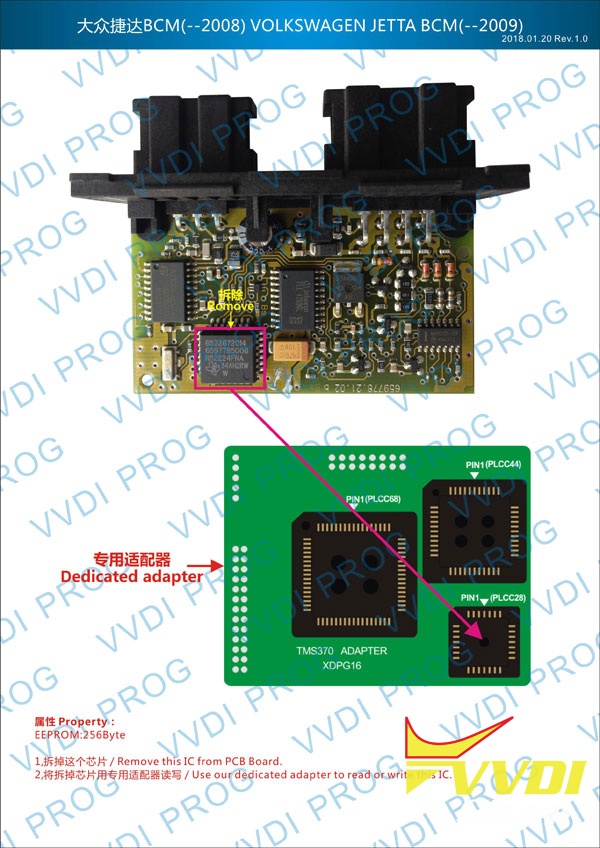
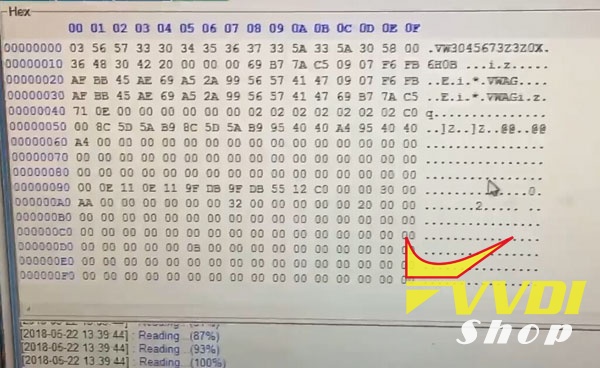
New test report: read VW Jetta year 2008 4th generation immo box BCM data success by using Xhorse VVDI Prog programmer & TMS370 adapter.
vvdi-prog-jetta-2008-immobox-1
vvdi-prog-jetta-2008-immobox-2
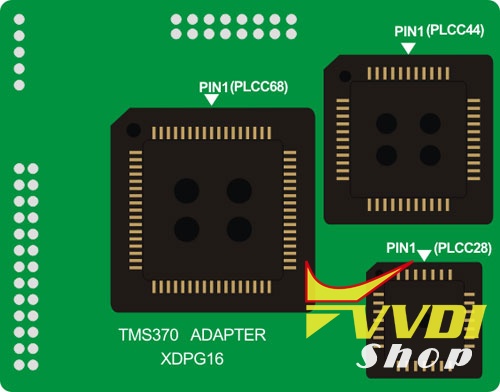
Solder TMS370 adapter to VVDI-Prog
tms370-adapter
vvdi-prog-jetta-2008-immobox-3
Select 4-Immobilizer-> VW->Jetta-IMMOBOX(–2008)
vvdi-prog-jetta-2008-immobox-4
Check connection wiring diagram
jetta-immo-box-2008
Read IMMO box data
vvdi-prog-jetta-2008-immobox-5
vvdi-prog-jetta-2008-immobox-6
vvdi-prog-jetta-2008-immobox-7
Save data.
Done.

Preview Xhorse Condor XC-Mini Plus II Key Cutter

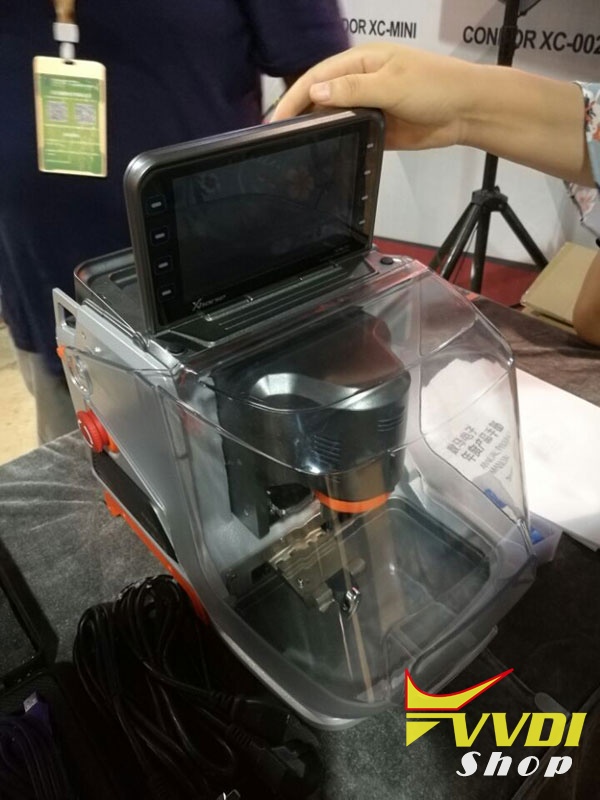
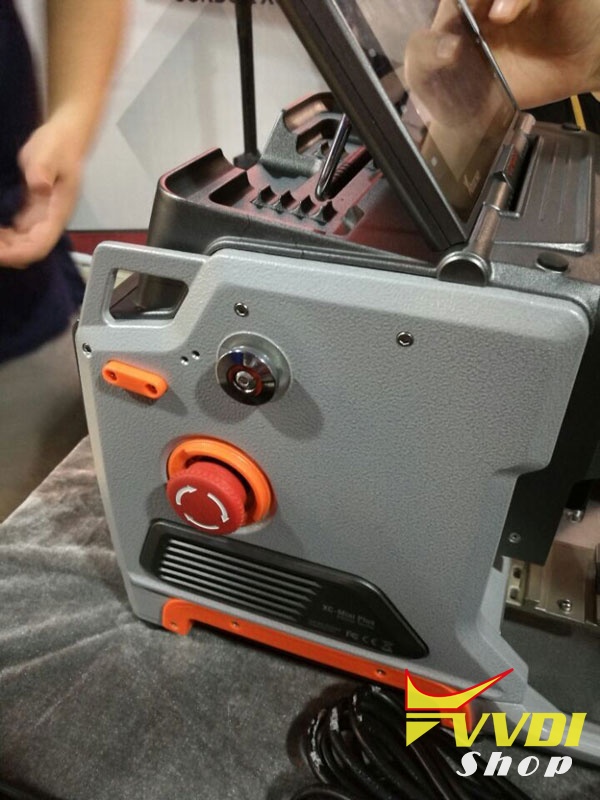
2018 new Xhorse Condor XC-Mini Plus (Condor XC-Mini II) key cutting machine will be released in the next 2 months.
Parameter
Working Temperature  0-50
Humidity: 10-90%
Working Voltage: 90-264V/AC
Input Frequency: 47-63Hz
Package Dimension: 450 x450x350mm
Machine Dimension: 265 x362x301mm
Net Weight: 18kg
Gross Weight: 22.9kg
Power: 200W
USB port: 2.0
LED Display:
1024×600
Motor Rotation Speed: 9000rpm

Clamps:
M1 and M2 in default, M3 and M4 clamps optional

Update: Online (same database as Condor XC-Mini)


Condor XC-Mini Plus Preview:
Outlook:
with flexible screen display which is convenient than Condor XC-Mini
condor-xc-mini-plus-1
condor-xc-mini-plus-2
condor-xc-mini-plus-3
condor-xc-mini-plus-4
condor-xc-mini-plus-5
condor-xc-mini-plus-6
condor-xc-mini-plus-7
condor-xc-mini-plus-8
condor-xc-mini-plus-9
condor-xc-mini-plus-10
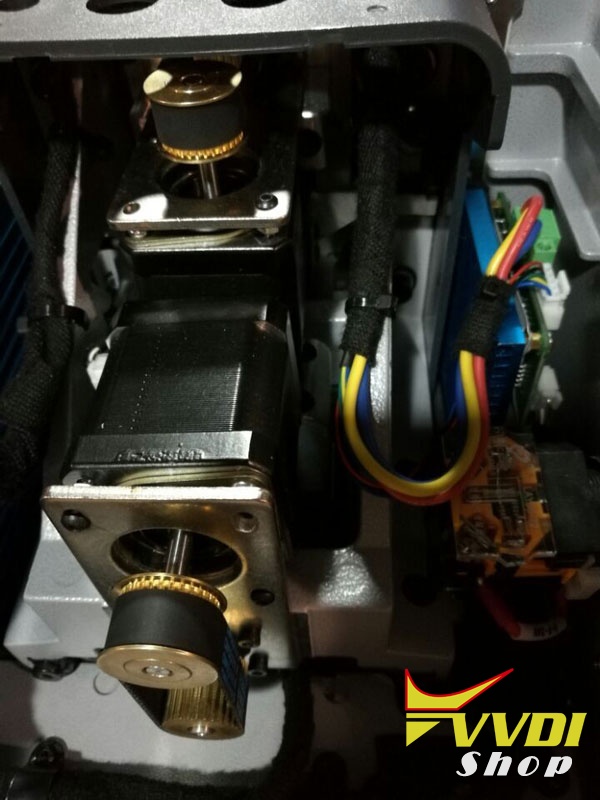
Look inside parts:
condor-xc-mini-plus-11
condor-xc-mini-plus-12
condor-xc-mini-plus-13