ابزار Xhorse VVDI
Xhose VVDI نرم افزار برنامه نویس اصلی و سخت افزارابزار Xhorse VVDI
Xhose VVDI نرم افزار برنامه نویس اصلی و سخت افزارXhorse Garage Remote Frequency Different from Original Solution
There are many different brands of garage remotes with different frequencies on the market. If you find that the copied function is unavailable or the remote control distance is too short, it’s probably due to the Xhorse Garage Remote frequency is different from the original remote. To solve these problems, you need to set the same frequency as the original remote.
There are 2 ways to set same frequency as original remote: set frequency on garage remote(without device) & set frequency by VVDI key tool device.
Method1. Set Frequency on Garage Remote
- Enter the set-frequency mode.
Press and hold the Lock and Pause buttons simultaneously, you can see the LED light turns on. When the light turns off, release the buttons.
- Set frequency.
Press the Up button. Different press times correspond to different frequency points. For example, if we press it twice, the LED will flash twice, which means it is set as the second frequency point.
- Double check frequency
After setting frequency successfully, release all buttons. Wait 5 seconds, the remote LED light will flash again for you to confirm which frequency point it’s at right now. The number of flashes corresponds to the frequency set.
You can refer to the frequency reference table:
- Exit set-frequency mode
After the remote LED light stops flashing, press the Lock and Pause buttons immediately. When the LED light turns on and then off, release the buttons.
Method2. Set Frequency by VVDI Key Tool
If the frequency you need is not in the frequency reference table, you can use VVDI Key Tool series device to set frequency at random point. Such as Key Tool, Mini Key Tool, Key Tool Max, Key Tool Max PRO or Key Tool Plus.
Here we take Mini Key Tool as an example to set the frequency of Masker, and the operation steps are as follows:
- Connect to the device.
Remove the Xhorse logo and loosen the screw. Open key shell to take out the PCB board inside. After pairing Mini Key Tool to the phone via Bluetooth, we connect the device to Masker with a programming cable.
- Generate copy program.
Garage remote >> AA_Xhorse_copy program >> Update copy remote V108 support edit frequency >> Generate
It is worth mentioning that Masker adds an interface to support wired generating, which is more stable than wireless generation. So we don’t need to read the tips for wireless generating. Just tap “OK” to start the generating.
- Customize frequency
Special function >> VVDI remote function >> Garage door key customization >> Read >> Modify
First we read the information of the Masker. Then we can see the current frequency value in the table. We just need to tap the frequency value, enter any value you want. Tap “Settings” to modify the frequency.
Now we successfully get a remote that sets our required frequency.
Read VW RCD510 Radio NEC and EEPROM by Xhorse VVDI Prog
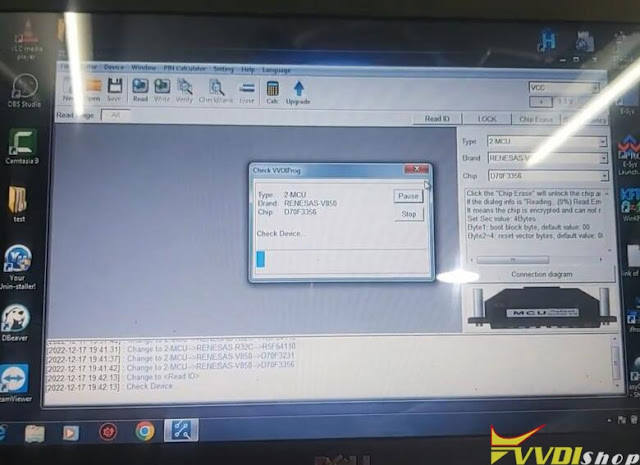
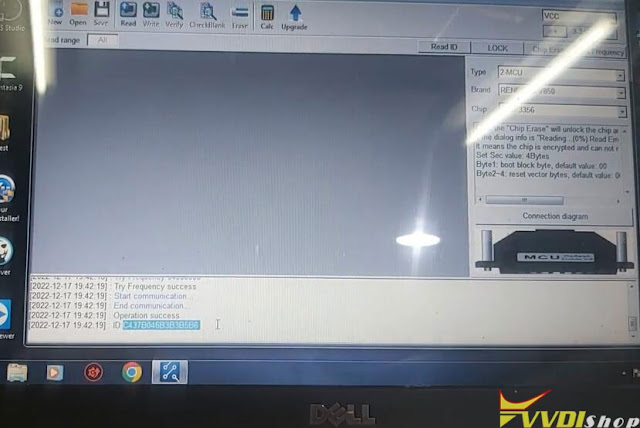
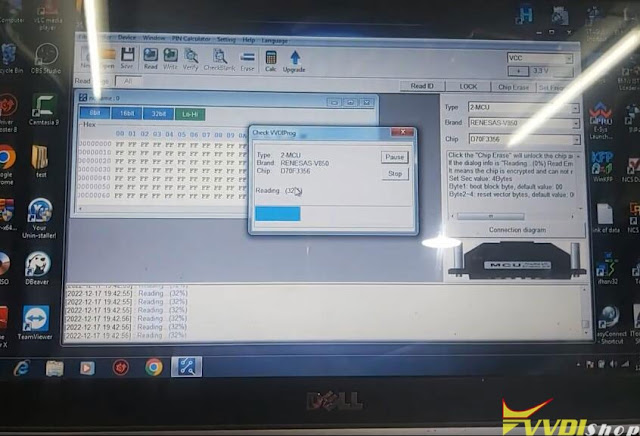
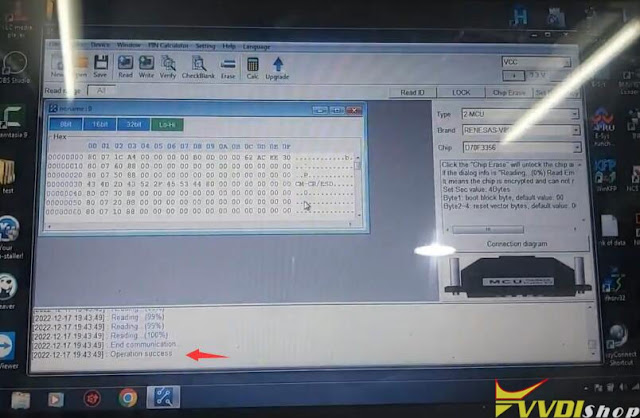
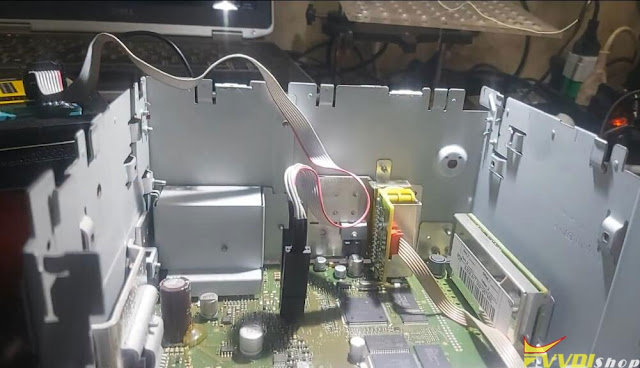
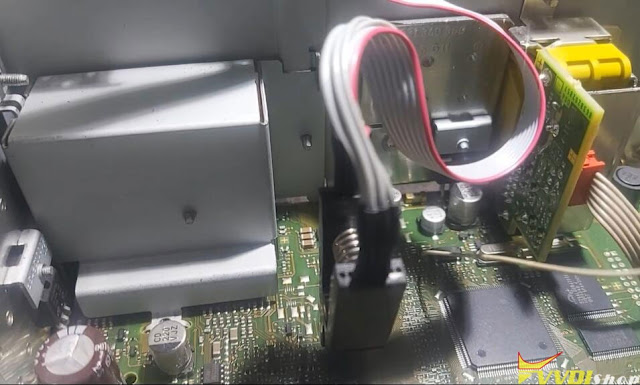
How to read Nec V850 D70F3356 Processor & 95128 Eeprom with xhorse vvdi prog to get VOLKSWAGEN 5k0035190a Bosch RCD510 Entry Radio Code.
Step 1:
Read Nec V850 D70F3356
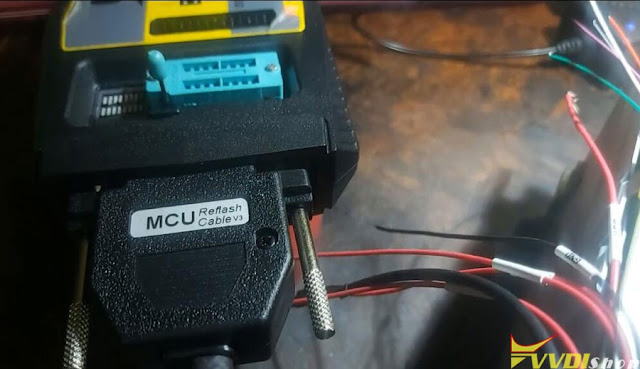
Connect Nec V850 D70F3356 processor with vvdi prog via mcu3 adapter
In vvdi prog software, select MCU-Renesas V850- D70F3356 and save data
Step 2:
Read eeprom
Connect 95128 mcu with vvdi prog via clip adapter.
With clip adapter you don’t need to unsolder the chip from the board.
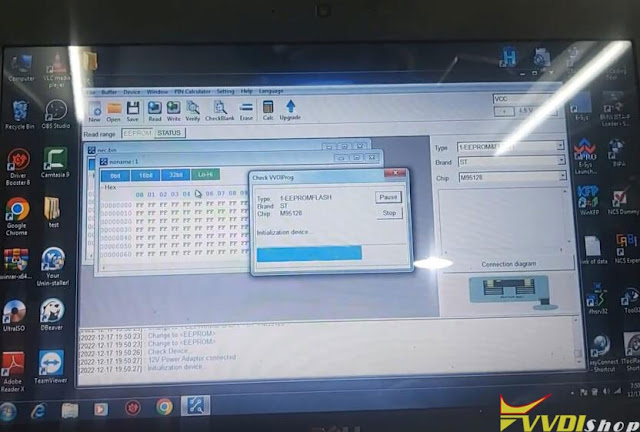
Select EEPROM-ST-M95128
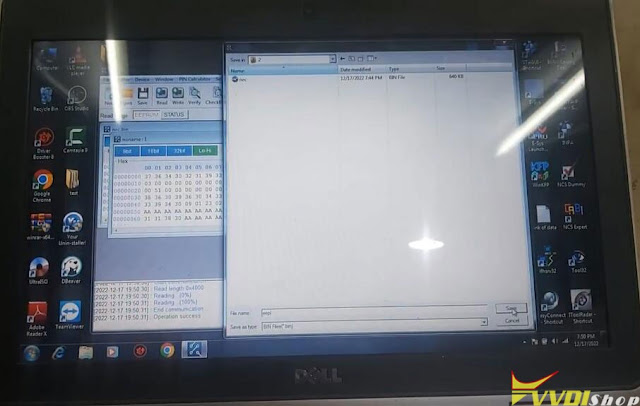
Read and save eeprom data
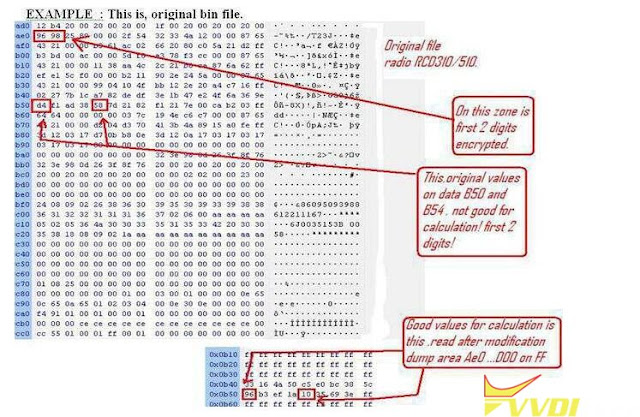
Code location in eeprom – line 000AE0 ( 8А 37 8D A4 ). Code = A7D4 x or XXXX. To calculate XXXX – need a dump NEC.
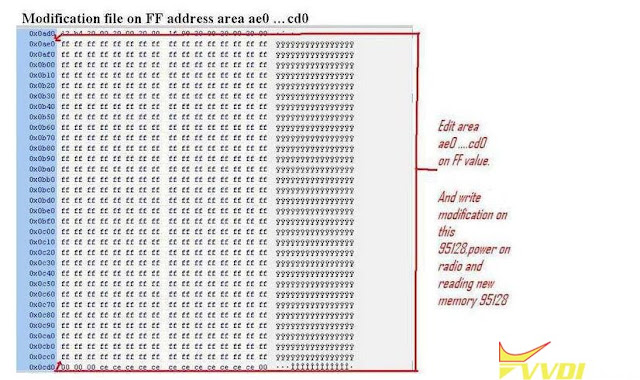
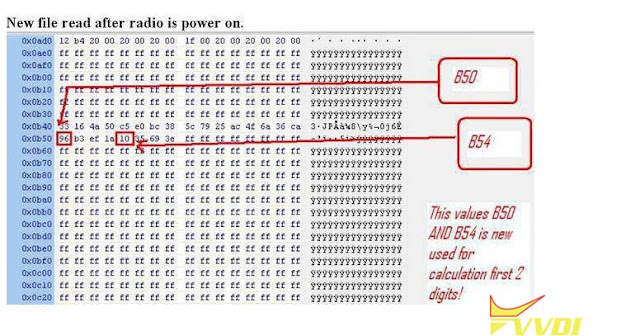
Open dump, try the 0xAE0 to 0xD00 fill to 0xFF method, and get the data after “Power on”.
There are also 3rd party radio code calculators available.
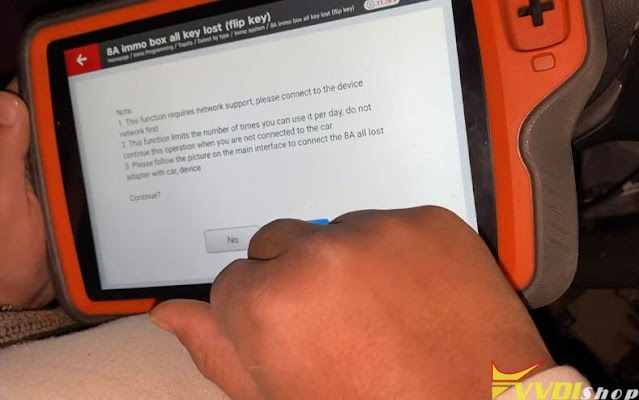
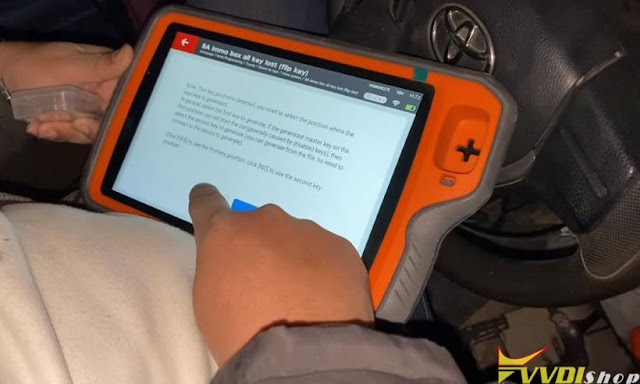
Program Toyota Corolla 2015 AKL with VVDI Key Tool Plus
Toyota Corolla 2015 8A flip key all keys lost is done by xhorse vvdi key tool plus.
Procedure:
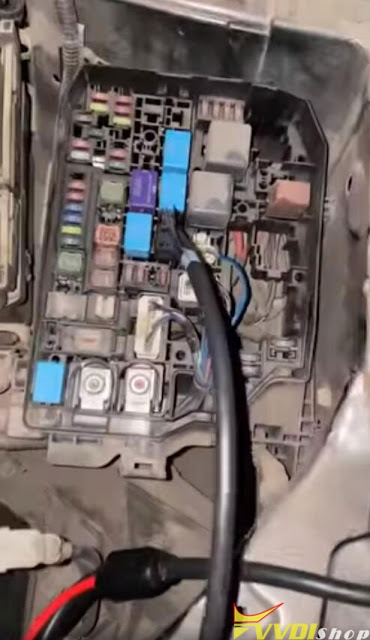
Follow wiring diagram to connect 8A AKL adapter with immo box and key tool plus
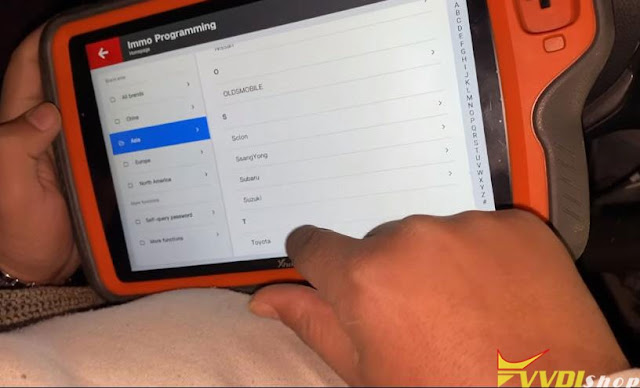
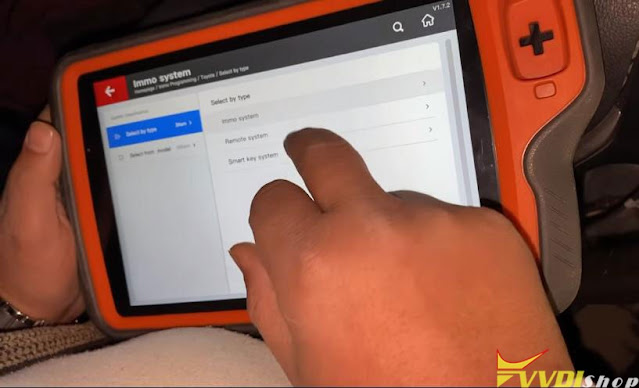
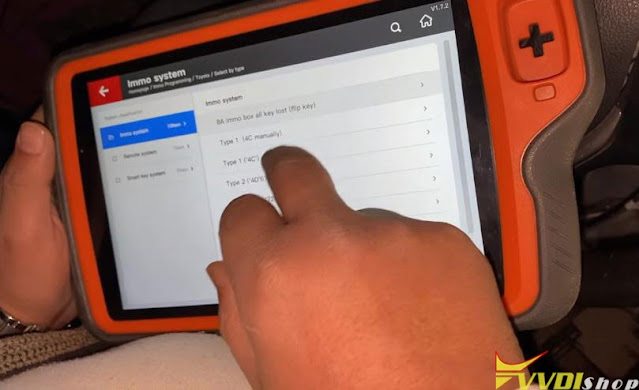
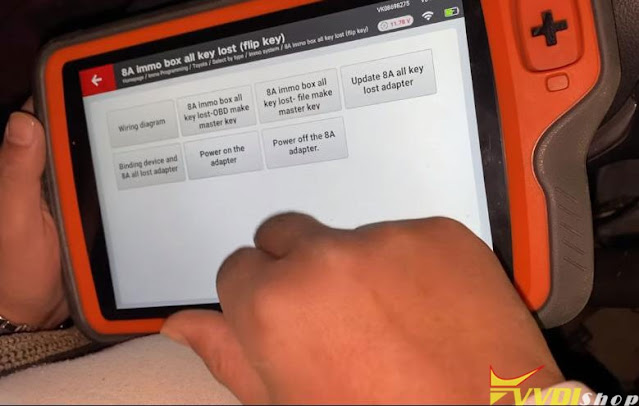
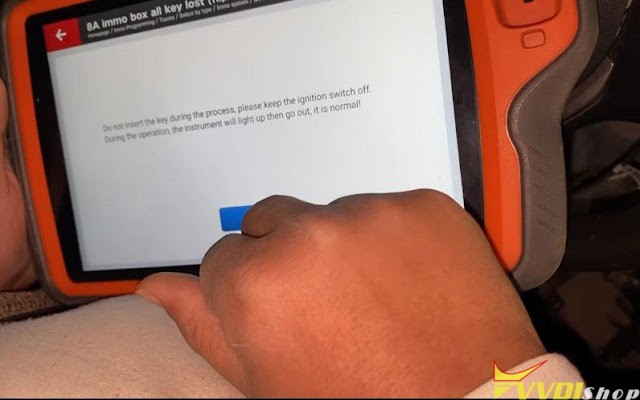
In vvdi key tool plus, select mmo Programming->Asia->Toyota-> Select by type->IMMO system->8A immo box all keys lost (flip key)-Start programming
Select 8A immo box all keys lost- OBD make master key
Sync data with server. Don’t insert key during the process. Keep the ignition switch off.
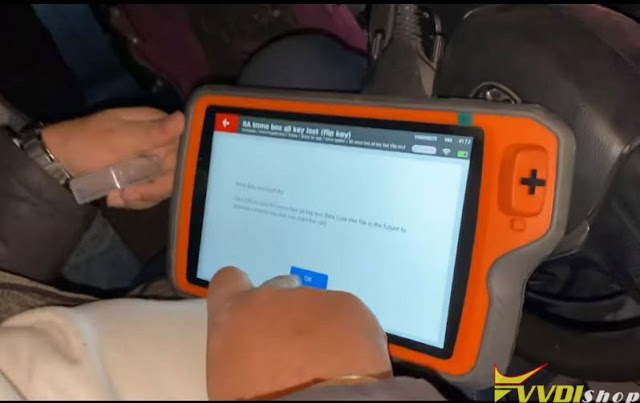
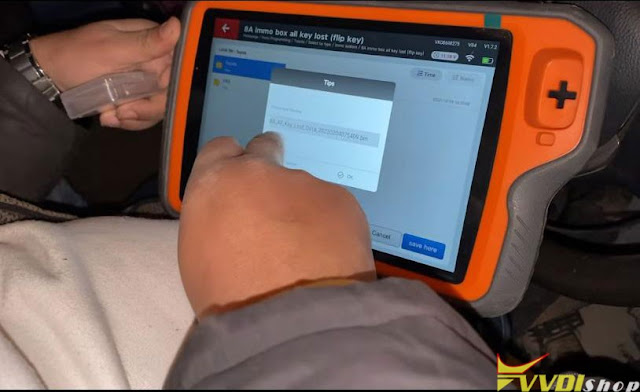
Calculate immo box successfully and save data.
Put a VVDI super chip into key tool plus, prepare to make master key which can start car directly
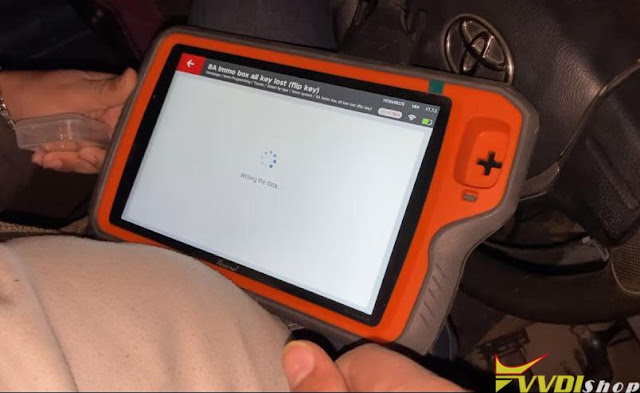
Write key in progress
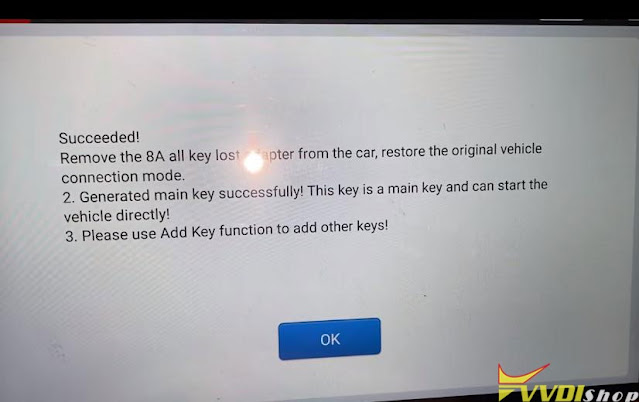
Program 8A flip key successfully.
Disconnect 8A AKL adapter, install super chip into key shell. Test the new key.
www.vvdishop.com
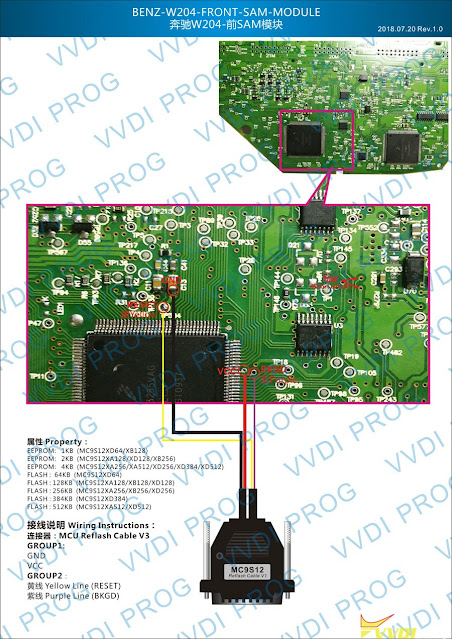
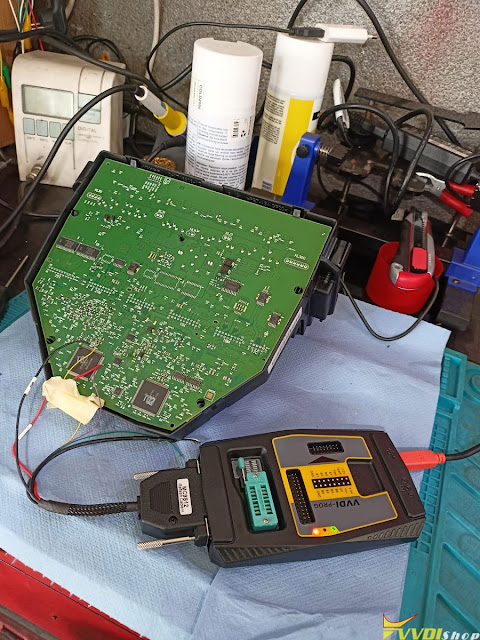
How to Clone Benz C220 W204 SAM Module with VVDI Prog
How to clone Mercedes C220 W204 front SAM module using xhorse vvdi prog?
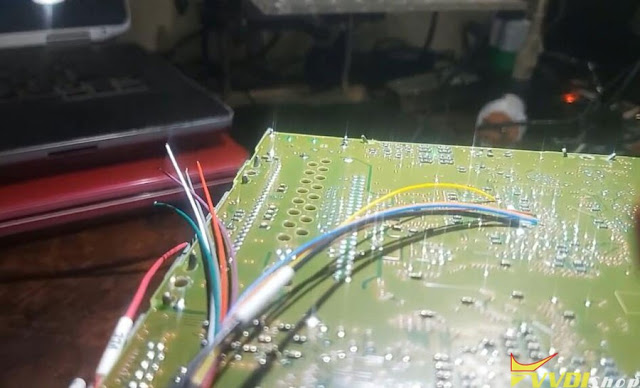
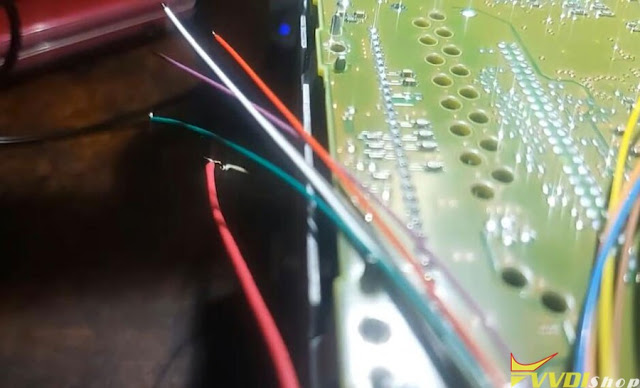
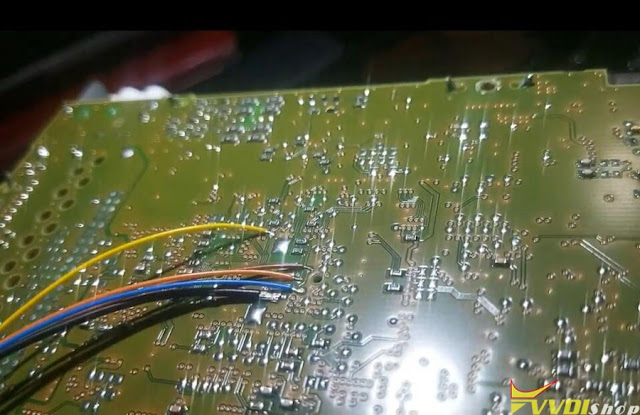
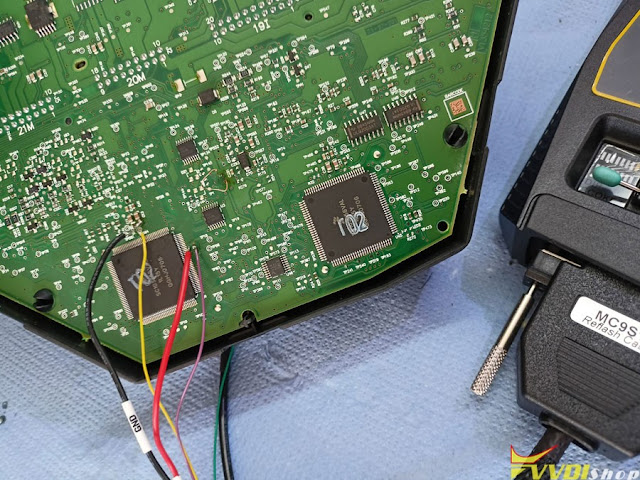
Mercedes W204 front SAM module pinout to vvdi rpog
Follow wiring diagram to connect SAM module with vvdiprog
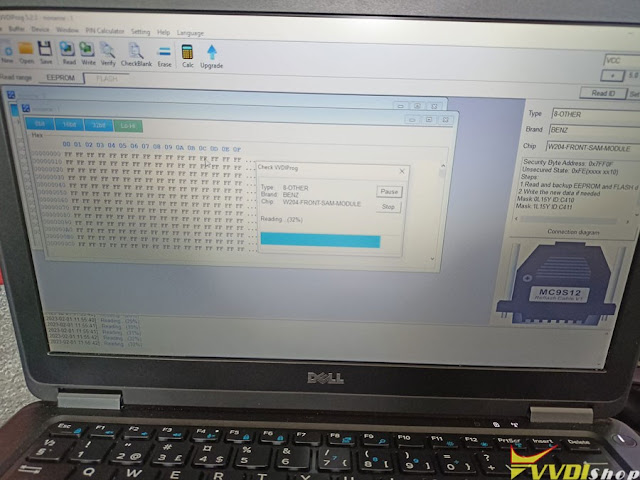
Read SAM module data
Select 8-Other->Benz->W204 Front SAM Module
Save data.
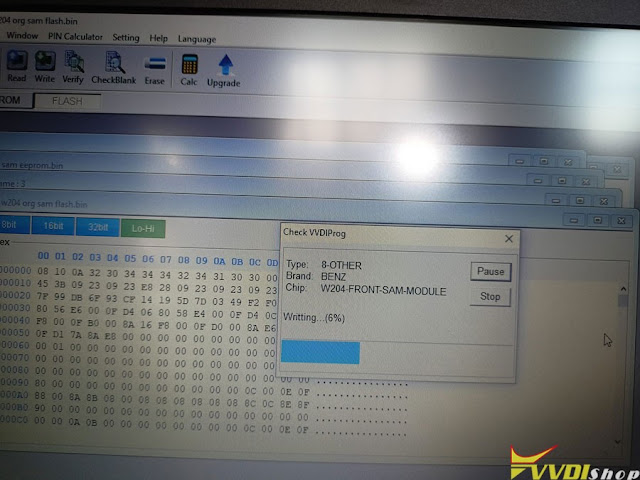
Connect a new front SAM module with vvdi prog programmer
Write data to new SAM module
www.vvdishop.com
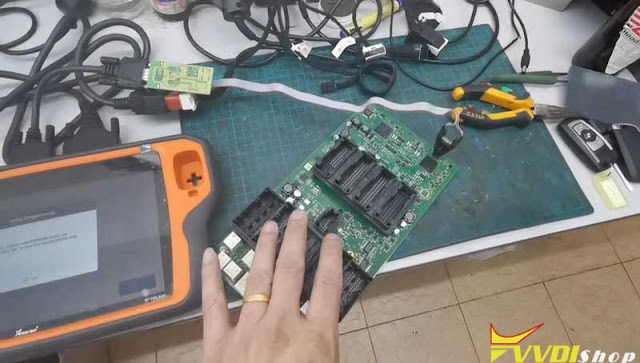
How to Connect VVDI Key Tool Plus with BMW FEM BDC Clip Adapter
Q: Where to find a BMW FEM/BDC adapter that fits in socket from vvdi key tool plus XDNP10 eeprom adapter? Adapter Name? For eeprom FEM clip.
A:
You can use the traditional FEM/Clip adapter like image below but it is out of stock and it is easy to slip off.
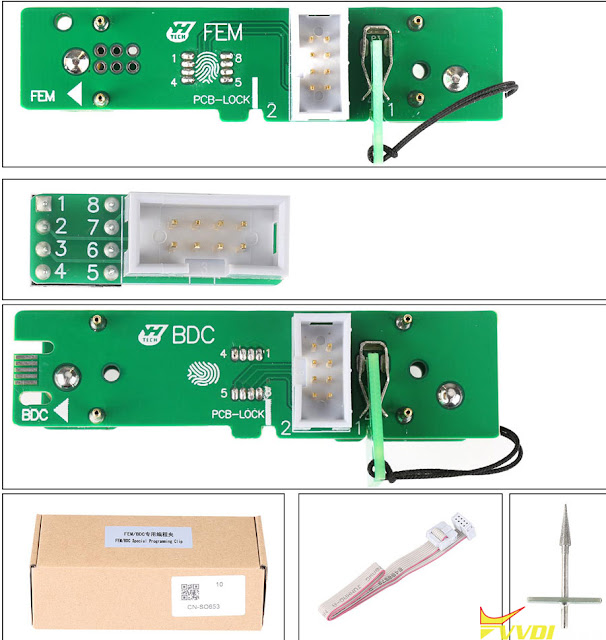
ACDP has a perfect replacement Adapter, it is a new and affordable clip adapter.
New Yanhua FEM/BDC Clip Adapter
Clamping Fast, Not Easy to Slip.
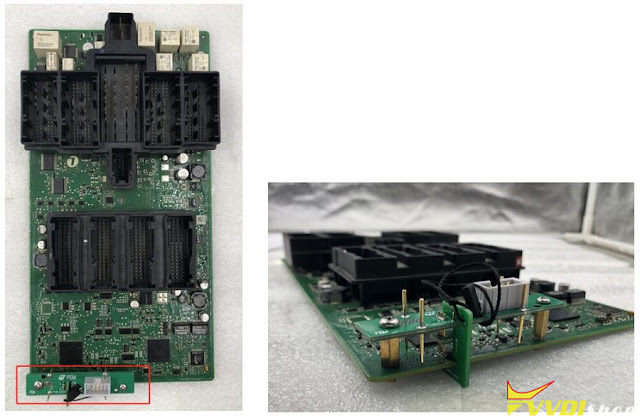
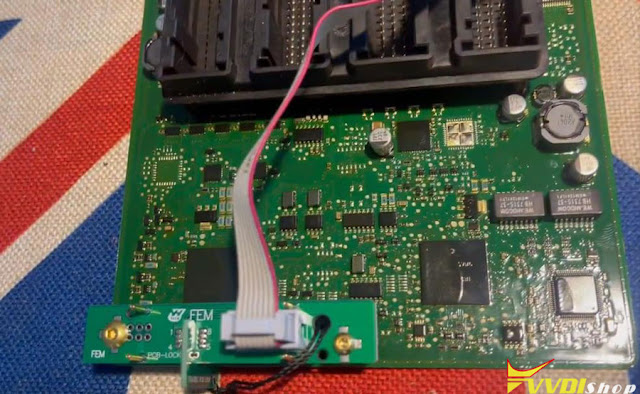
How to Connect VVDI Key Tool Plus with Yanhua FEM/BDC Clip Adapter?
It is easy to be installed. Check images below:
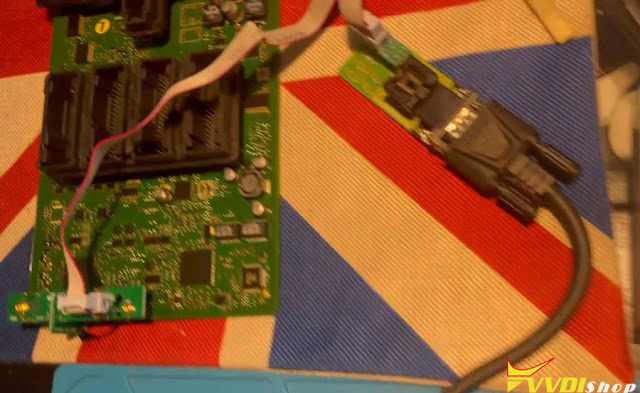
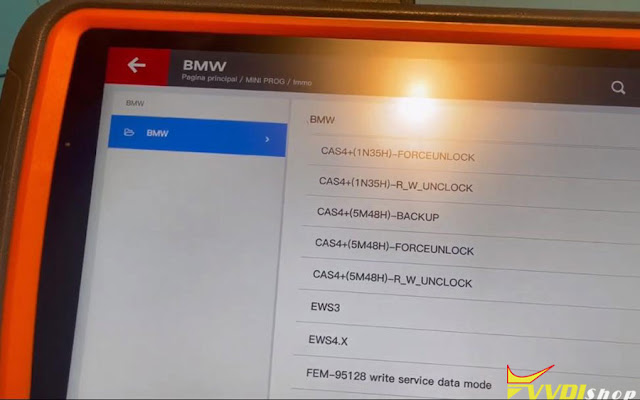
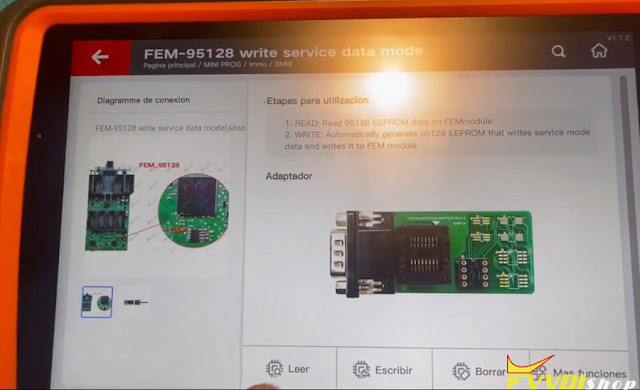
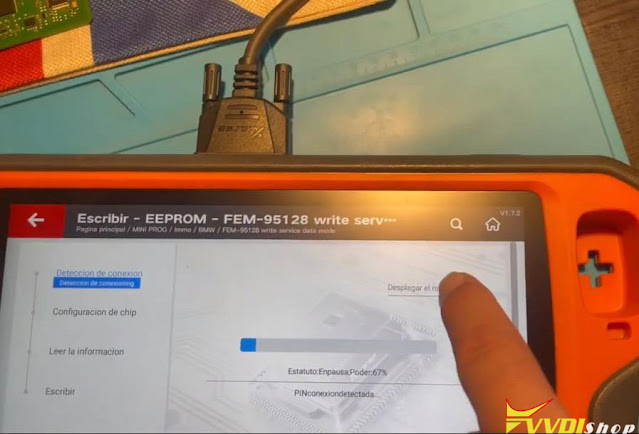
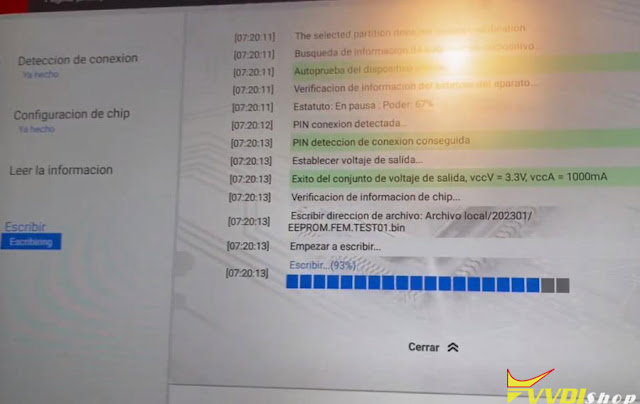
Then Go to Immo function->BMW-> FEM 95128 or 95256
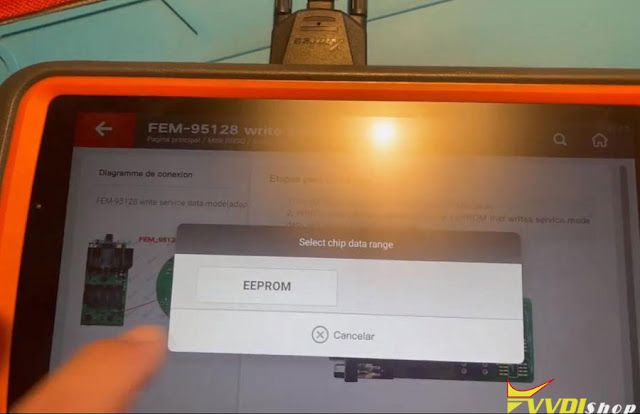
Read eeprom and save.
http://blog.vvdishop.com/connect-vvdi-key-tool-plus-with-yanhua-fem-bdc-clip-adapter/
.jpg)
.jpg)
.jpg)
.jpg)
.jpg)
.jpg)
.jpg)
.jpg)
.jpg)
.jpg)
