ابزار Xhorse VVDI
Xhose VVDI نرم افزار برنامه نویس اصلی و سخت افزارابزار Xhorse VVDI
Xhose VVDI نرم افزار برنامه نویس اصلی و سخت افزارXhorse VVDI Mini Prog Read BMW CAS4 Without Soldering
How to use Xhorse VVDI Mini Prog Programmer to read BMW CAS4+ 5M48H eeprom D-flash? Today I’m gonna show how easy to read the solder free adapter that Xhorse released.
Preparation
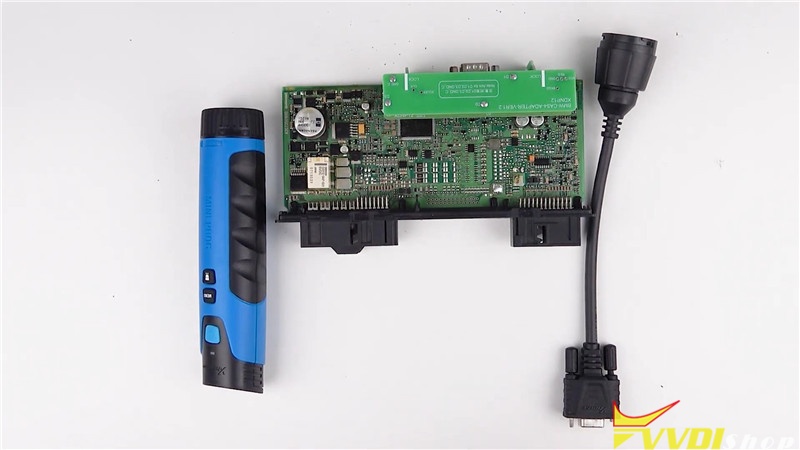
A Mini Prog Programmer, Mini Prog solder free adapter and a BMW CAS4+ adapter.
Procedure
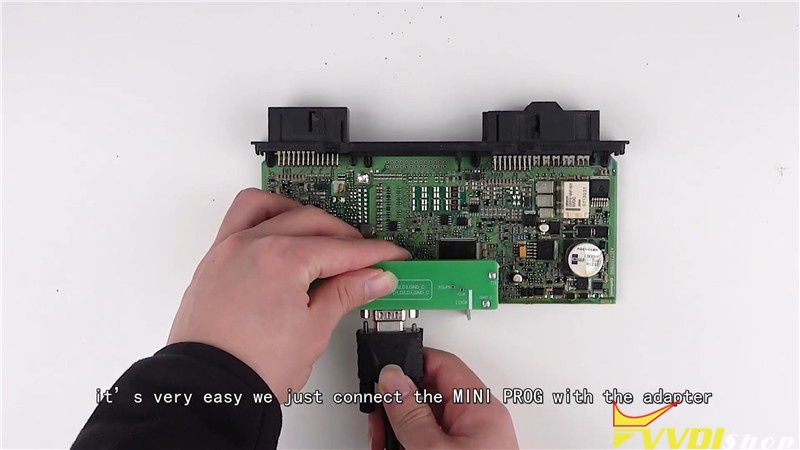
Step 1. Connection
Insert the cable into Mini VVDI Prog Programmer, rotate the head for fixation. Insert the other side of cable to BMW CAS4+ adapter, and fix it.

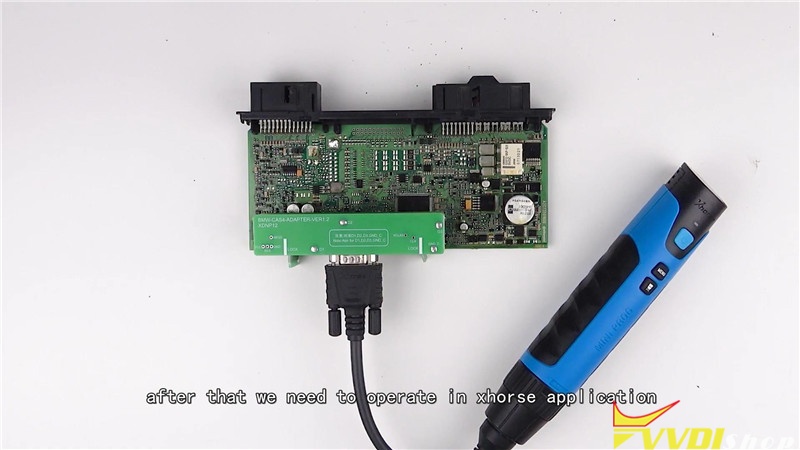
Step 2. Go to Xhorse App
Start up Xhorse app on smart phone, connect it with Mini Prog via Bluetooth.
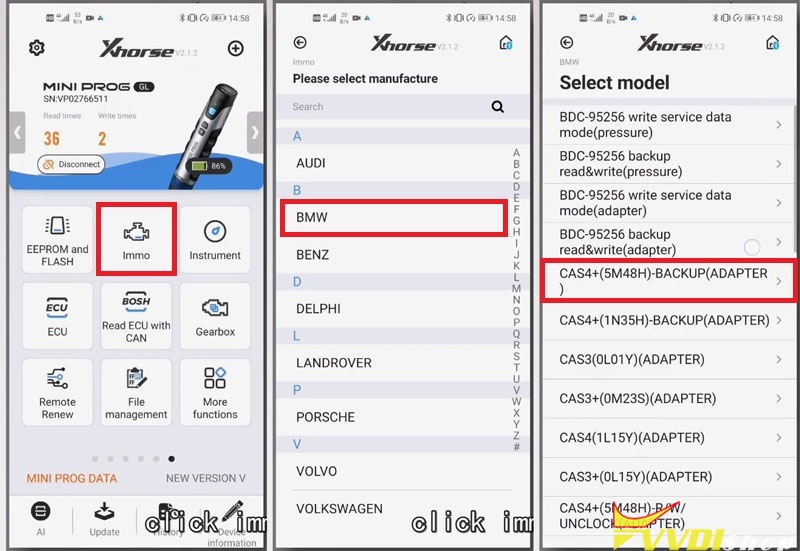
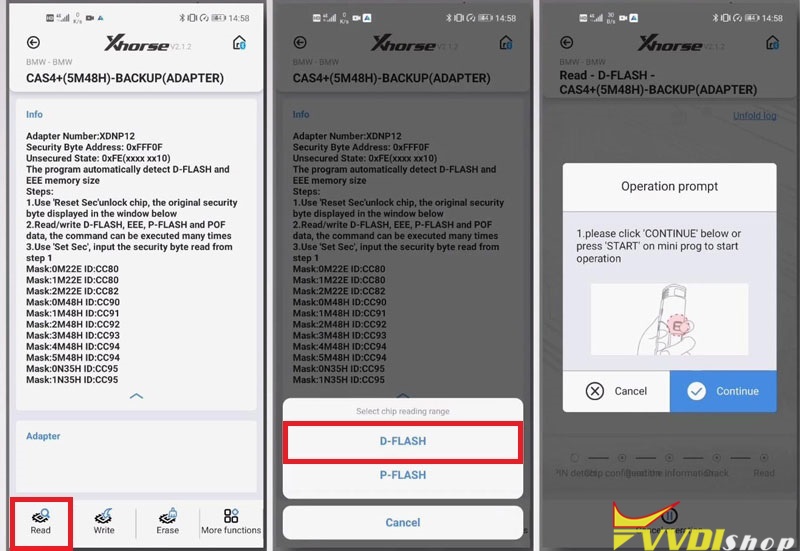
Step 3. Read D-Flash
Press IMMO >> BMW >> BMW >> CAS4+(5M48H)-Backup (Adapter) >> Read >> D-Flash
Press “Continue” or START button on Mini Prog to start reading.
It may take some time for reading…
Step 4. Load D-Flash data file.
Rename the file, press “OK” to save.
Reading complete, it will display the saved path of file. We can load the data to Xhorse VVDI2, which will help to program the key.
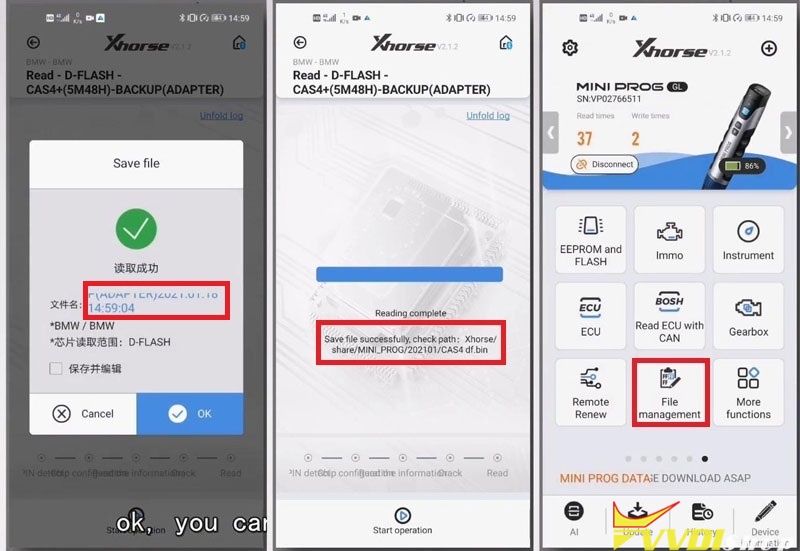
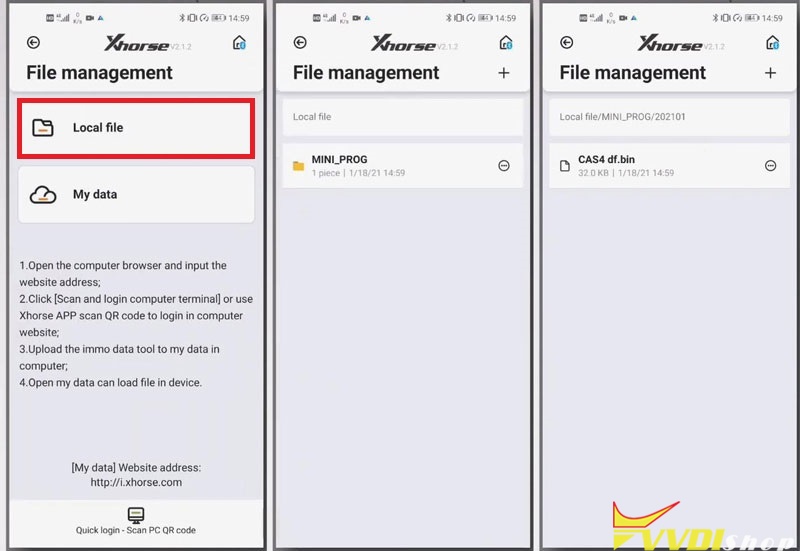
Step 5. Find data file for programming.
Exit back to main page, find out the file data as saved path.
File Management >> Local File >> Mini_Prog >> 202101 >> CAS4 df.bin
Check full video for reading Land Rover RFA adapter:
VVDI Mini Prog solder-free adapters bring users easy and fast for daily work.
How to Calibrate Condor XC-Mini Plus Key Cutting Machine?
How to calibrate Xhorse Condor XC-Mini Plus automatic key cutting machine? This post is going to show the procedure in details.
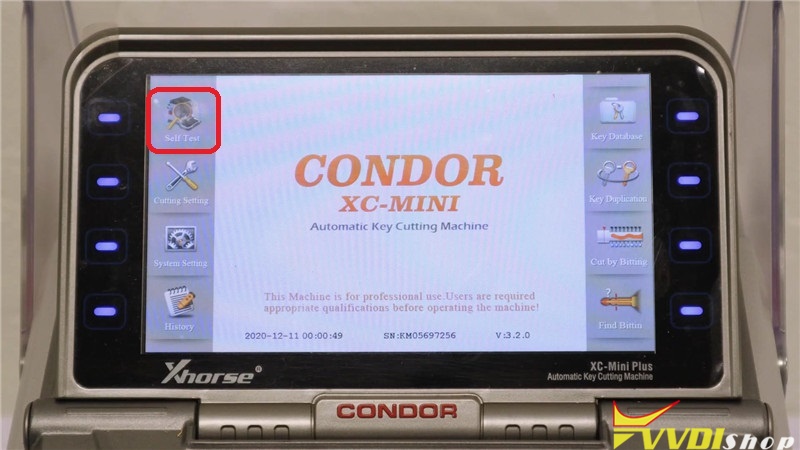
Power on Condor XC-Mini Plus, press “Self Test” on main menu.
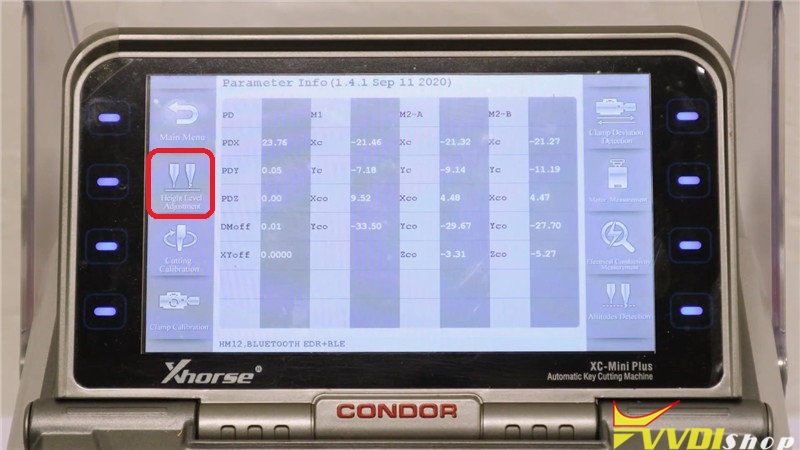
Step 1. Height Level Adjustment
To start this process, make sure the cutter is lower than the probe. Press “Height Level Adjustment”.
Reminder:
- Install and tighten Clamp M1. there is no need to put any key on the clamp.
- Cutter lever needs to be adjusted every time after changing the probe and the cutter.
- Then length of the A position should be less than 2cm.
- After the fixed installation of the probe and the cutter, then end tip of the probe needs to be lower than the cutter’s(see ex.I).
- Must use the original probe.
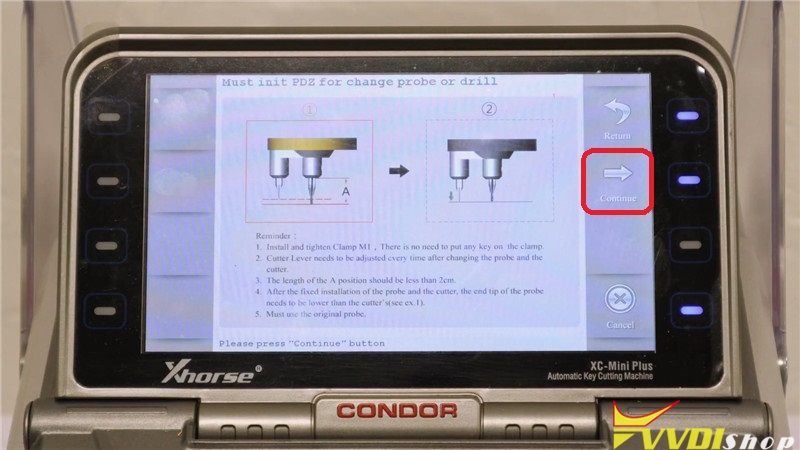
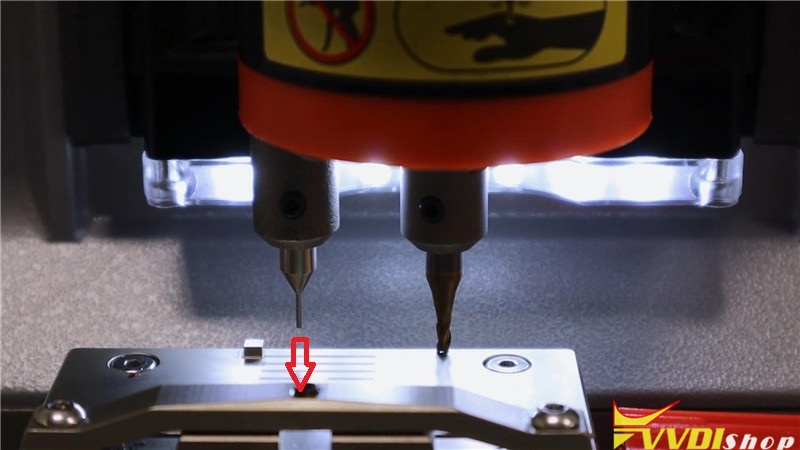
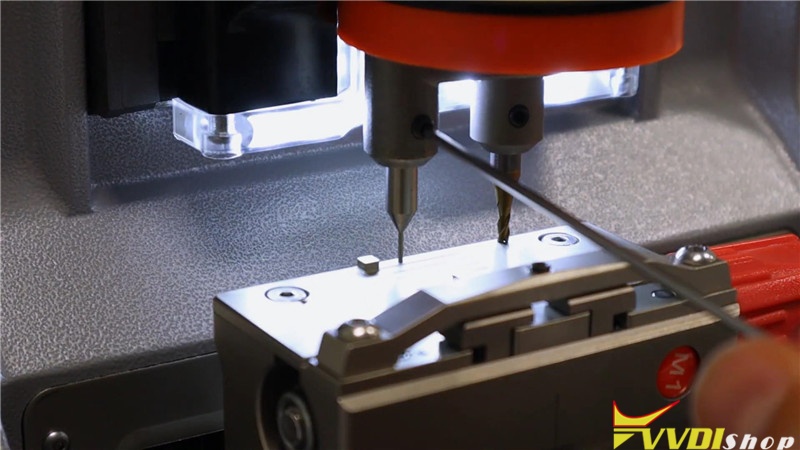
Press “Continue”, the cutter on XC-Mini Plus starts touching the clamp, you should lower the probe to be same height level. Press “Continue” again.
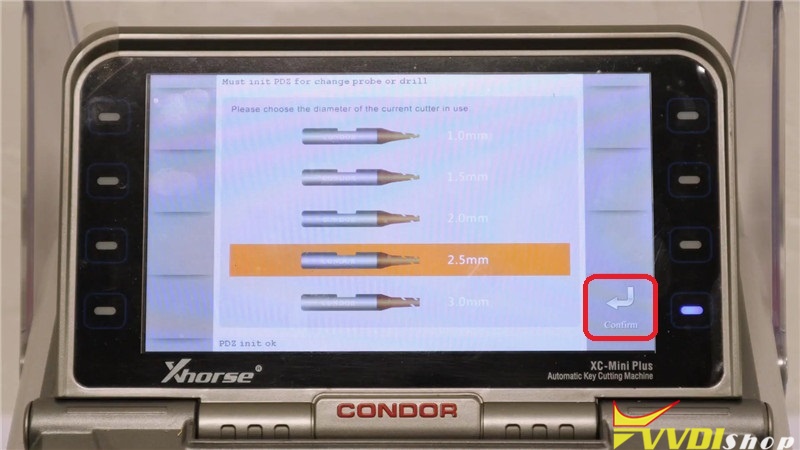
It will ask what type of cutter you’re using on Condor Mini Plus screen, today we are taking 2.5mm as example, so select “2.5mm”, then press “Confirm”.
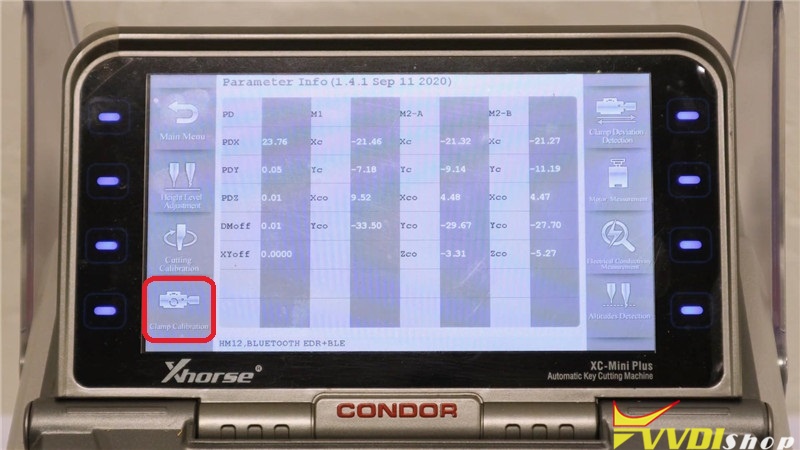
Step 2. Clamp Calibration
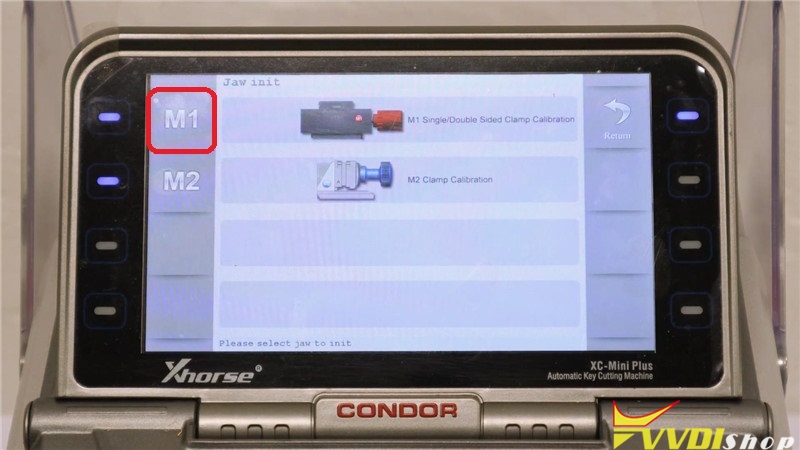
Press “Clamp Calibration”, select the clamp type you’re using: M1/M2. Today we are using an M1 clamp, so select M1.
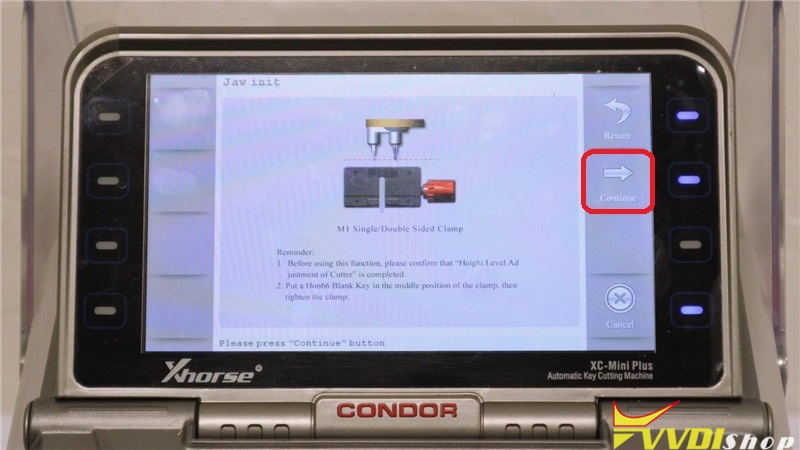
Reminder:
- before using this function, please confirm that “Height Level Adjustment of Cutter” is completed.
- Put a Hon66 blank key in the middle position of the clamp, then tighten the clamp.
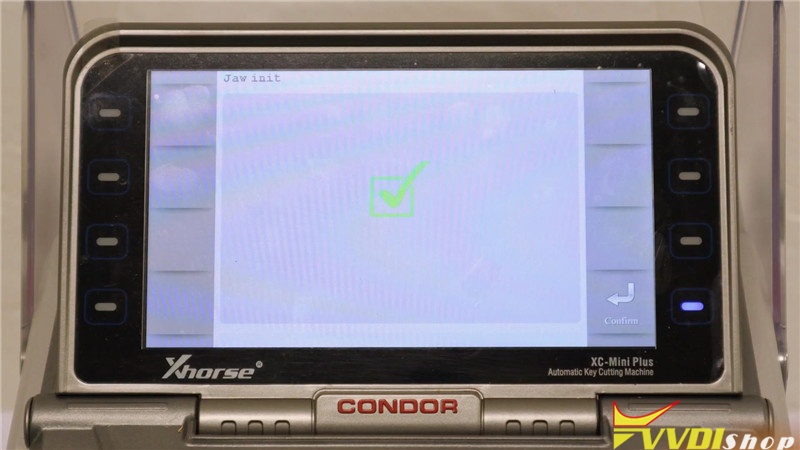
Press “Continue”, XC-Mini Plus starts calibrating…
Calibrate OK, press “Confirm” to return.
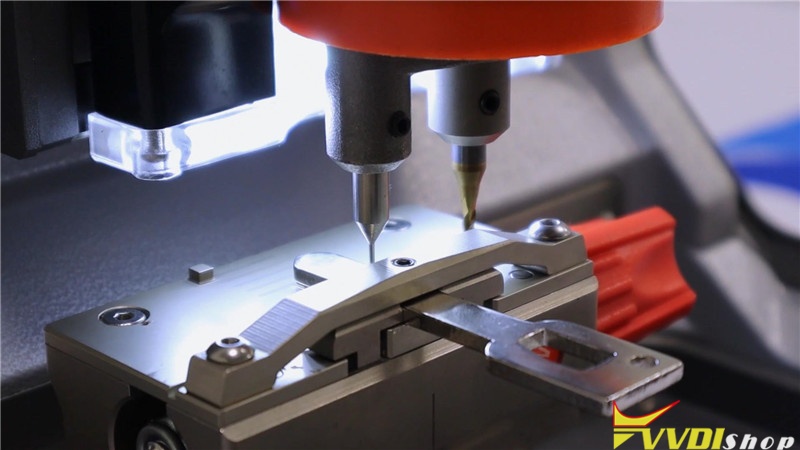
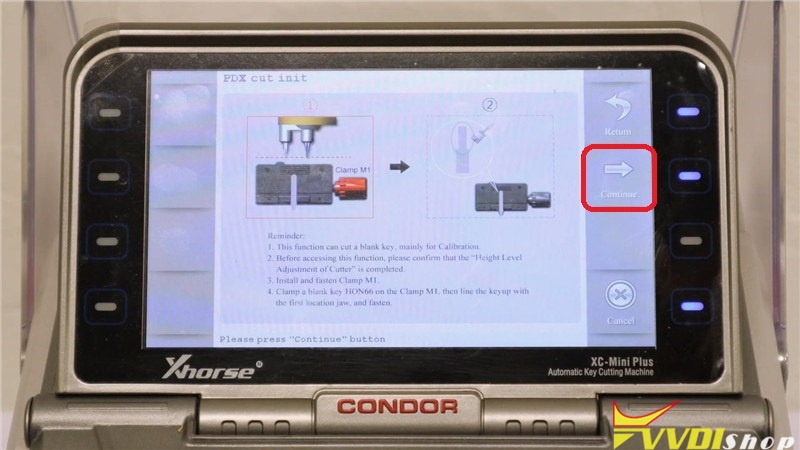
Step 3. Cutting Calibration
Return back to upper level, press “Cutting Calibration”.
Reminder:
- This function can cut a blank key, mainly for calibration.
- Before accessing this function, please confirm that the “Height Level Adjustment of Cutter” is completed.
- Install and fasten clamp M1.
- Clamp a blank key Hon66 on the Clamp M1, then line the key up with the first location jaw, and fasten.
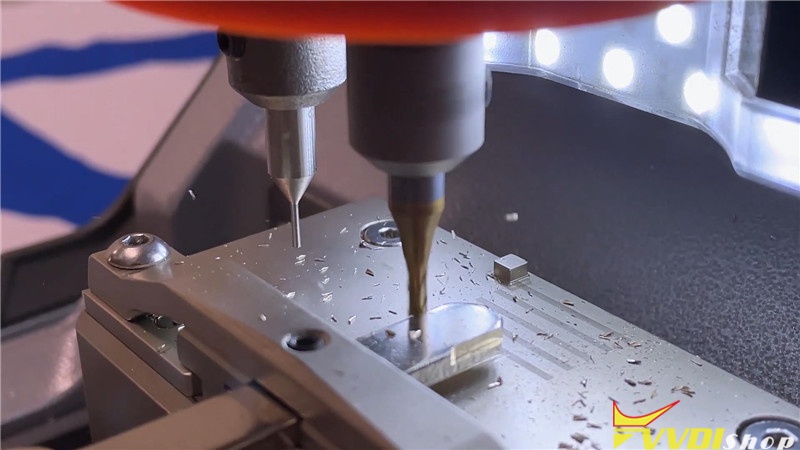
Press “Continue”, Xhorse condor starts cutting…
Completed!

You are now set to use the Condor XC-Mini Plus key cutting machine.
https://www.vvdishop.com/service/xhorse-condor-xc-mini-plus-calibration.html
VVDI Key Tool Plus Pad Program 2012 Jetta All Keys Lost
Xhorse VVDI Key Tool Plus Pad has the function of vag obd helper which can calculate data online. Xhorse Pad can calculate data for 4th immo system key adding, all keys lost, 5th immo system key adding, MQB immo system key adding. This procedure collect vehicle data , then upload to the server to calculate. Enable network connection first.
2012 VW Jetta AKL Using Key Tool Plus Pad Online Calculation Data:
Connect key tool plus pad with vehicle
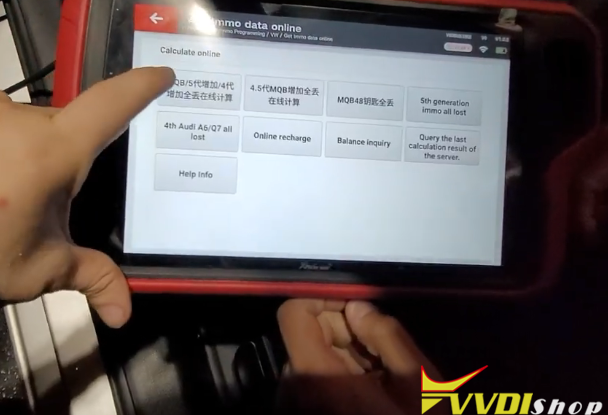
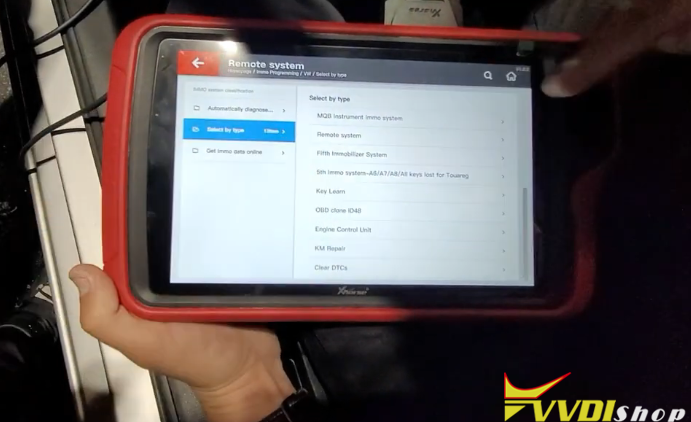
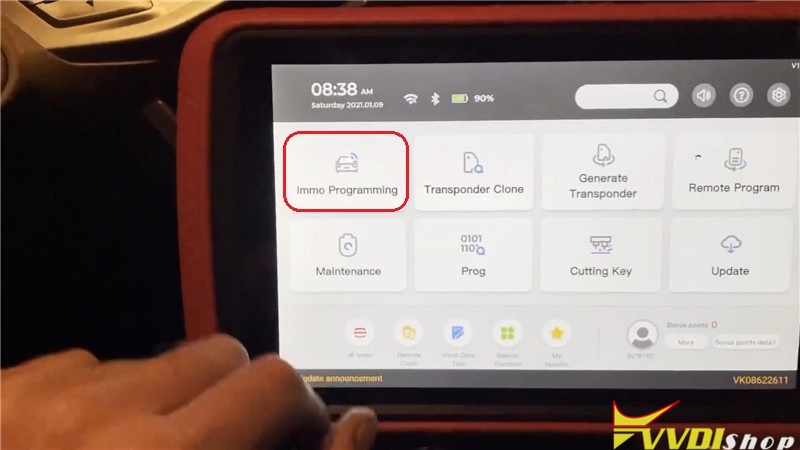
Select IMMO Programming->VW->Get IMMO Data Online->Begin->MQB/5th/4th IMMO AKL online calculation

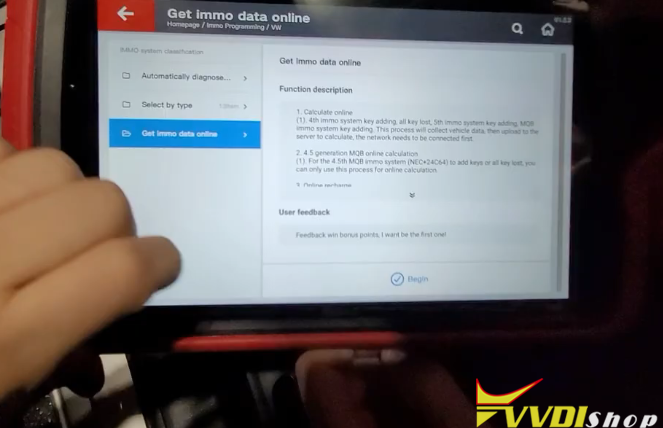
Online calculation function can get immo data through the vehicle information to perform key learning.

Reading data in progress
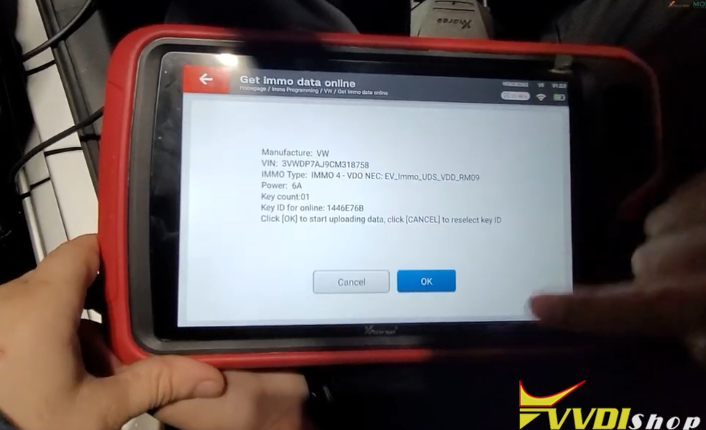
Identify vehicle data, brand, IMMO type, VIN, key number, key ID for online etc
Press OK to uploading data

Connect to server to calculate
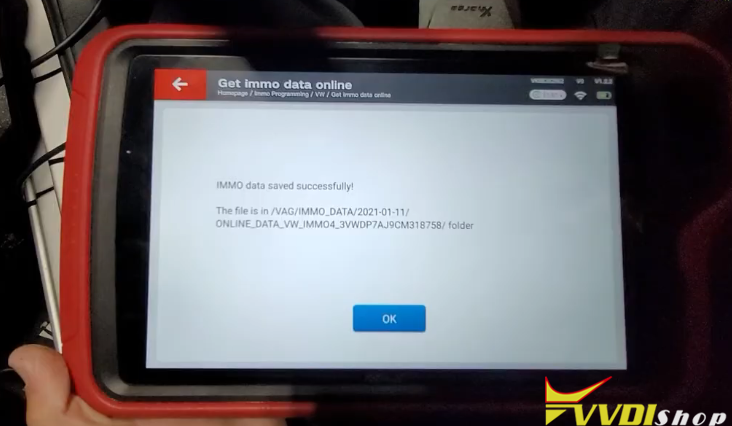
Save IMMO data
Press OK to Generate dealer key


Press YES to confirm make VW normal dealer key
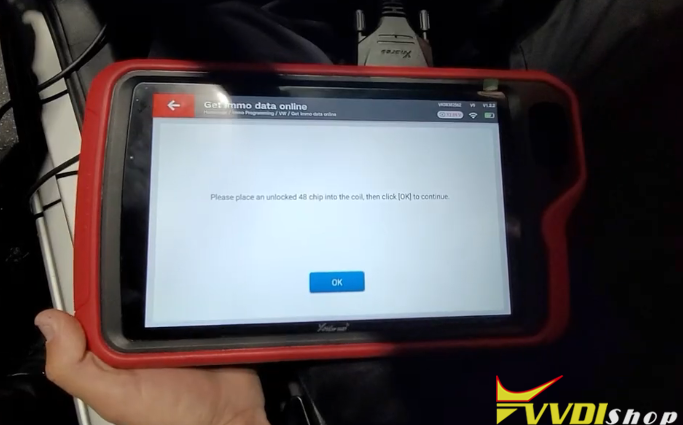
Place an unlocked 48 chip into the coil, then click OK to continue

Key make and locked
Remove key/chip from the xhorse pad
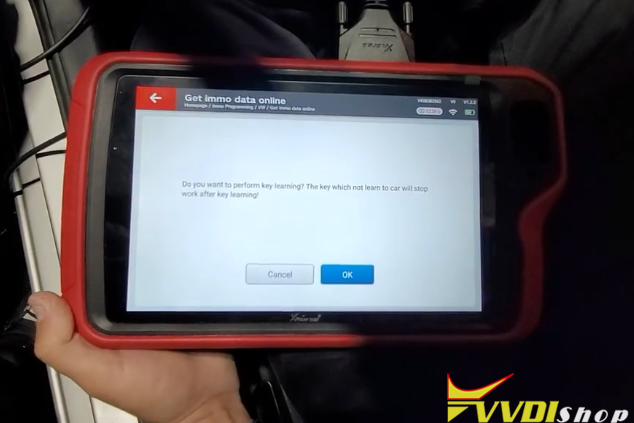

Press OK to perform key learning
Input the number of keys you desire to learn
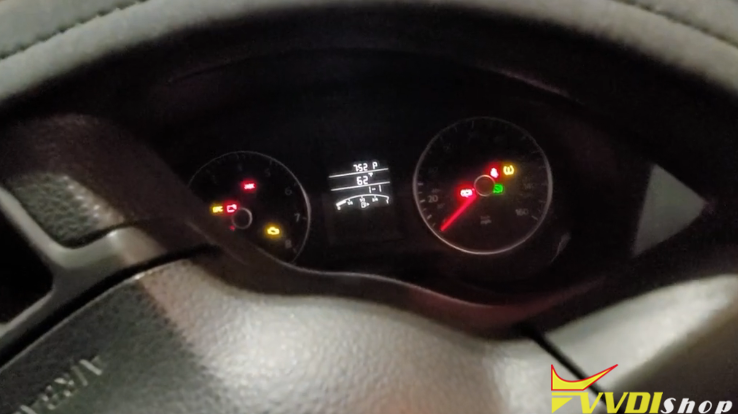
Insert the dealer key into ignition switch in turn, and keep switch on for 2s, the time for change key should less than 5 seconds
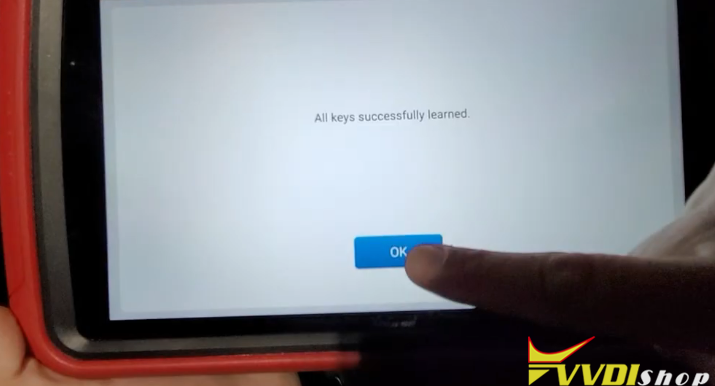
All keys successfully learned.
Got back to Get IMMO Data Online
Select by type->Remote System->09 central control system (CAN-BCM)-Begin->Program remote

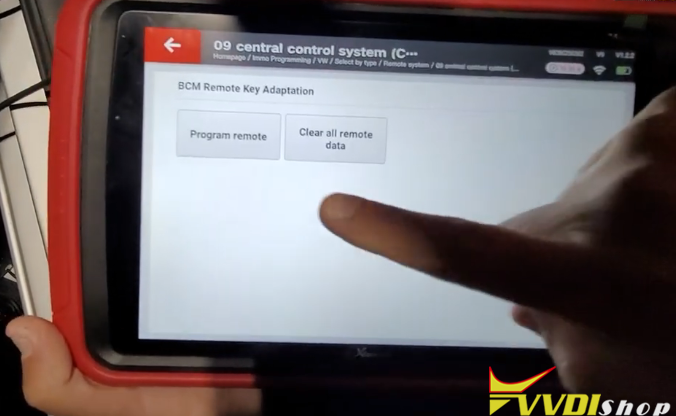
Learn remote control. You need prepare all key that you want to learn remote control.
Input number of keys need to learn
Take off key. press UNLOCK button 15 seconds for each remote
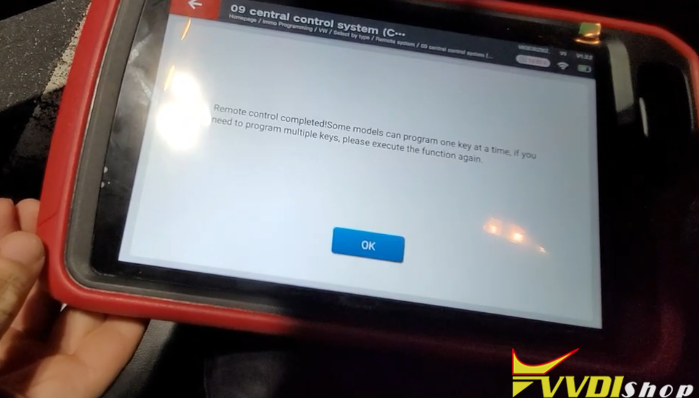
VVDI Key Tool Plus Program 2012 Jetta remote completed
Test remote control.
VVDI Key Tool Plus Pad Program Honda Accord 2014- AKL
This is a quick demonstration of how to use Xhorse VVDI Key Tool Plus Pad to program a key for Honda Accord 2013 when all key lost.
Prepare
Connect VVDI Key Tool Plus Pad to OBD2 port of Honda, and a smart key to be programmed.
Procedure
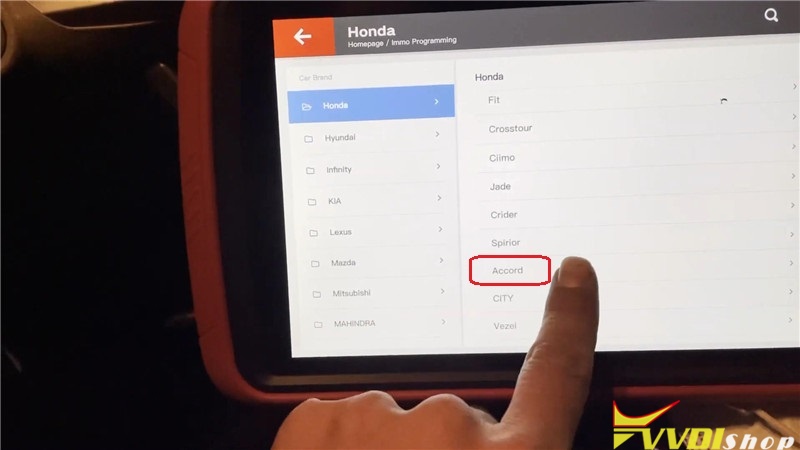
Immo programming >> Asia >> Honda >> Accord

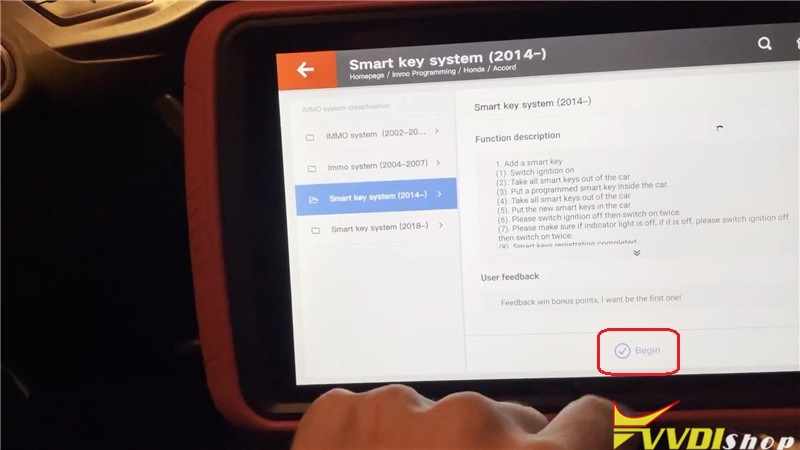
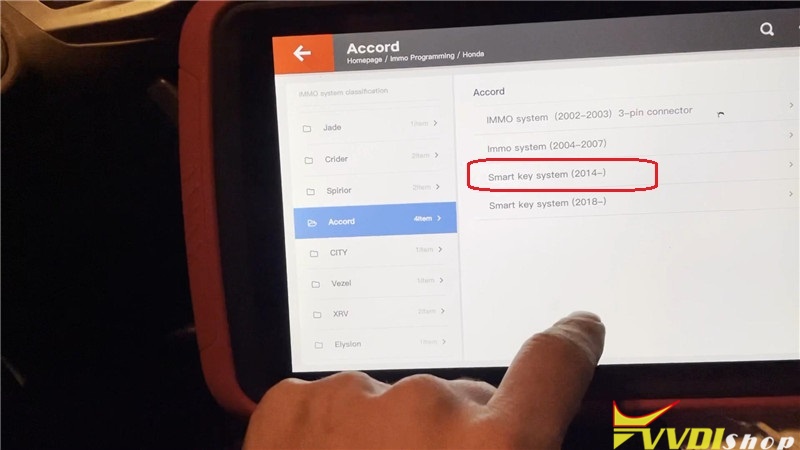
Smart key system(2014-) >> Begin >> All smart keys are lost

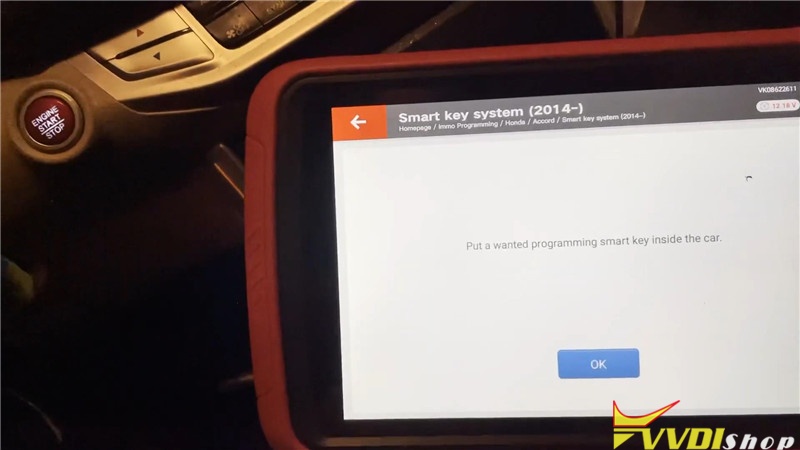
Put the smart key to be programmed inside the car, press “OK”.
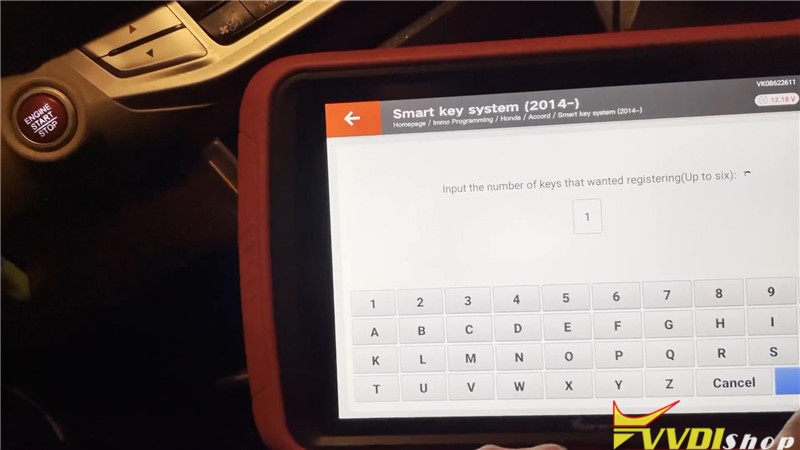
Input the number of keys to be registering(up to six), press “OK”.
Can it operate normally to turn on ignition switch? Press “No”.

Follow the prompts to operate:
Press STAR/STOP button of engine.
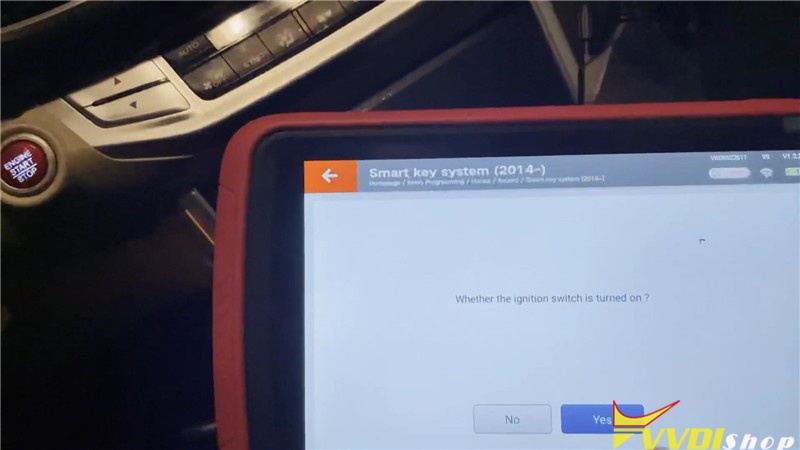
Whether the ignition switch is turned on? Press “Yes”.
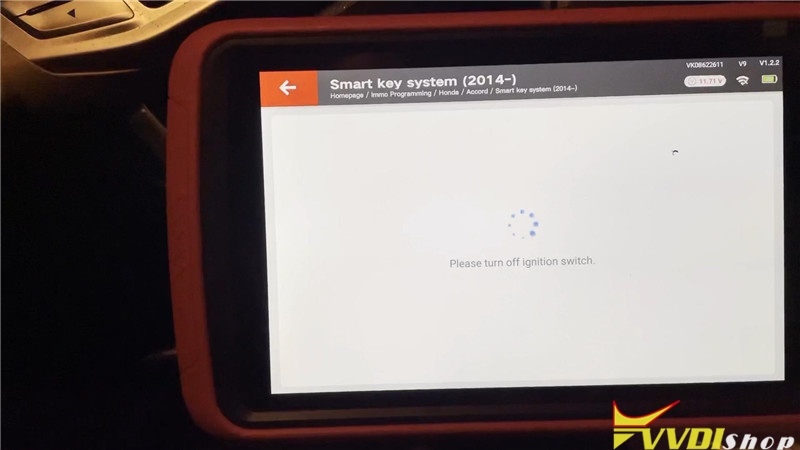
Turn off ignition switch.
Switch ignition on.
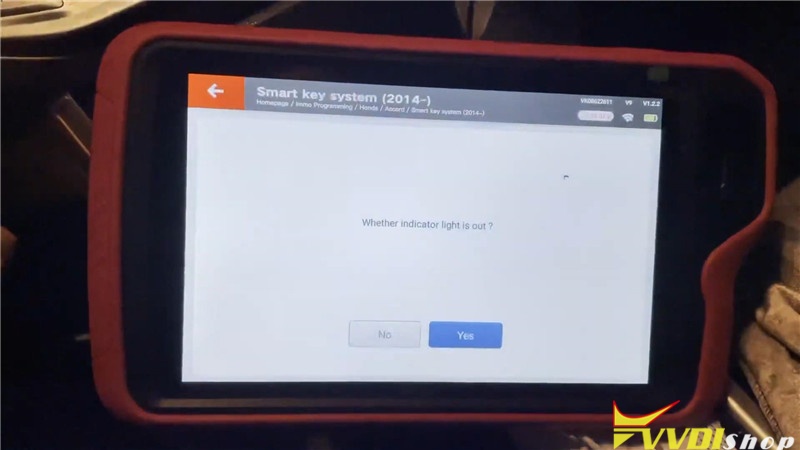
Whether indicator light is out? Press “Yes”.


Turn off ignition switch again.
Switch ignition on.
Smart keys registration completed! Press “OK”.
Program success, press “Yes” to complete.
Let’s test the smart key finally, okay, it can start the engine normally, all works well.

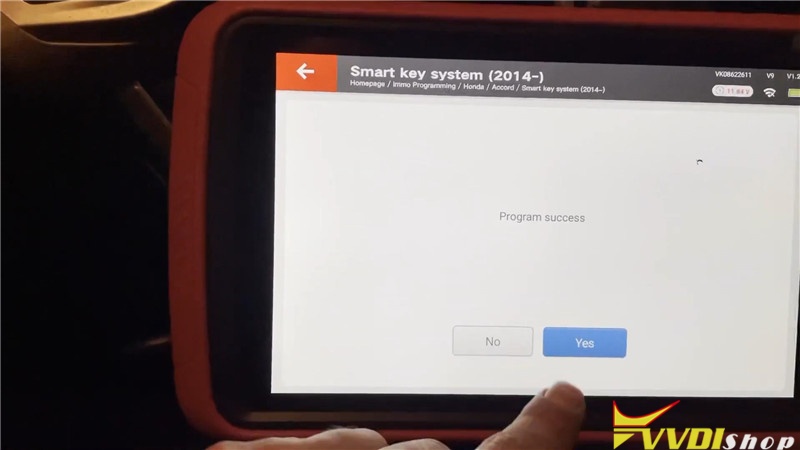

VVDI Key Tool Plus Pad key programming for Honda Accord 2013 all key lost successfully.
Xhorse VVDI Key Tool Plus Pad Register and Update
Like other Xhorse tools, VVDI Key Tool plus pad is required to register an account, bind the pad with serial number ro use for the first time. You can update software, app, firmware or database via WiFi connection after registration.
Register the Key Tool Plus Pad
Power on the pad
Select “Quick Login (Register)”, fill in your phone number, send and input the verification code, tap “Login”.

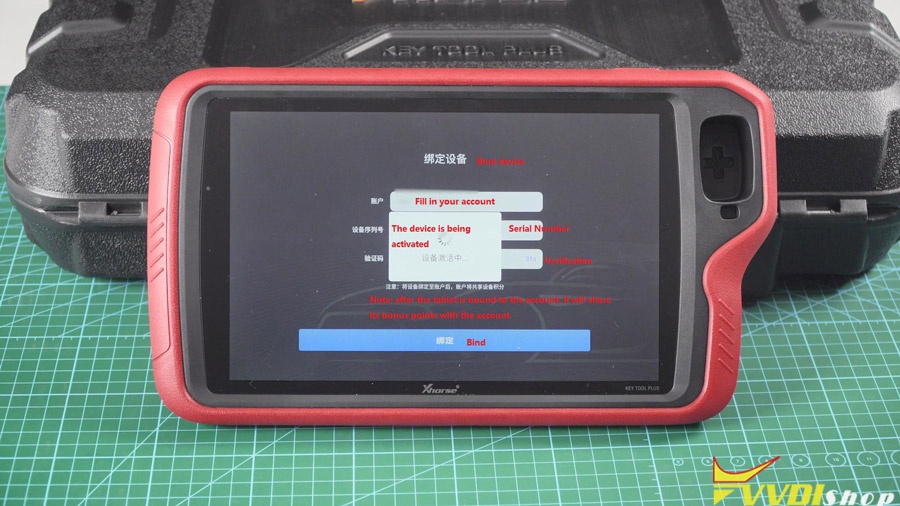
Then come to Bind device
Enter your account user name, device serial number and verification code, then tap “Bind”.
Note: after the device is bound to the account, it will share its bonus points within the account.
After binding the machine successfully, press Start to use.
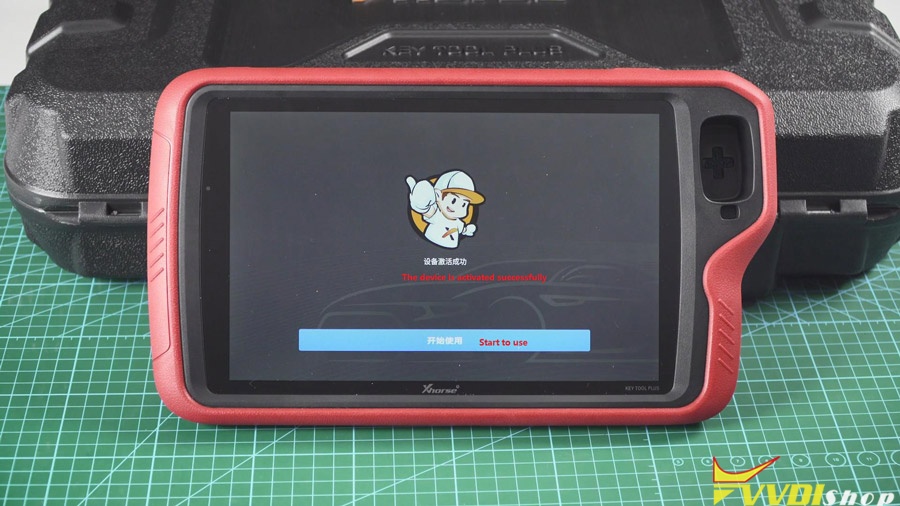
To synchronize the device.
The current device needs to be synchronized, later it will automatically take you to the Update center, after that please complete the device synchronization for normal usage.

And you will have activation list.

Go to Update VVDI Key Tool Plus Pad.
In the home menu, choose a language, for example “Chinese” (because I use the red version).
Current available language: Chinese, English, Thai, French, Polish, Hindi (more language will be developed in the feature)

Agree the Disclaimer.
Complete the initialization.
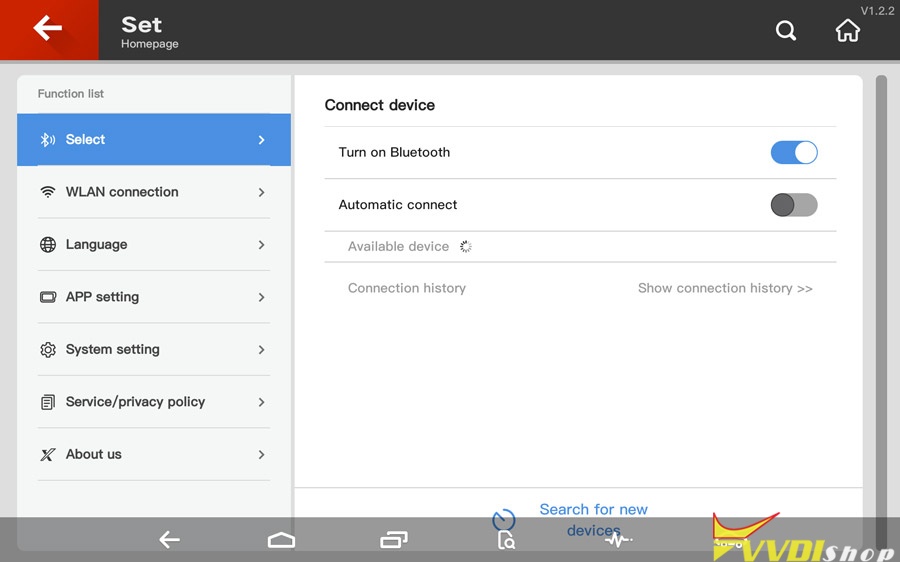
Tap “Set” -> System setting.
Slide down the screen, click WIFI;
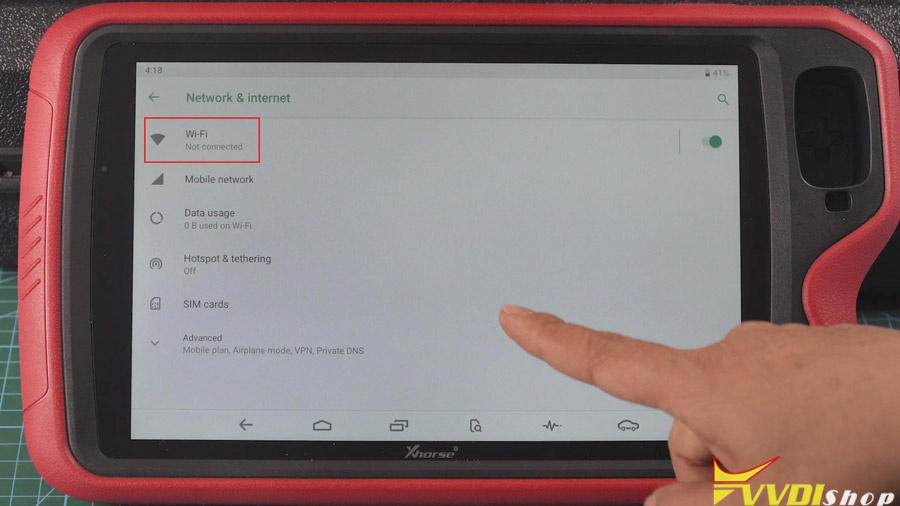
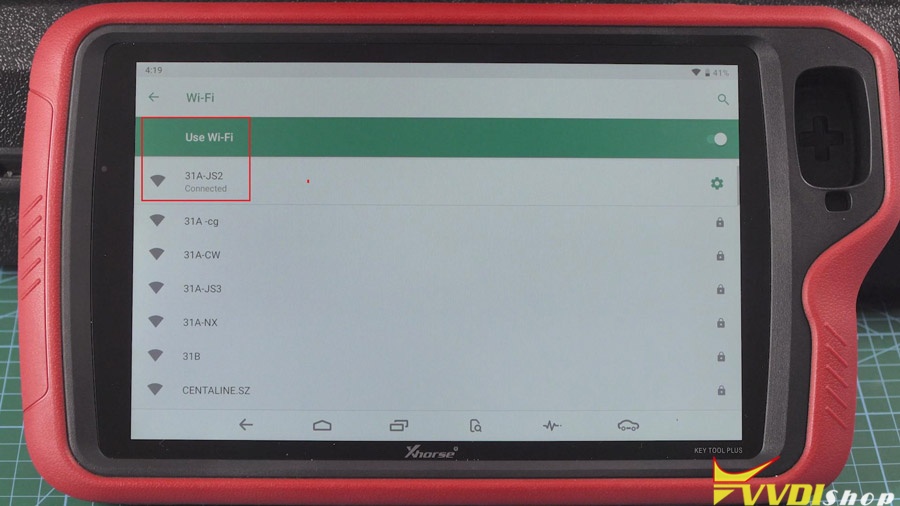
Tap “Setting”, then “Network & internet”, then Wi-Fi, fill in the Wifi password, wait until it is connected.


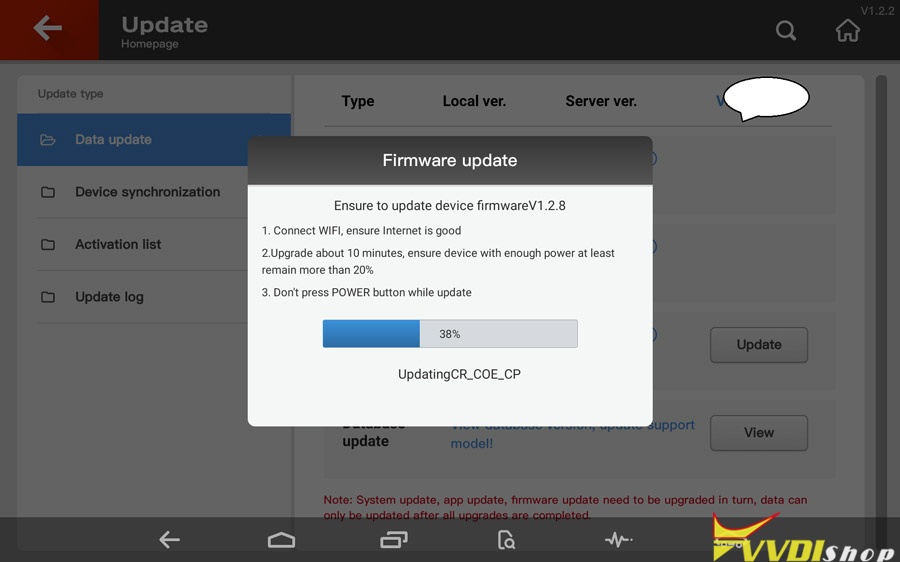
Back to home menu to enter “Update”.
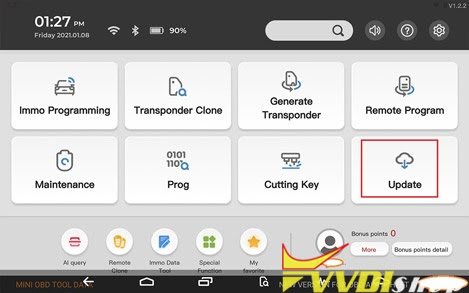
Tap “One-key-update” at the right upper corner.
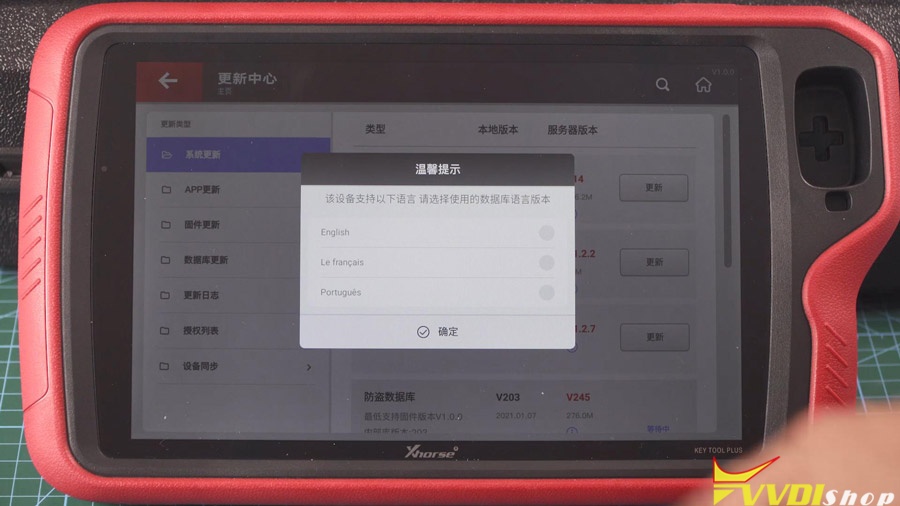
It will prompt “This device is available with the following languages, please choose a database language”. Let’s take English for example.
App update, firmware update, IMMO programming database, remote database etc.

Alright, job is done.
https://www.vvdishop.com/service/register-and-update-vvdi-key-tool-plus-pad.html