ابزار Xhorse VVDI
Xhose VVDI نرم افزار برنامه نویس اصلی و سخت افزارابزار Xhorse VVDI
Xhose VVDI نرم افزار برنامه نویس اصلی و سخت افزارVVDI Key Tool Max “Server exception” Error Solution
Question:
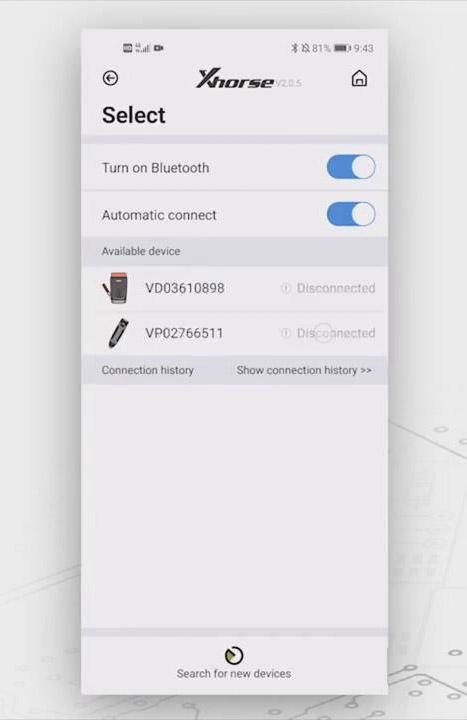
I was failed to connect my Xhorse VVDI Key Tool Max with VVDI MINI OBD Tool. It prompted “Server exception” error, the “Bluetooth” and “Automatic connect” button have been already turned on, but MINI OBD Tool is still disconnected.
Why? Please help me!
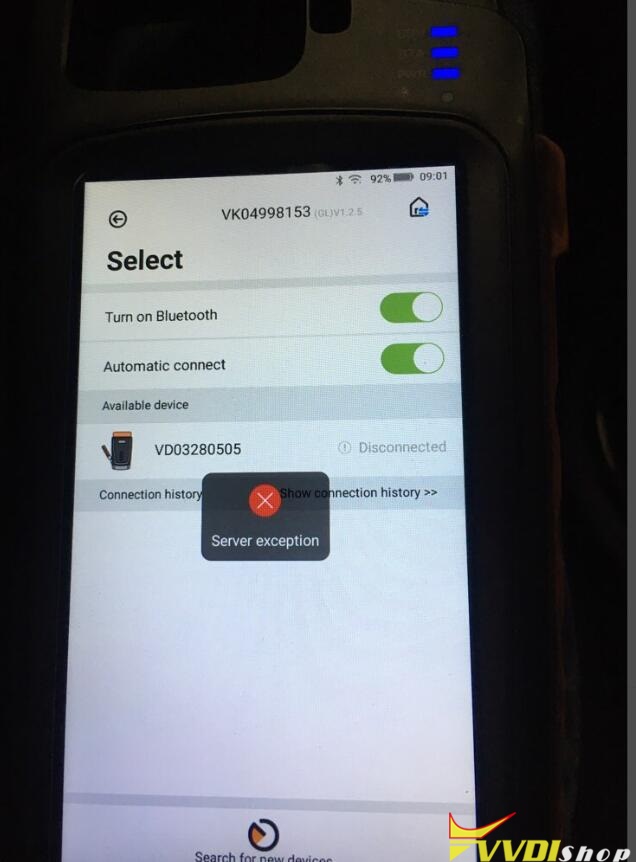
Vvdishop solution:
Please turn off the “Automatic connect” button, upgrading both firmware of Key Tool Max and MINI OBD Tool to latest version.
Connection error was fixed! It is successful to connect 2 devices now.
Thanks to Vvdishop engineer.
2 Ways to connect Xhorse VVDI BIM Tool Pro
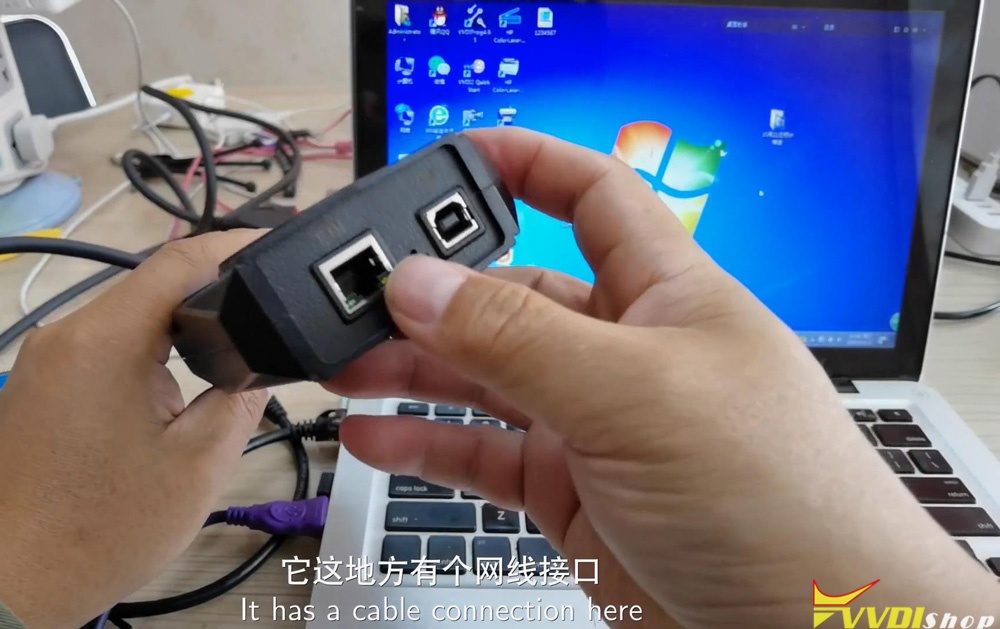
The main feature of Xhorse VVDI BIM Tool Pro differs from VVDI BWM is adding an DOIP port connection way to extremely increase coding and programming efficiency. Today vvdishop.com will quickly introduce how the 2 connection ways working.
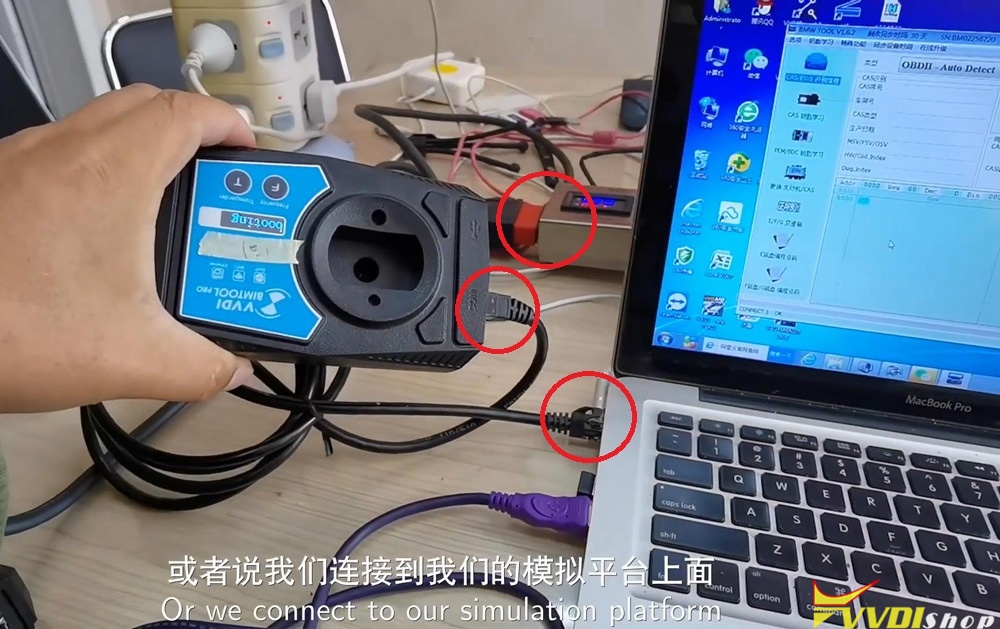
As you can see, there are 2 connections ports on VVDI BIM tool, the left bigger one is DOIP port, the right one is USB port. How do we connect it?
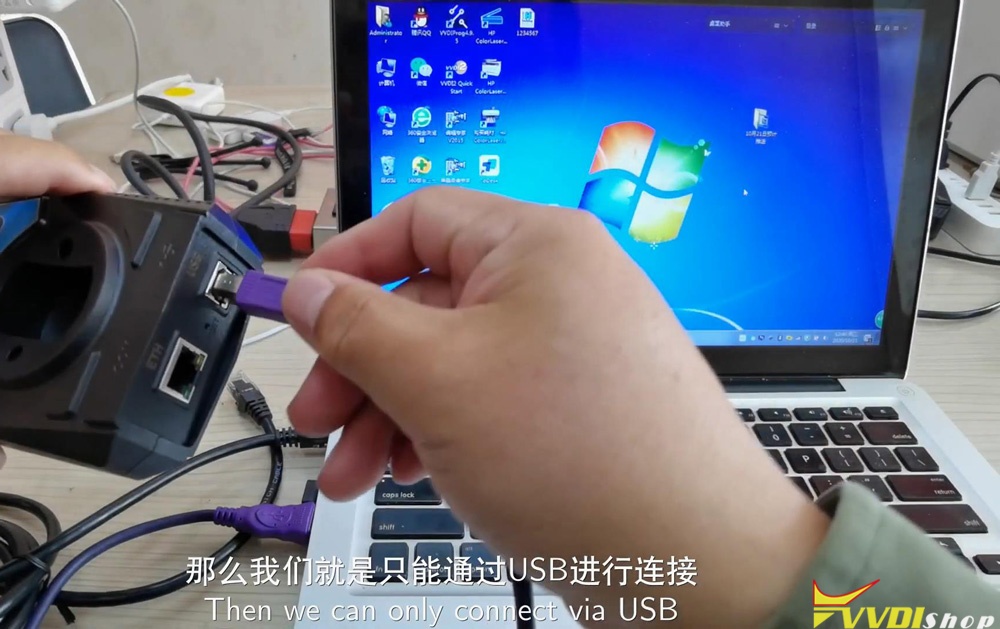
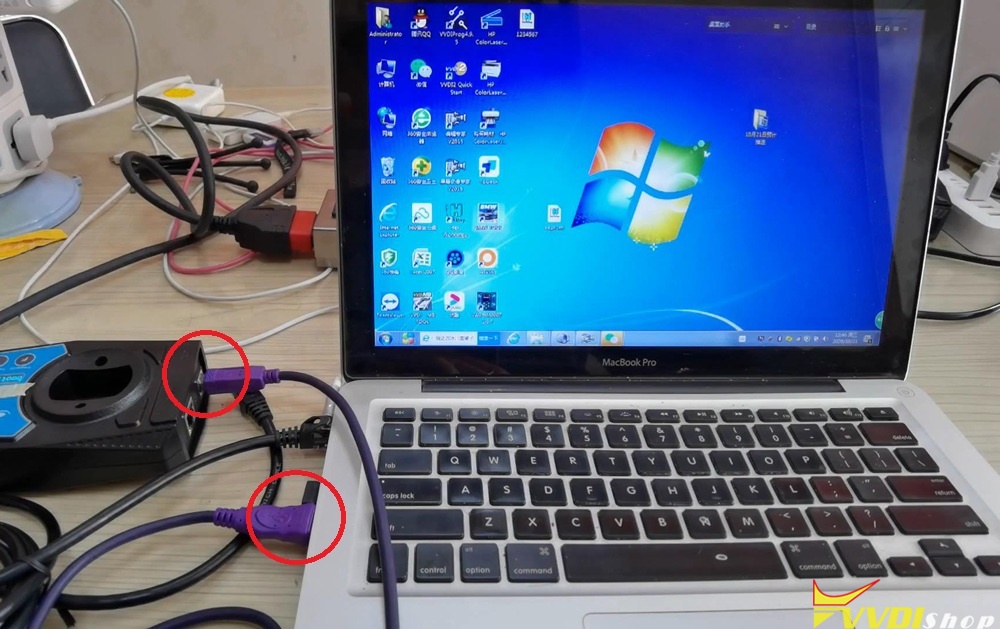
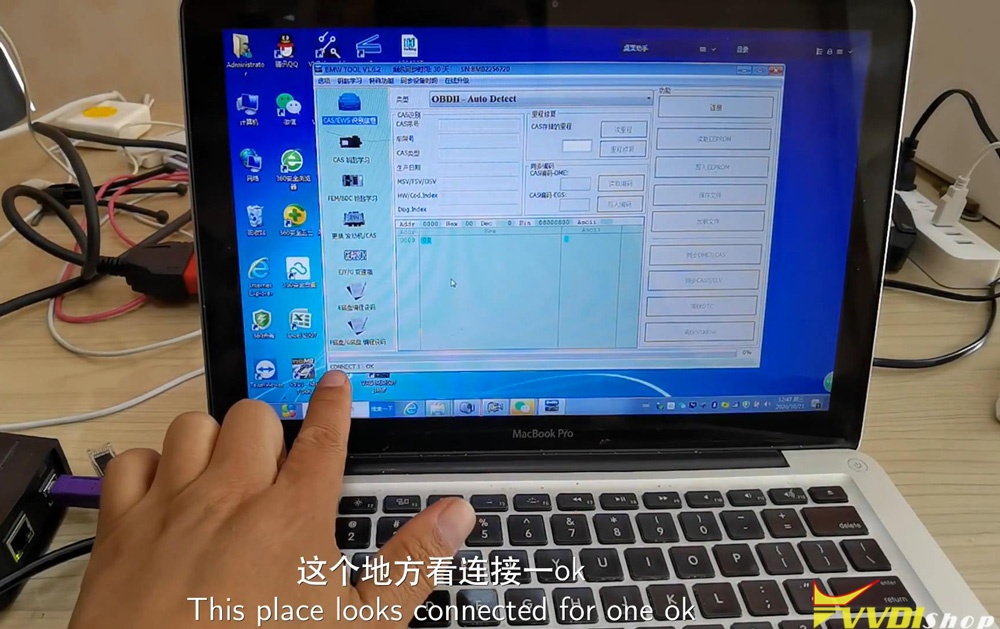
If your computer has only one USB port, then connecting it via USB. Double click BMW tool software, wait a while for connecting… When the bottom bar is showing “Connect 1 OK”, which means VVDI BIM tool has connected with computer successfully.
If you require to use DOIP port, please notice do not plug the wires into 2 ports at the same time. So let us remove the cable and re-plug it into the DOIP port. The other port should be connected with a car for power on. I am now using a test platform instead, the light is on.
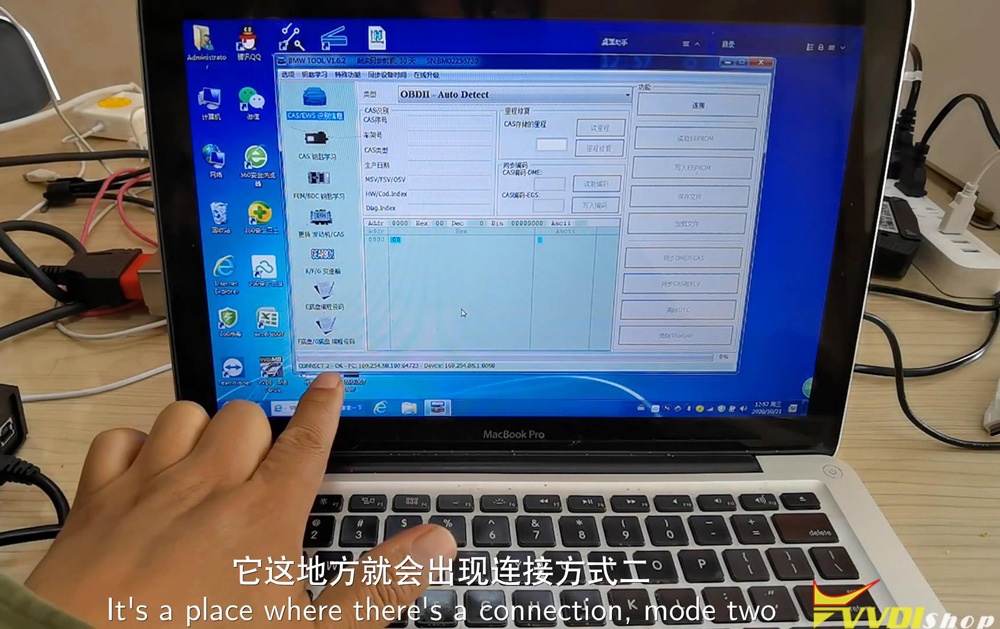
Close BMW tool software to restart again. The bottom bar is showing “Connect 2 OK” with its address, which means connection is succeed.
The speed of programming and download data will be much faster when using DOIP connection. Technicians can even finish to program a single module in 15-20 minutes.
VVDI BIMTool Pro not only allows to perform key programming for locksmith, but also provide maintenance and diagnosis features for car repair shops. All those can be done via USD & DOIP connection ways.
http://blog.vvdishop.com/connect-vvdi-bim-tool-pro-via-usb-doip/
Program Golf 7 MQB Key with VVDI Key Tool Plus Pad
Please be informed: to match a key successfully with Xhorse VVDI Key Tool Plus Pad, you are required to do 4 things: generate MQB key, read immo data, generate the dealer key as well as learning the key. Here are the detailed steps:
Ⅰ. Generate MQB key
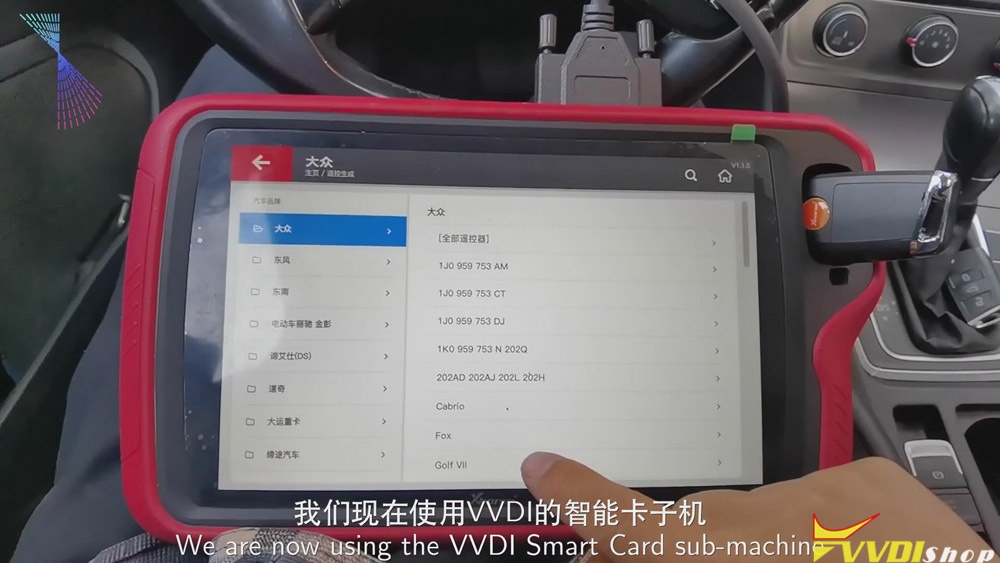
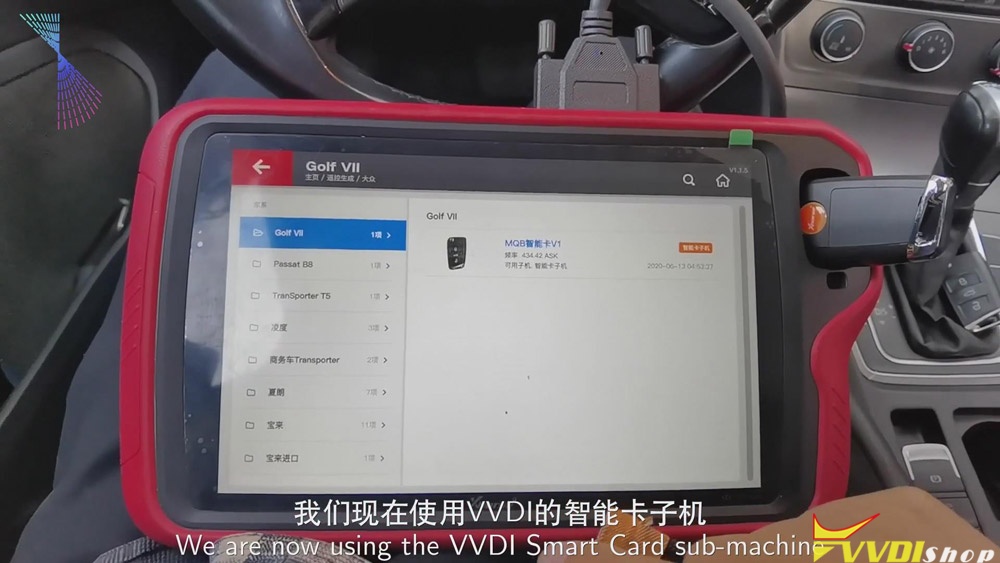
Now, we’ll use Xhorse VVDI smart remote to generate MQB key.
Click “Golf VII”>>“MQB smart card”>>“Generate”.
Ⅱ. Read the data
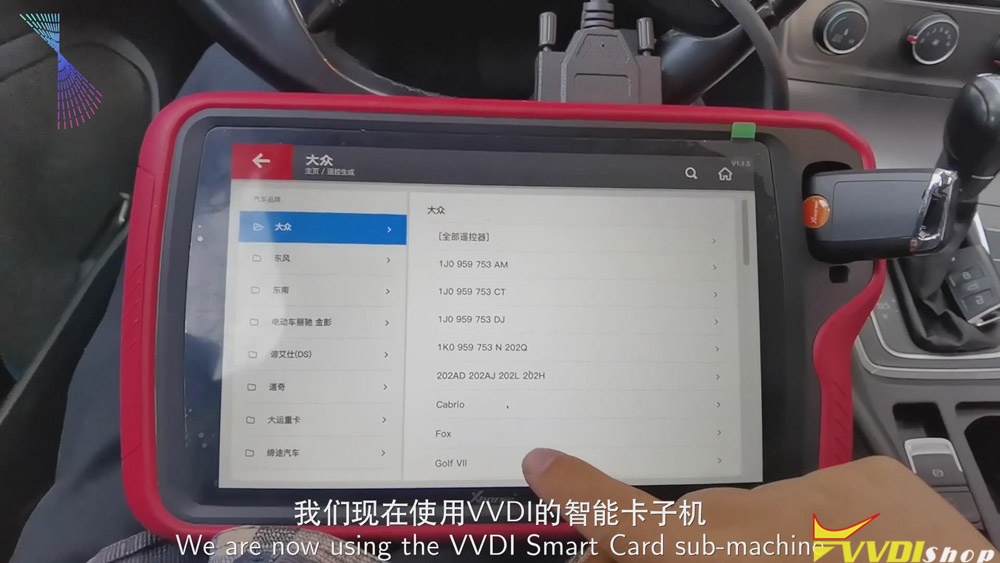
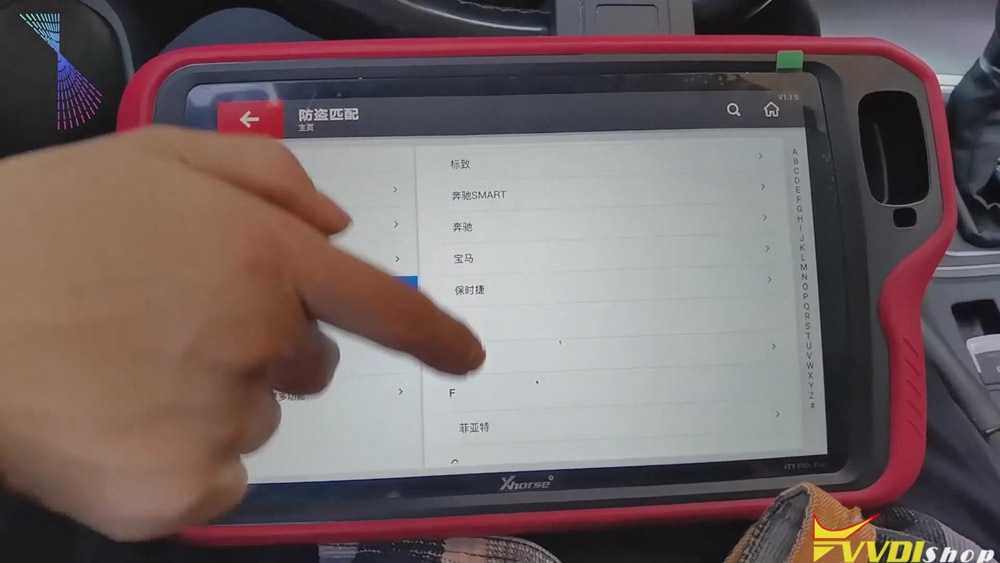
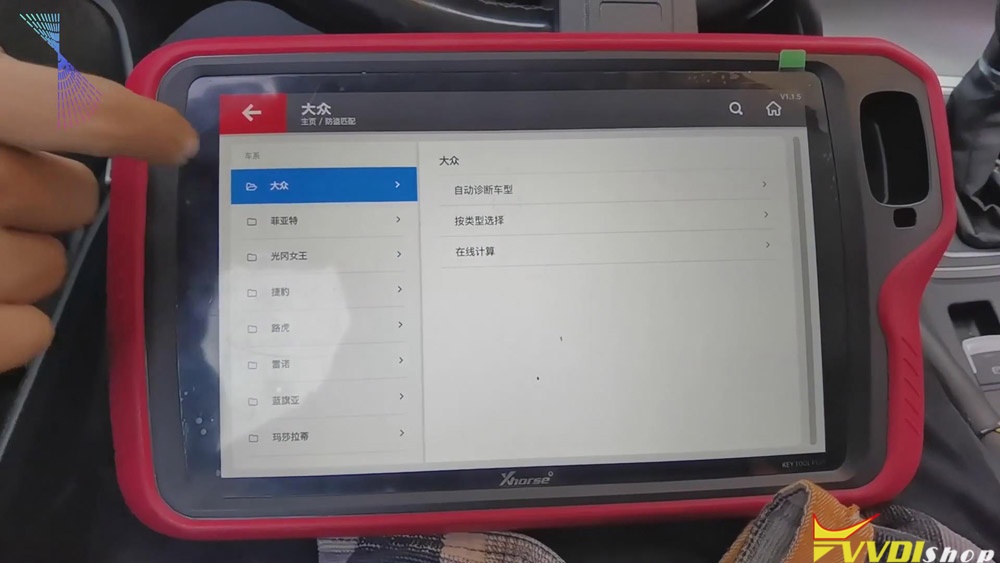
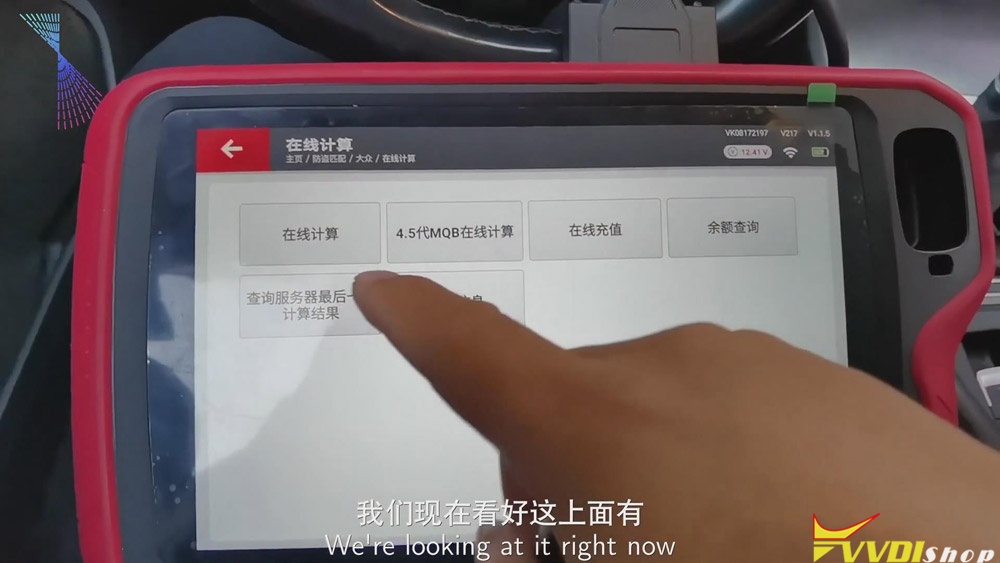
- Click “Immo matching”>>“Europe”>>“Volkswagen”>>“Online calculation”>>“Start”.
- Turn on the ignition and click “Online calculation”>>“Yes”, then the info. of the vehicle will be read.
Ⅲ.Generate the dealer key
- After finishing reading the info. of the vehicle, please recharge and upload the data.
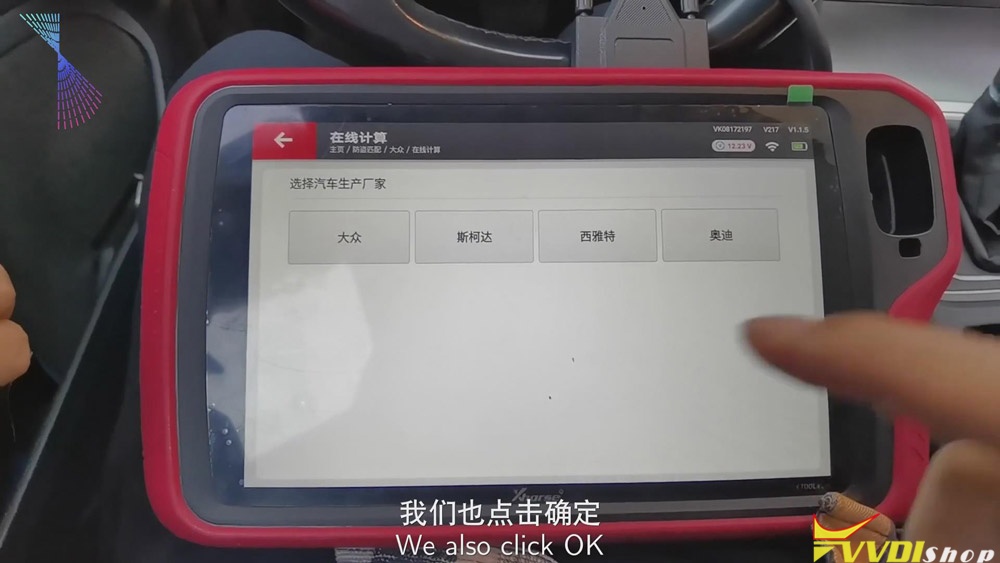
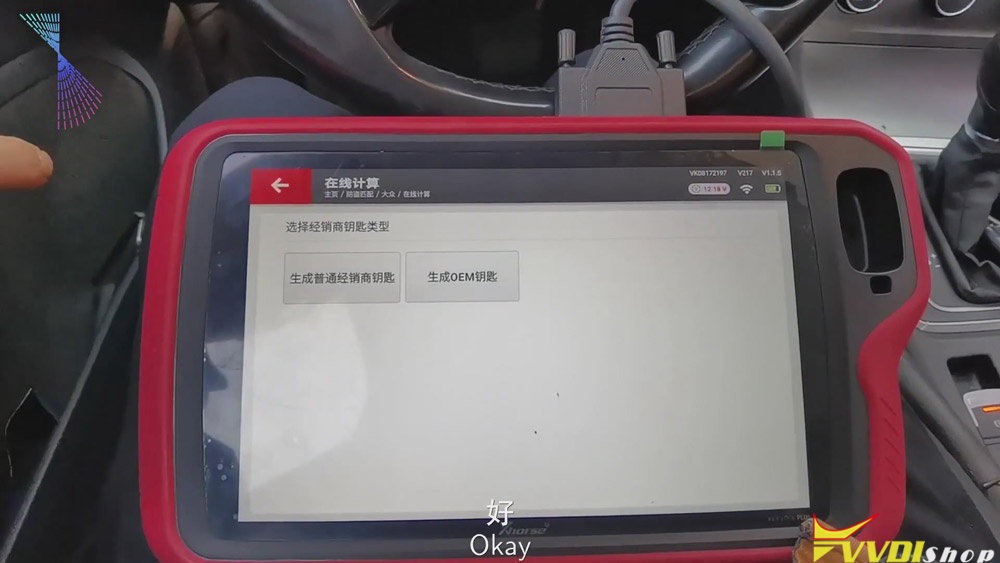
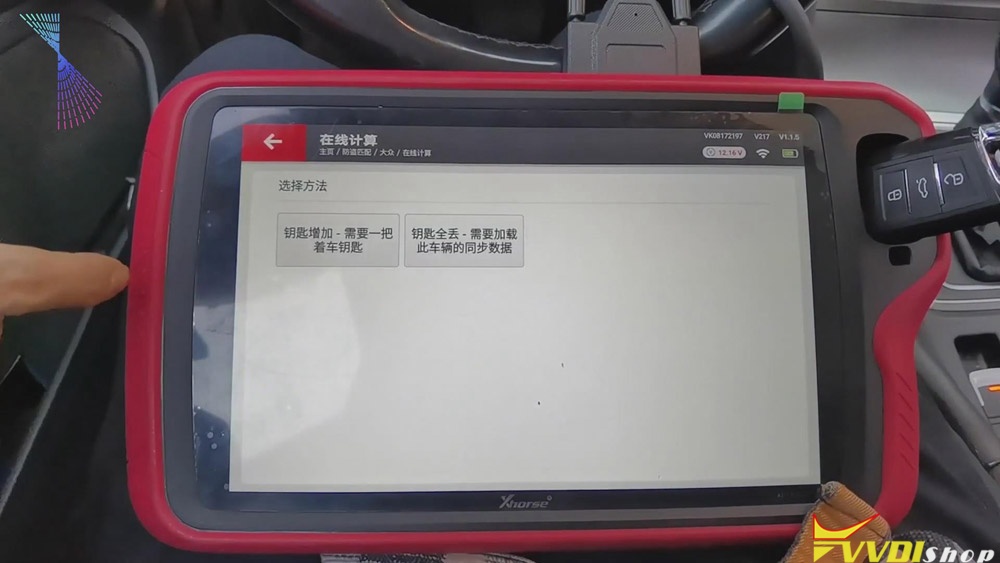
- Then we can begin to generate the dealer key. Click “Volkswagen” >> put the key that we’ve just generated to the detection coil of the tablet >> “Generate common dealer key”>> “Confirm”>> “Yes”>>“Add key-need a key of the vehicle”>>remove the key and put the original key to the detection coil of Xhorse Key Tool Plus and save the synchronous data of the vehicle>>remove the original key and put the new key to the detection coil of VVDI Key Tool Plus.
Ⅳ. Learning the key
- When the dealer key is generated, click “Confirm”>> “Confirm” again.
- Enter the number of the key, say, “2”, and click “Confirm”.
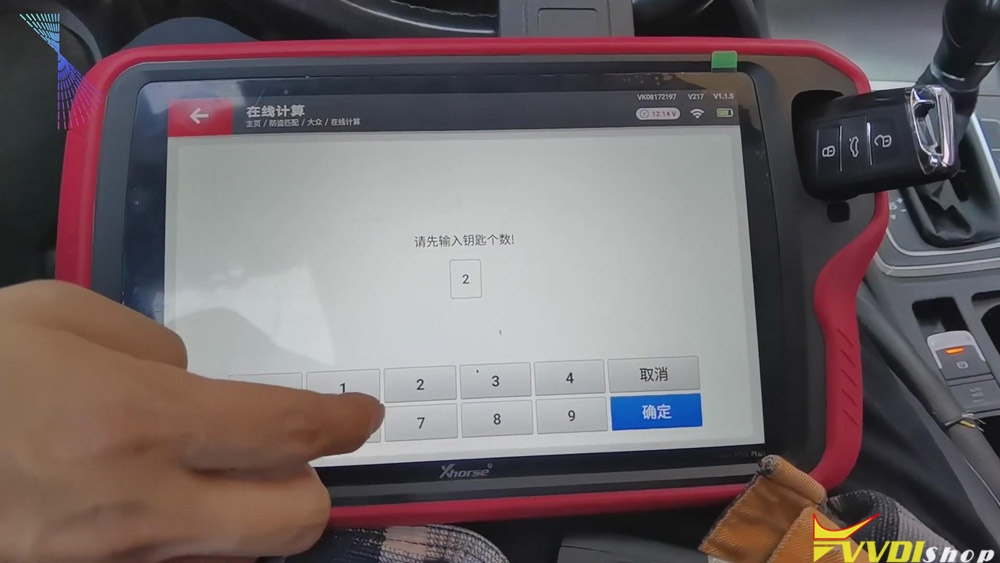
- Put the original key to the induction coil of the vehicle and click “Confirm” .
- Click “Confirm” again, then check the meter status, it shows 1-2.
- Remove the original key and put the new key to the induction coil of the vehicle, click “Confirm”. Check the meter status again, it shows 2-2.
- When the key learning is finished, click “Confirm”.
Job on the key matching using Key Tool Plus is done.
Good luck!
VVDI Mini OBD Function Not Activated Solution
Question:
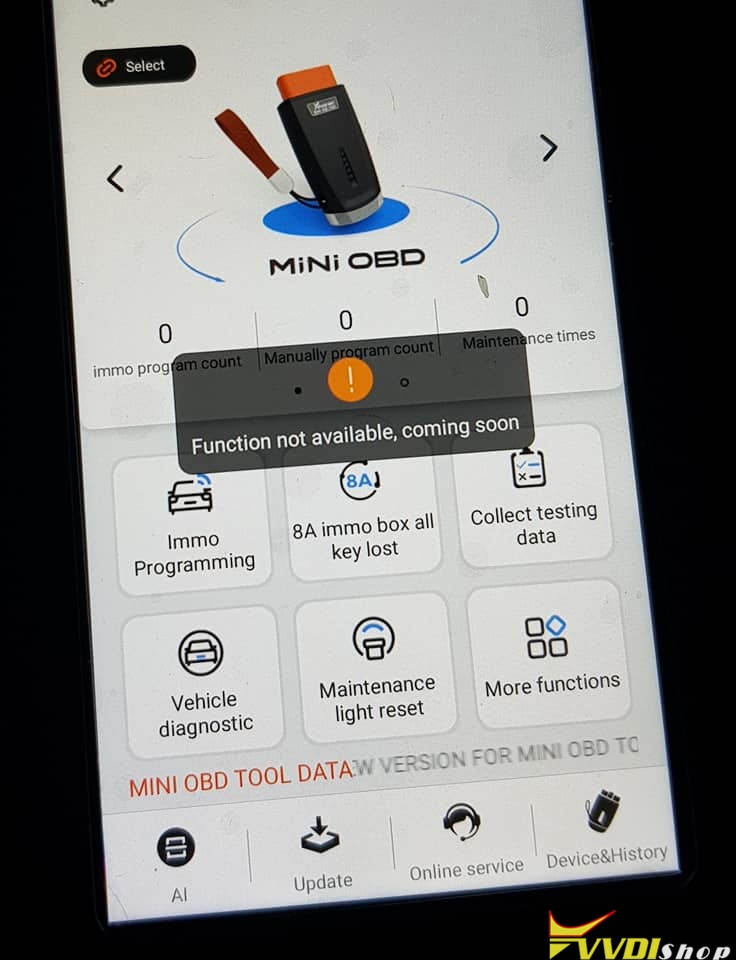
Hi, I use VVDI MINI OBD Tool for the first time, but when I tried to make vehicle diagnostic, the following messages popped up:
“Function not available, coming soon”
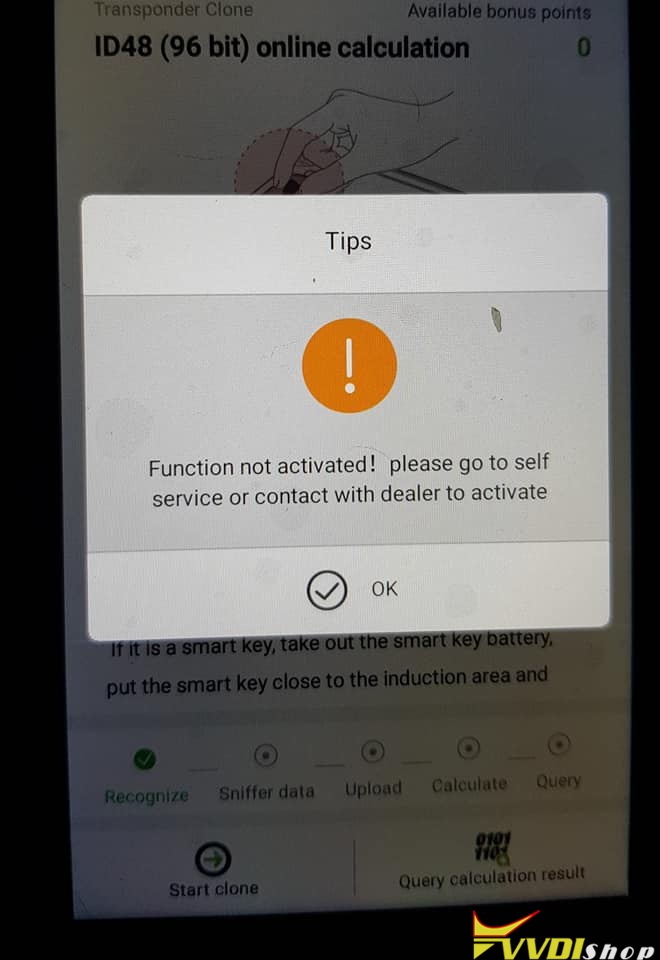
“Function not activated! Please go to self service or contact with dealer to activate ”
How to solve this problem? Please help me!
Solution:
The reason is that the vehicle diagnostic function is not activated now, and it is still under development. For the moment, only IMMO programming is available. There’s no diagnostic in Xhorse MINI OBD. In the future, Xhorse engineers will open this function.
How to use Xhorse Mini Prog to Read ECU?
What is Xhorse VVDI Mini Prog? It is a professional smart programming device featuring solder-free program.
Today, I’ll show you its standard configuration and how its working interfaces looks like.
Now, I have the original package of Mini Prog in my hand. So you can see from its outer package, it’s just like a pen, that’s why we sometimes call it a programming pen.
This is Mini prog. The color is a little bit from what we can see on the cover page, but it’s still Okay and it’s very lightweight and very comfortable to hold.
Look at the front side of the mini prog. There are 3 buttons. The first one is on and off button, we can start the device, and the second is the menu button to control the device, and there is a led button, you can turn the light on.

This is the led screen, showing the working status of mini products.

Now, I’m going show you the working interfaces of Mini Prog.
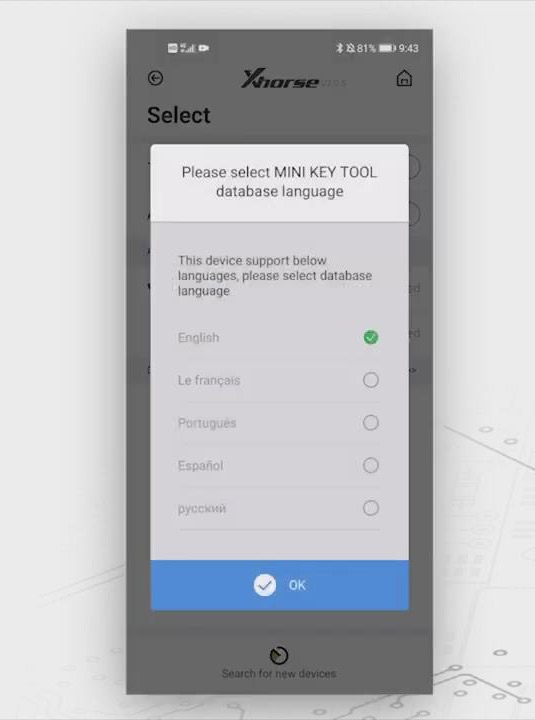
To operate Mini Prog, you have to download xhorse app on your smartphone, and access xhorse app, choose “MINI PROG” button, then click “select” >> “VP02766511”, and then choose the language you want.
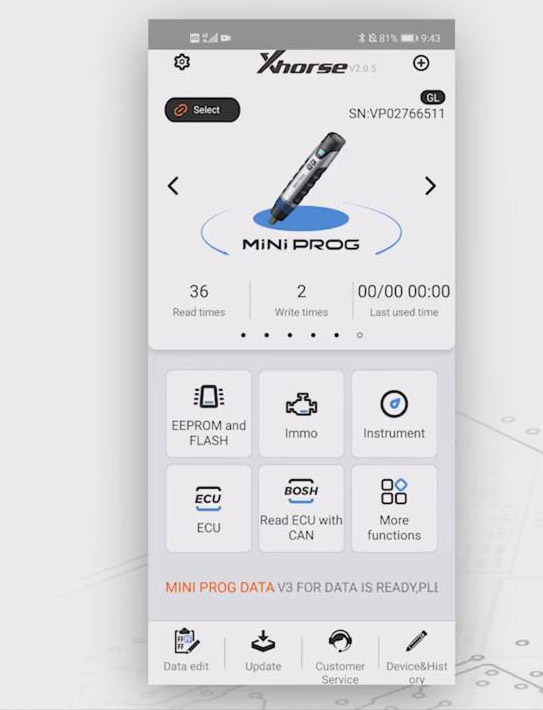
Function Overview:
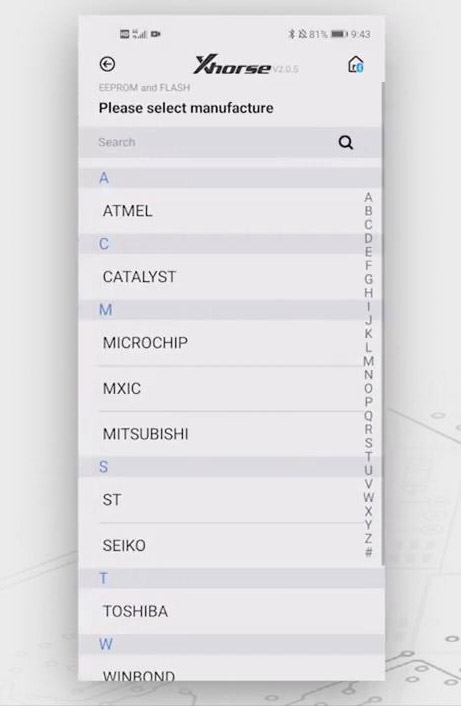
- EEPROM and FLASH
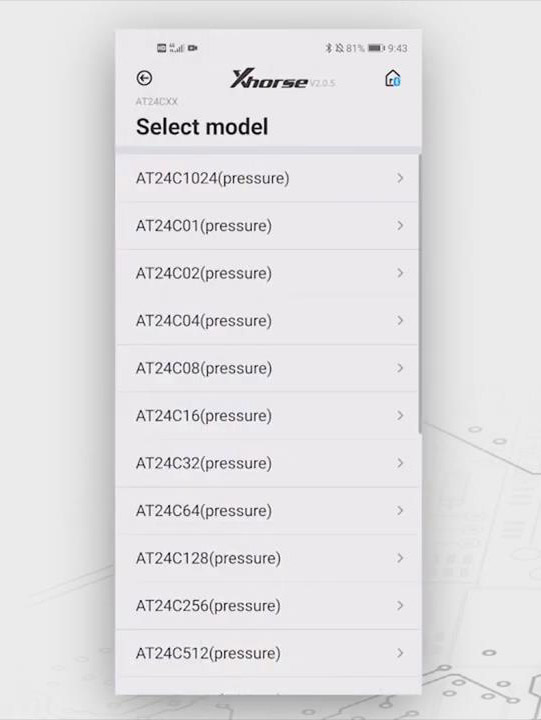
“EEPROM and FLASH” can read EEPROM from different manufacturers.
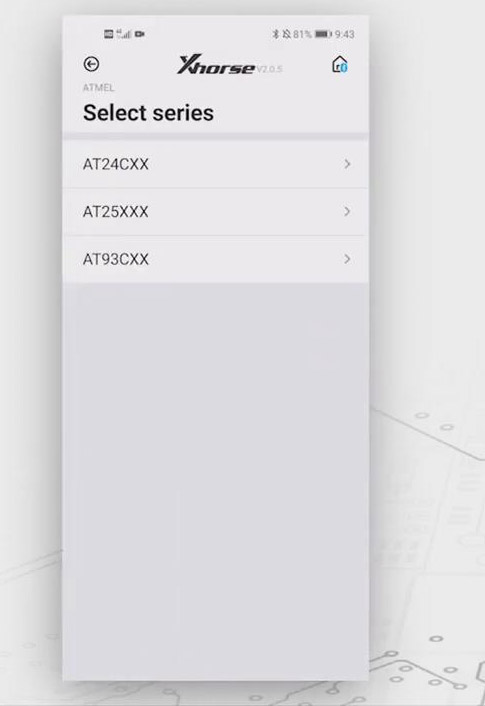
Here, we choose “ATMEL”>>“AT24CXX” >>“AT24C1024(pressure)”, and it will show which adapter you should use.
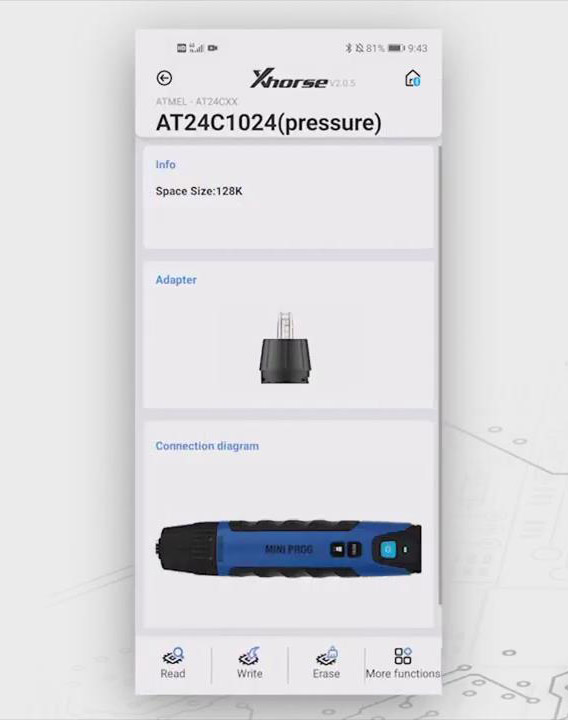
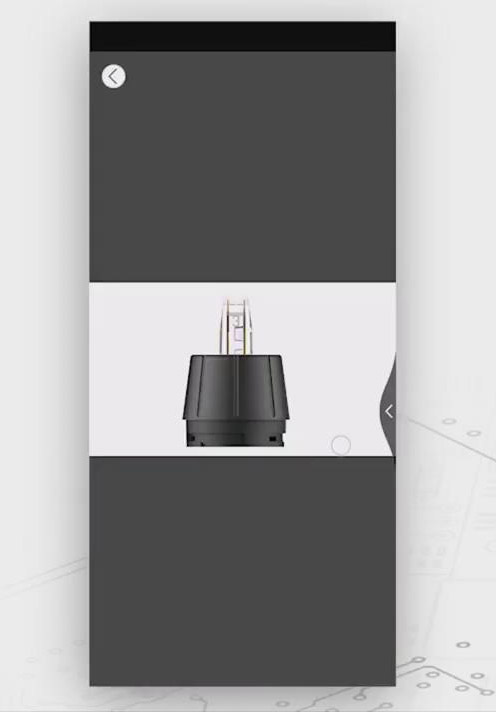
This is pin header 3. Connect the header to the Mini Prog, then you can directly read and write data.
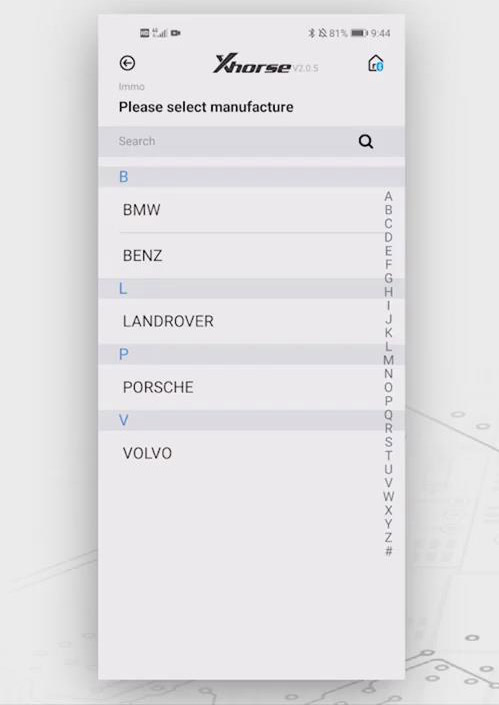
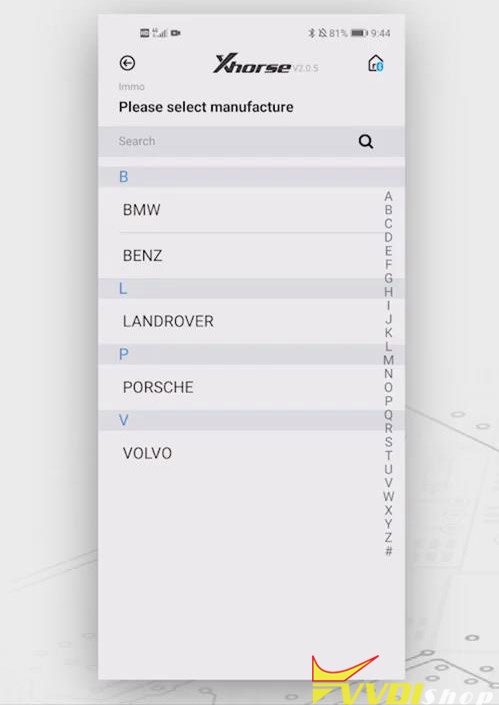
- Immo
Now, click “Immo” button, then we can see it supports several cars like BMW, Benz, Land Rover, Porsche and Volvo.
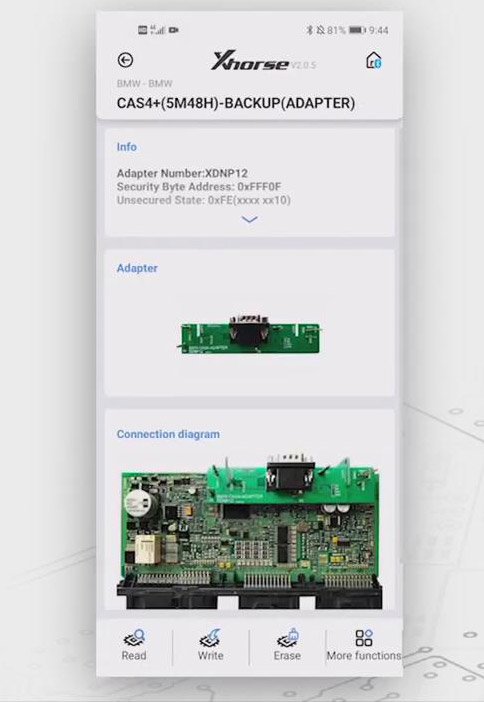
Let’s click “BMW”>>“BMW”again, we’ll see that we can read these many modules.
Let’s choose “CAS4+(5M48H)-BACK(ADAPTER)”, we’ll see the info. about the operations, namely, which adapters you should use and the connection diagram, usually you need to clip the adapter to the module.


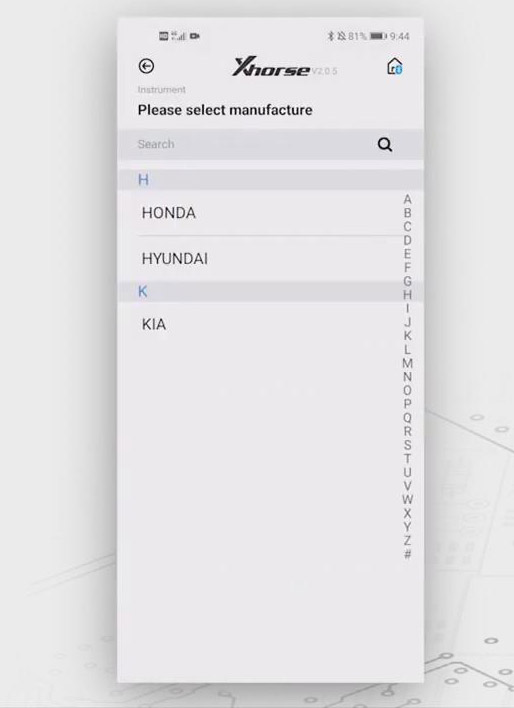
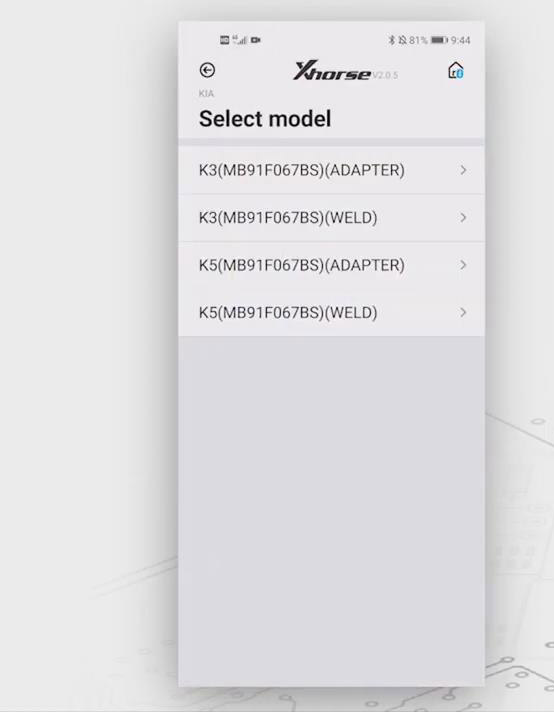
- Instrument
As for “Instrument”, so far, it supports “HONDA”, “HYUNDAI” and “KIA”. Let’s choose “KIA”>>“K5MB91F067BS(ADAPTER)”, and it will show info. of the adapter and the connection diagram.

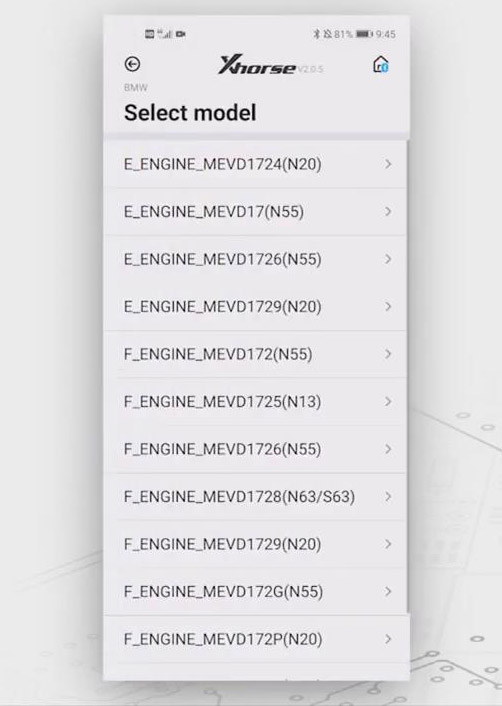
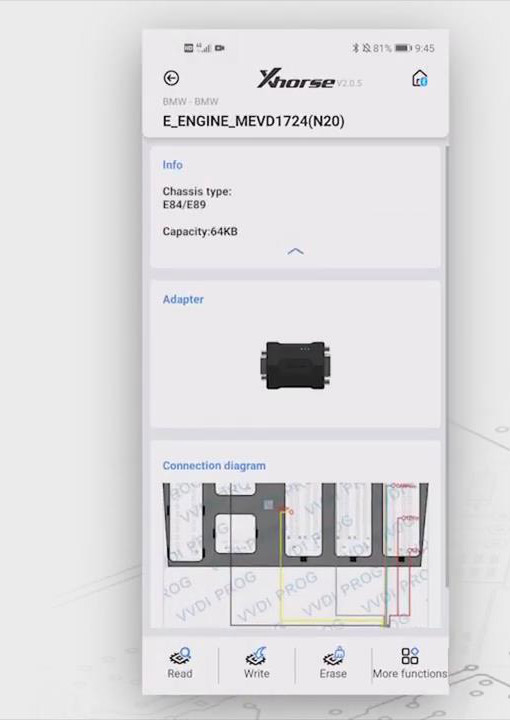
- ECU
About the “ECU”, it has the same interfaces as other modules.
Let’s click “BMW”>>“BMW” again >>“E_ENGINE_MEVD1724(N20)”, then we can the info. of the adapter and the connection diagram.
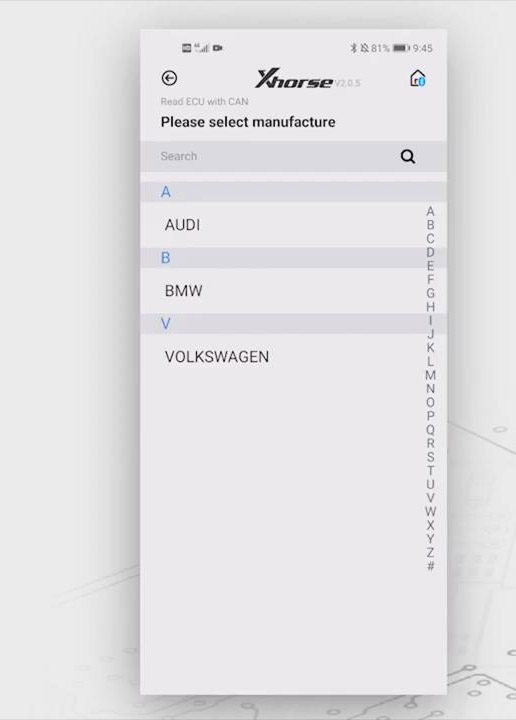
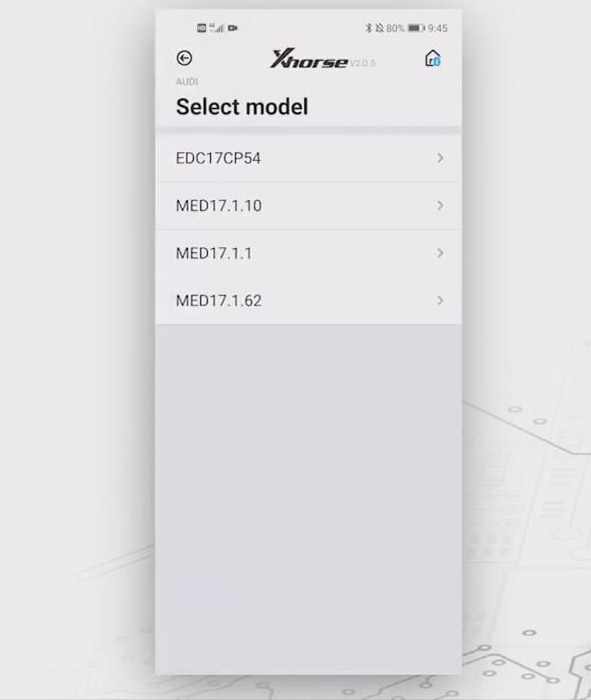
- Read ECU with CAN
The last icon, “Read ECU with CAN”, you can read ECU without dismantling.
Select “AUDI”>>“AUDI” again>>“EDC17CP54”, then the info. of the adapter and the connection diagram can be seen.

Video reference: