ابزار Xhorse VVDI
Xhose VVDI نرم افزار برنامه نویس اصلی و سخت افزارابزار Xhorse VVDI
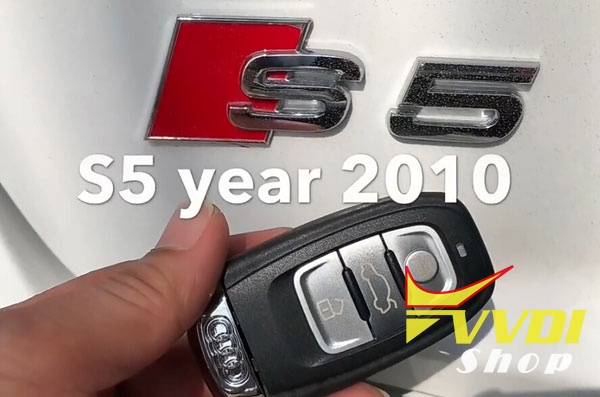
Xhose VVDI نرم افزار برنامه نویس اصلی و سخت افزارVVDI2 VAG Program Audi S5 2010 BCM2 Smart Key
How to: Program Smart Remote to a Audi S5 year 2010 5th generation immobilizer BCM2 with Xhorse VVDI2 key programmer.
Step 1:Read BCM2 data
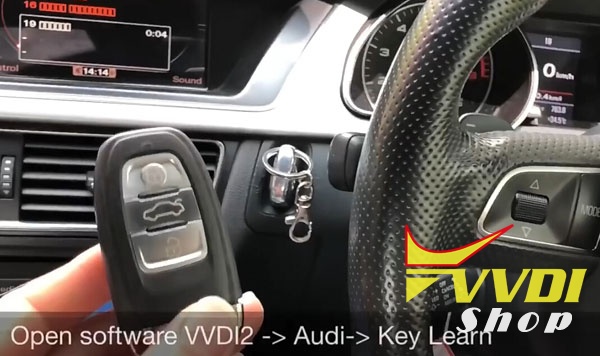
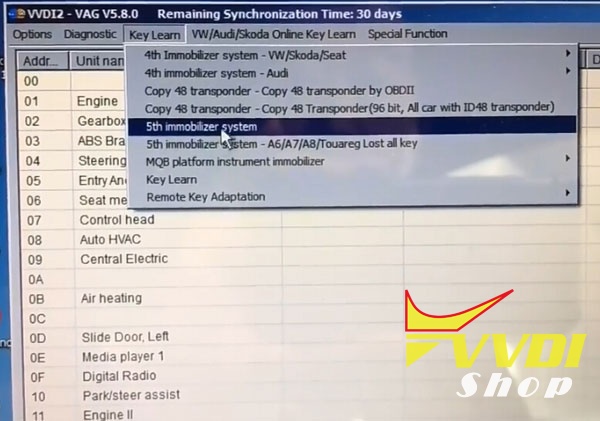
Open VVDI2 software->Audi->Key Learn->5th Immobilizer system

Precedure to read BCM: choose Read by OBDII
Press Read BCM2 data (OBDII)
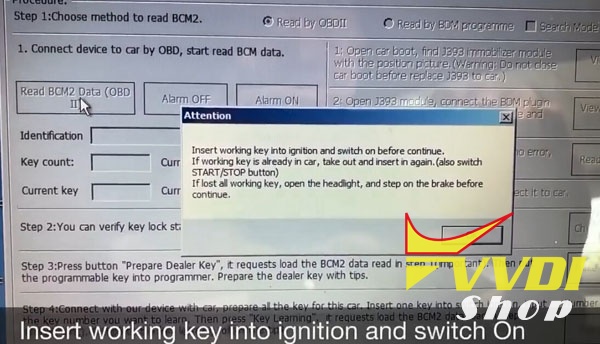
Insert working key into ignition and switch on before continue
If working key is already in car, take out and insret it again (also switch START/STOP button)
If lost all working keys, open the headlight, and step on the brake before continue
Disable security access level1 Success

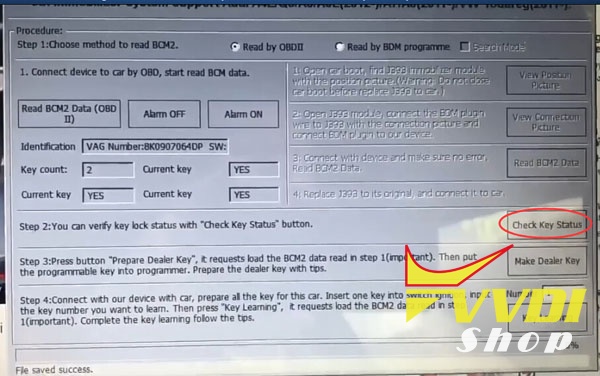
VVDI2 read VAG number and key number

Save BCM2 data
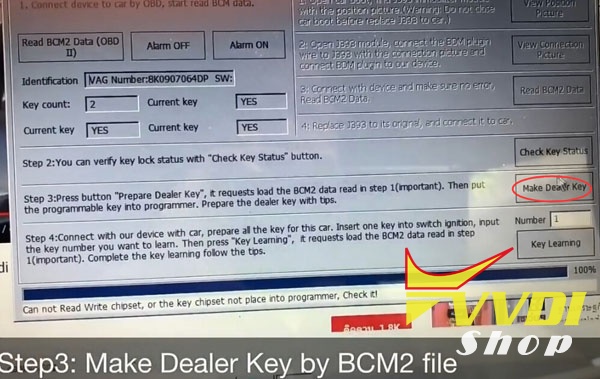
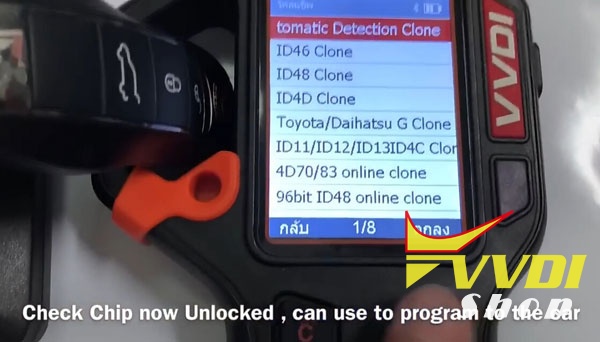
Step 2: Check key status
Step 3: Make dealer key by BCM2 dump
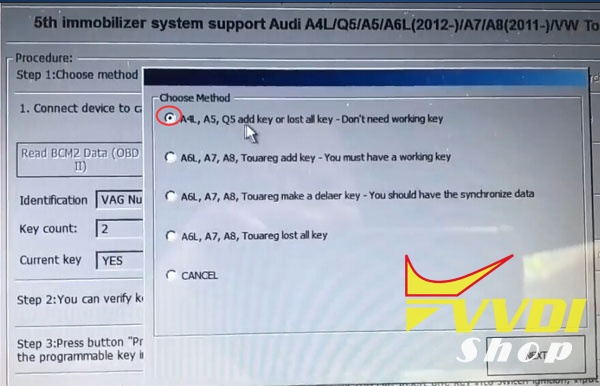
Choose A4L A5 Q5 add key or lost all keys- Don’t need working key
Press Next
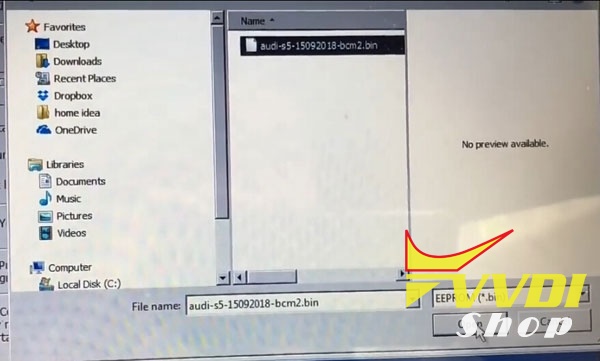
Press OK to load BCM2 data read from step 1
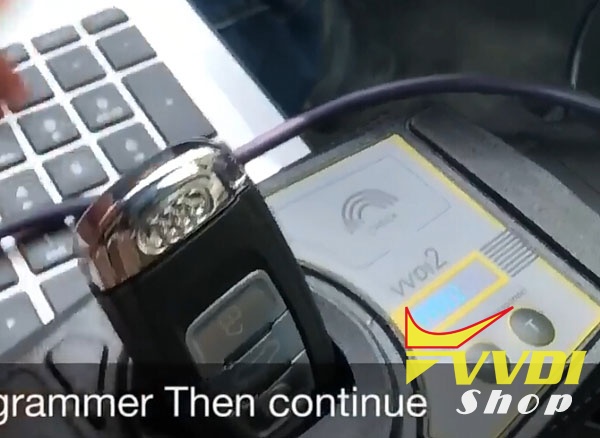
Put new key into VVDI2 VAG programmer,then continue
Start read key information, please wait
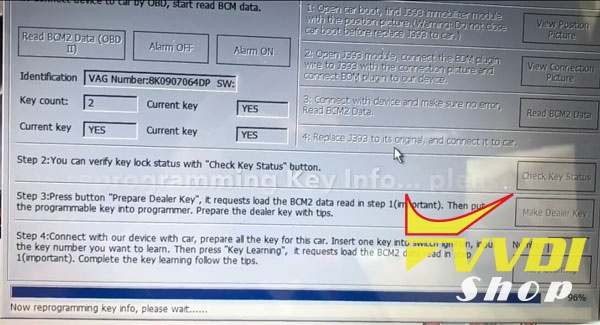
Now reprogramming key info, please wait
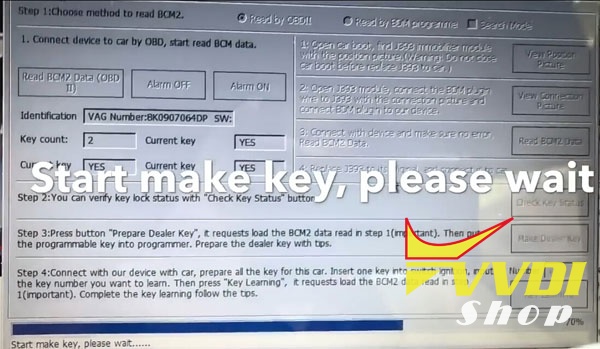
Start make key
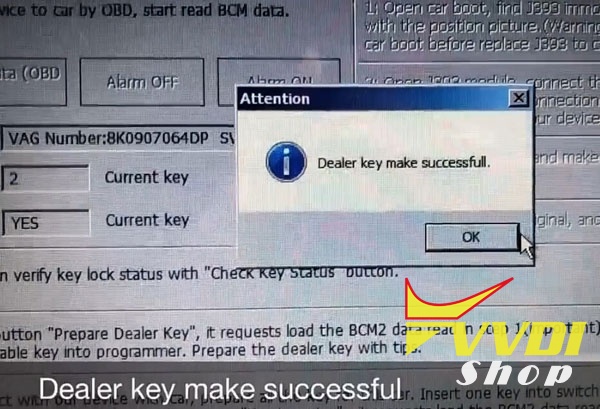
Dealer key make successful
Step 4: Key Learning
Connect with our VVDI2 device to vehicle, prepare all the key for this car. Insert one key into switch ignition,
input key number you want to learn.
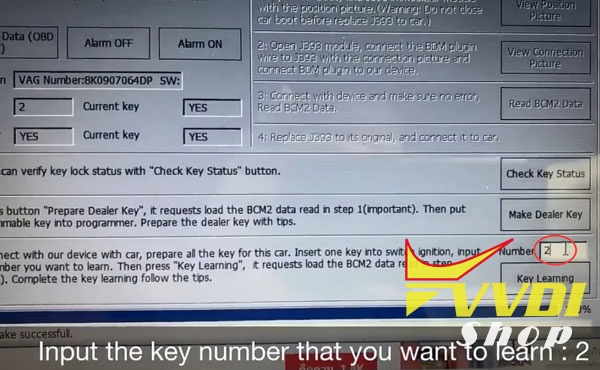
Here 2 keys need to learn. Press Key Learning to continue.
Press OK to load BCM2 data read from step 1
Insert working key into igniton (or nearby ignition coil) and switch on beofre contonue.
If lost all working key, insert dealer key into ignition (or nearby ignition coil), open the headlight, and
step on the brake before continue.
Start learning key

Insert every key into ignition in turn
Once a key is learned successful, X/Y in the dashboard, X will be added 1.
If only have ignition coil, please stop and start the START/STOP button after X added 1.
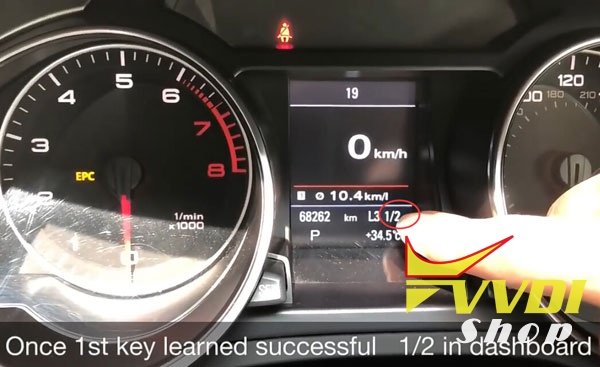
1st key learned successful
Insert 2nd key to ignition switch and turn on
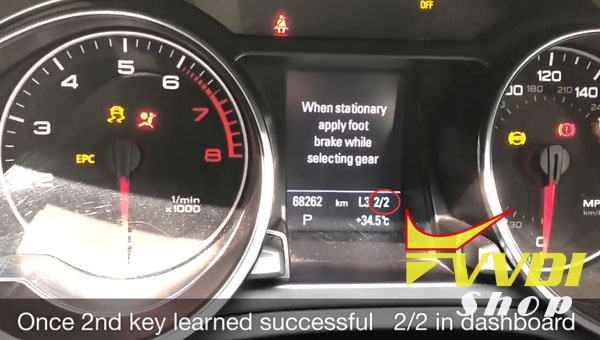
2nd key learned successful
All keys have been learned success
Test start ok
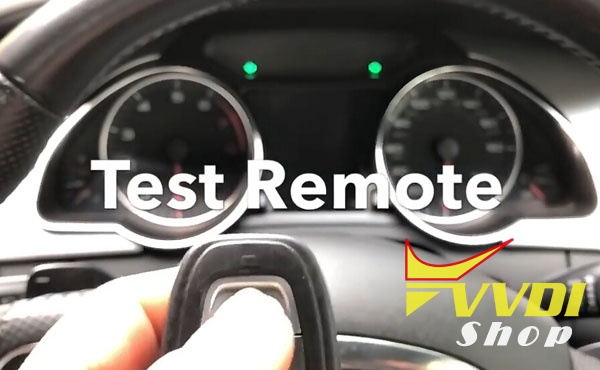
Test remote control ok
Done.
http://blog.vvdishop.com/xhorse-vvdi2-program-audi-s5-2010-bcm2-smart-remote-key/
How to use VVDI Prog to Read Range Rover CEM 2006
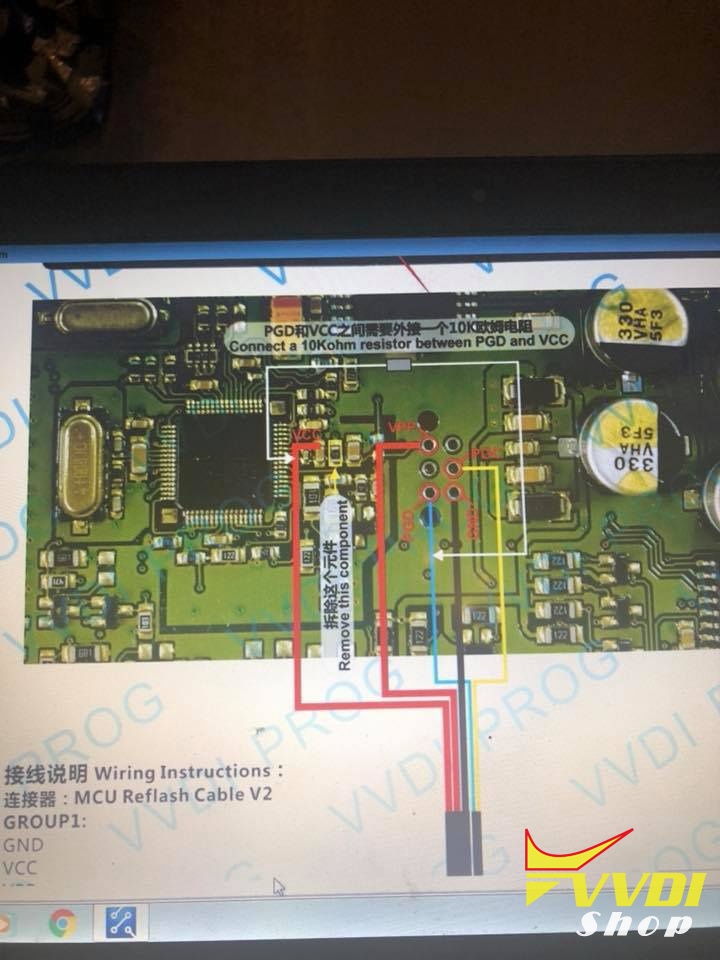
I’ve done it 3 times by Vvdi prog and vvdi2.
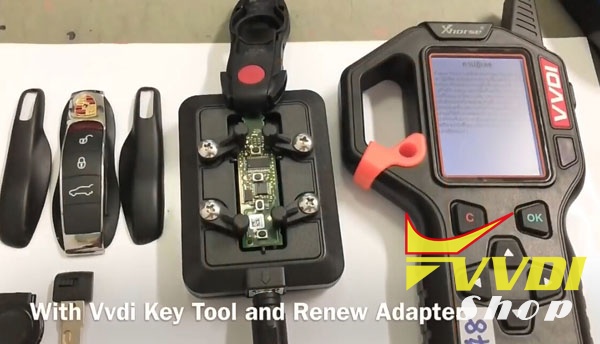
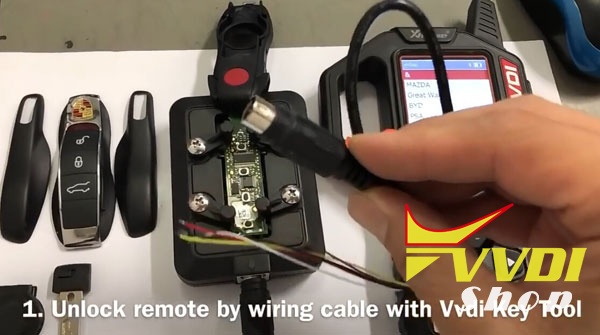
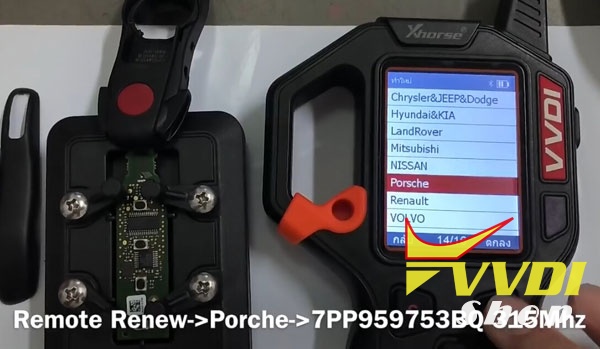
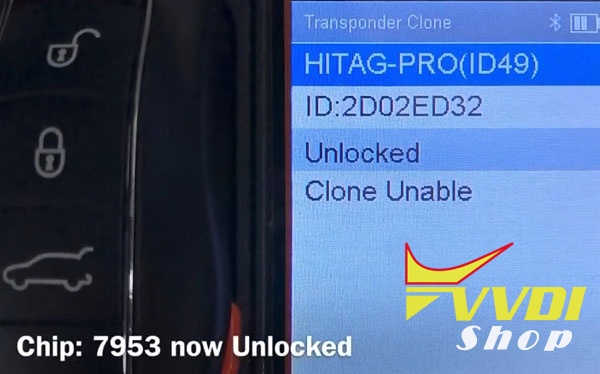
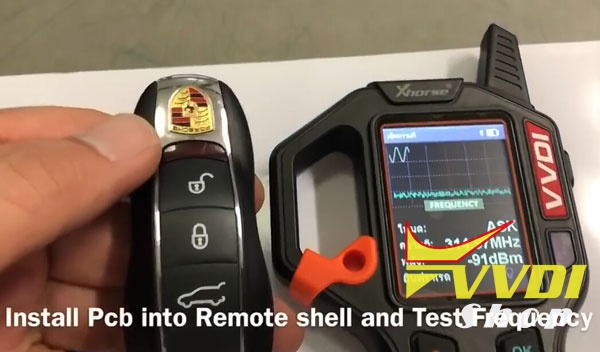
VVDI Key Tool Renew Porsche Cayenne Chip 7953 Remote Key
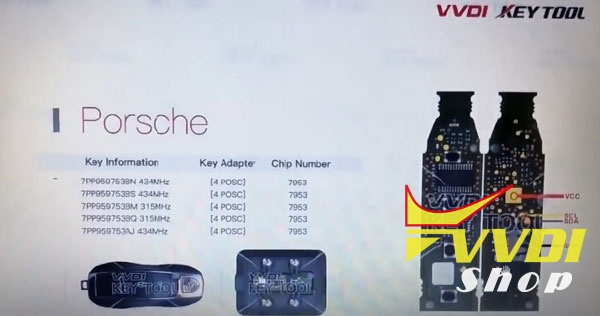

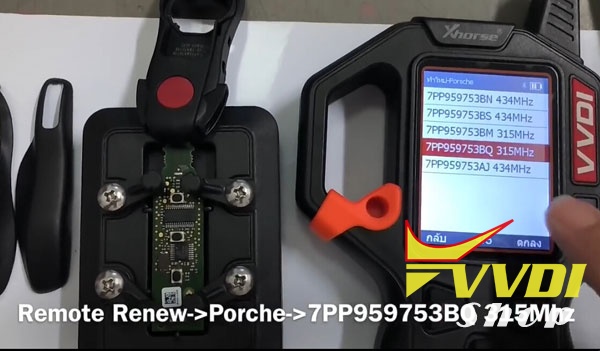
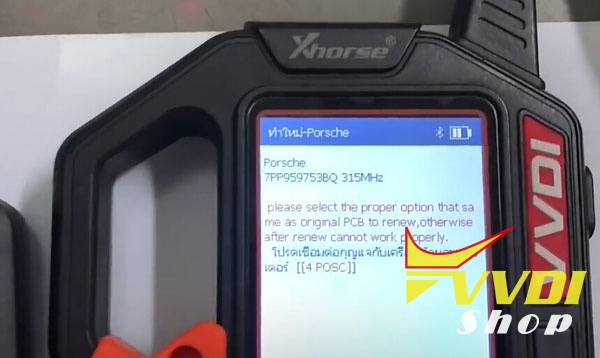
Press Write
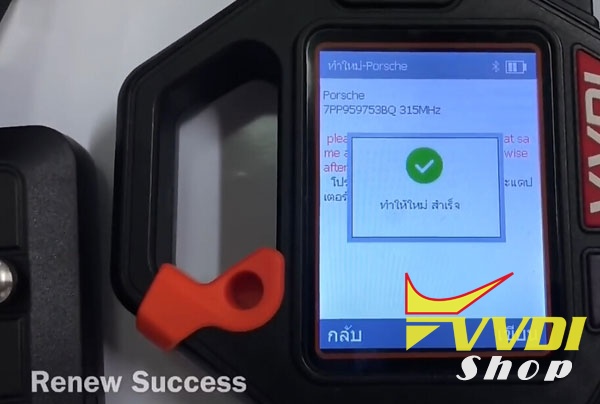
Renew success
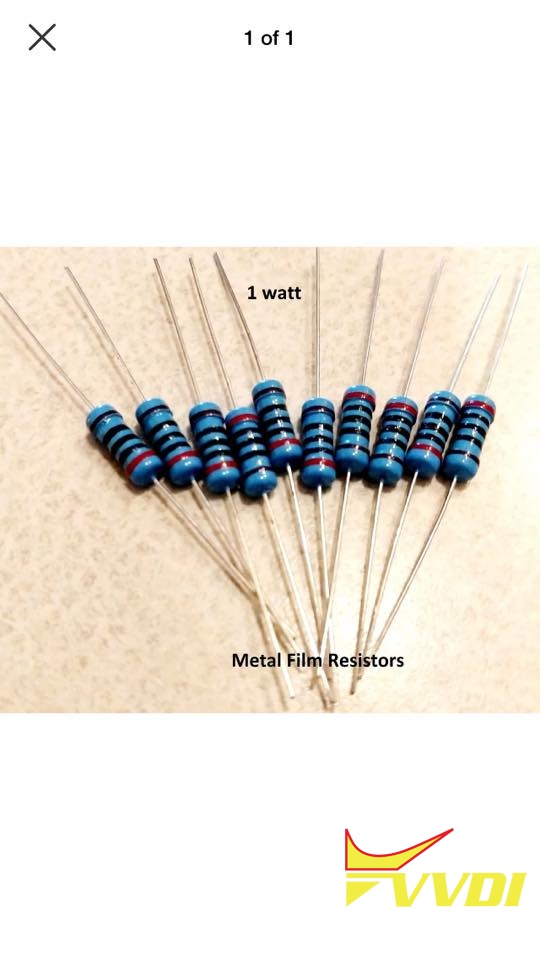
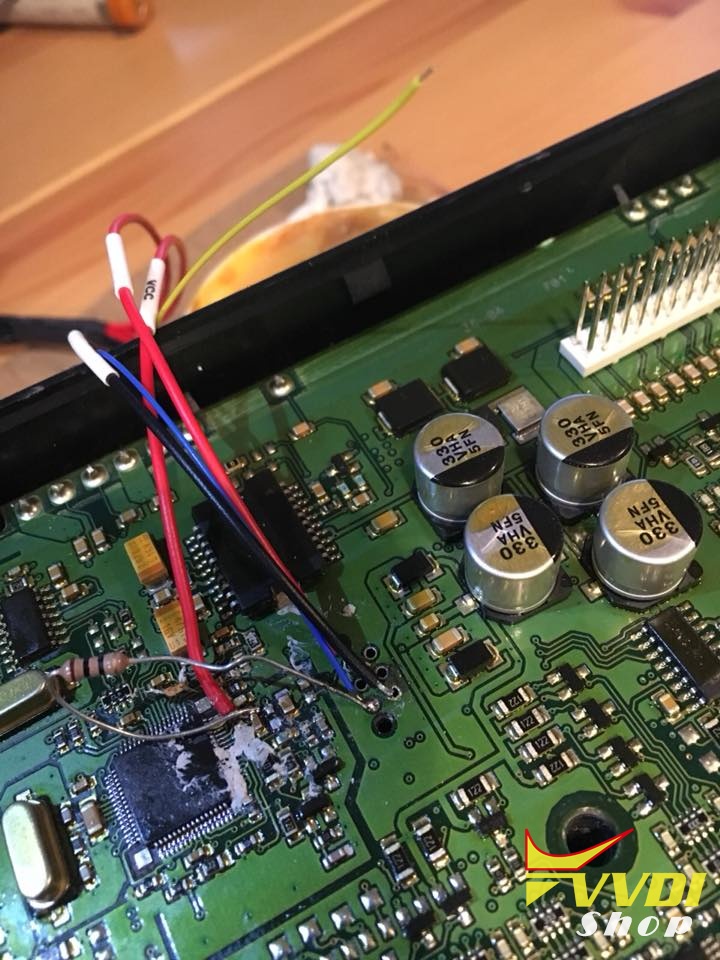
Program W209 Kline Key with VVDI MB no removing
When in car you just connect the blue alligator clip wire coming off the obd into the esl plug to grab the k line . Should be pin 5.


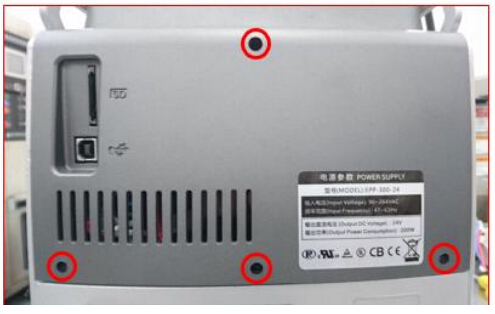
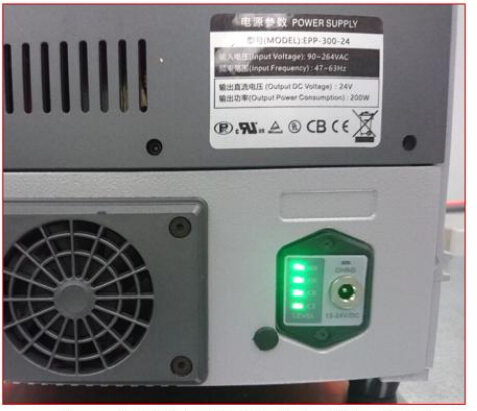
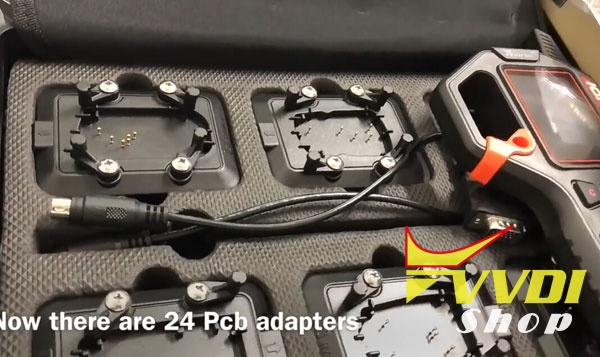
How to change Battery of Condor XC-mini
This is the Power Supply Adapter with Battery for Xhorse Condor XC-Mini key cutting machine. No need to connect Car inverter, battery as power supply, easy to carry out. Support household electricity and cigarette lighter to recharge or use as power supply.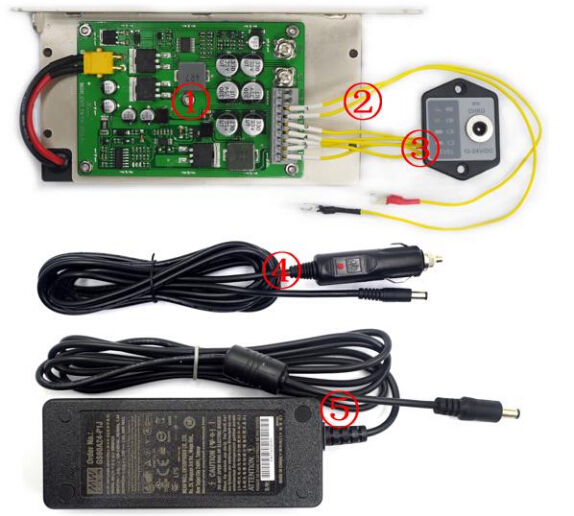
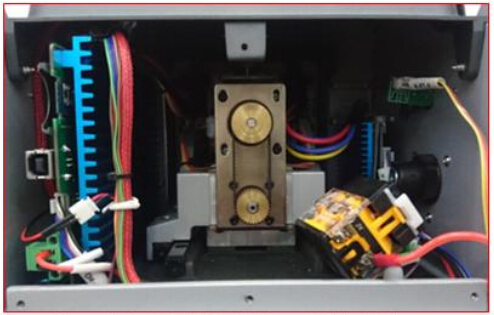
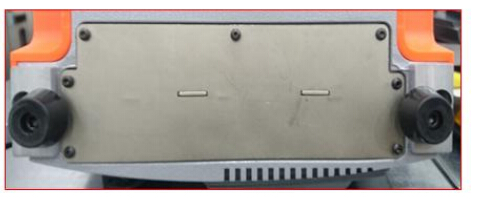
List of rechargeable battery of XC-Mini
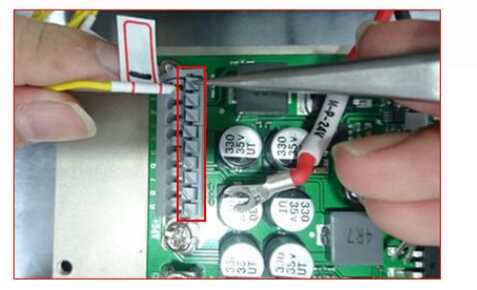
① Mainboard
Specification of rechargeable battery of XC-Mini:
Note: The update version Condor XC-Mini Plus with built-in battery is coming soon. Don't need to change chargeable battery any more.