ابزار Xhorse VVDI
Xhose VVDI نرم افزار برنامه نویس اصلی و سخت افزارابزار Xhorse VVDI
Xhose VVDI نرم افزار برنامه نویس اصلی و سخت افزارPSA IAW 6LP pinout to Xhorse VVDI-Prog
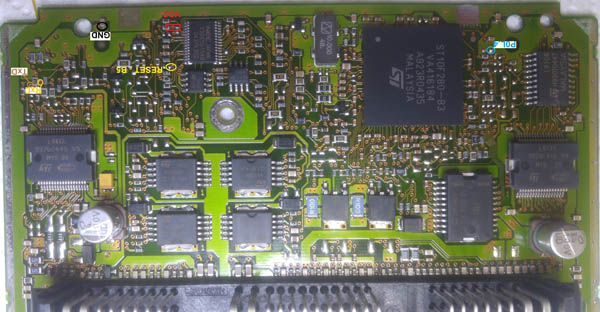
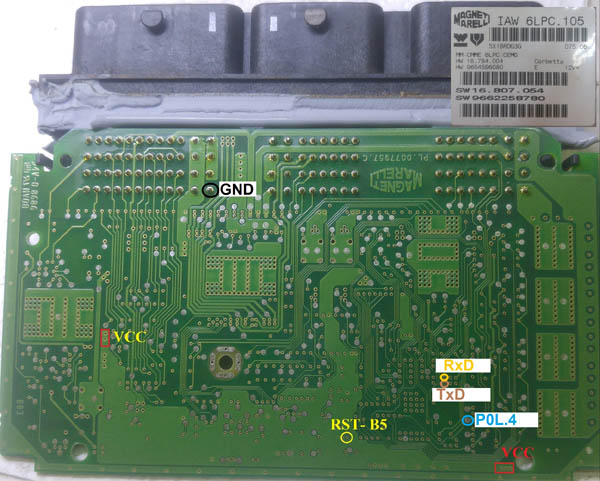
PSA IAW 6LP pinout to VVDI Prog: IAW 6LP2.01/2.05 and IAW 6LPC105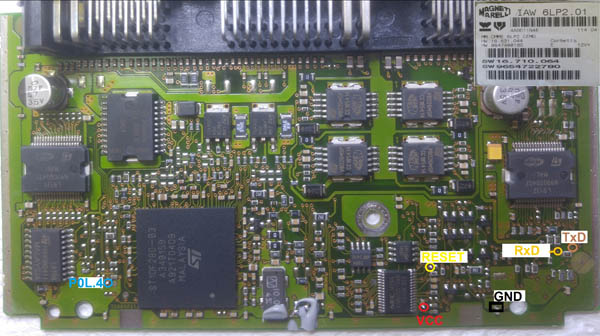
VVDI Prog read BSI Marelli MC68HC912DG128
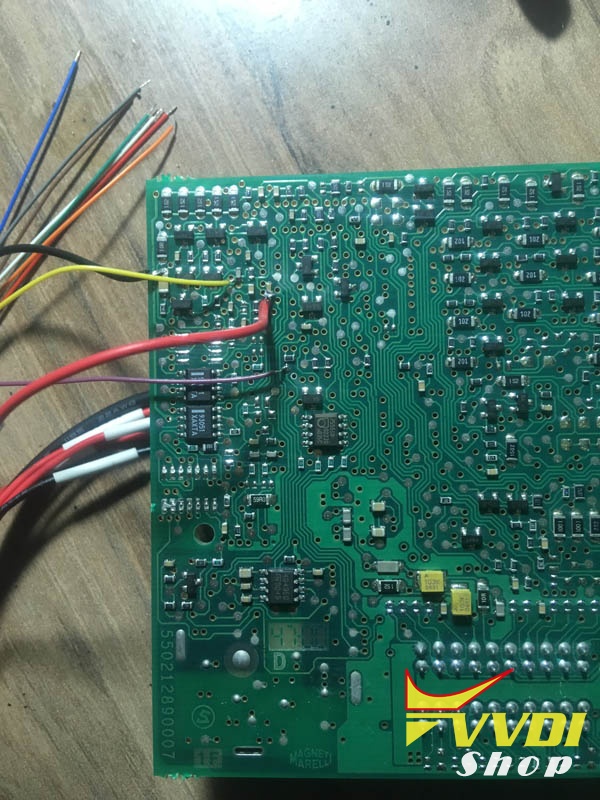
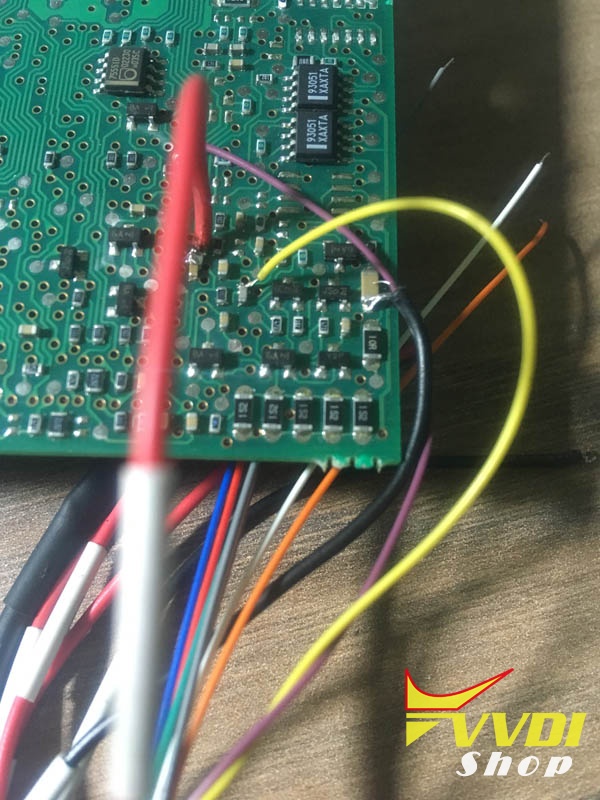
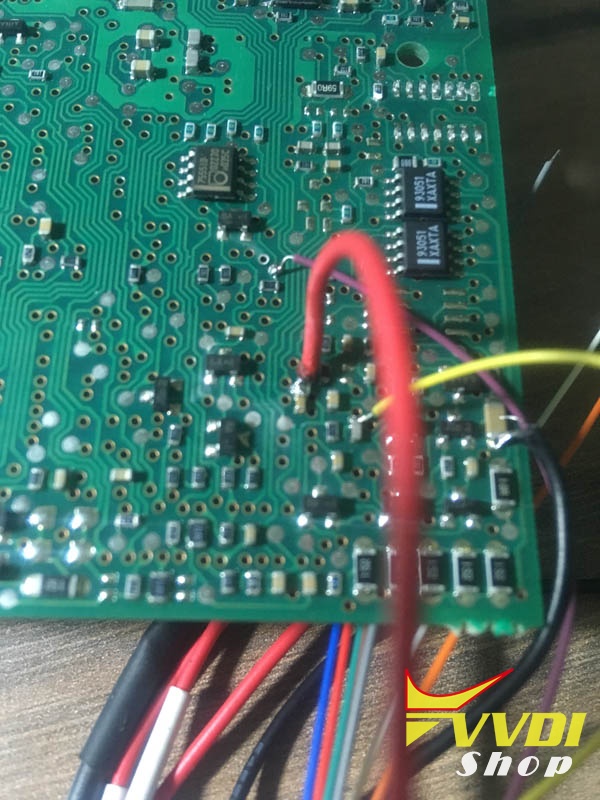
Here’s the Xhorse VVDI Prog programmer pinout to bsi magnet marelli.
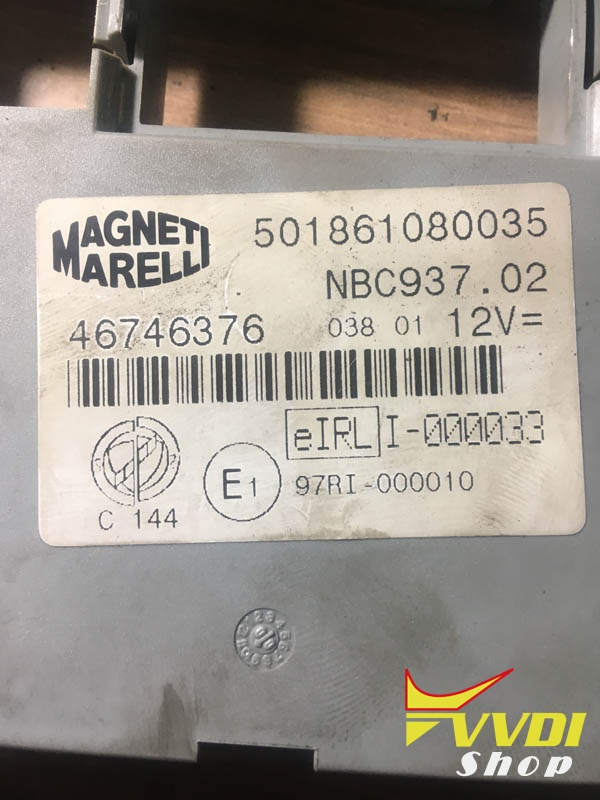
I have successfully read bsi magnet marelli whit vvdi prog,mcu is MC68HC912DG128 unsecured
Mask:5H55W , using this wiring diagram , hope this will be useful for somebody used
wires are VCC -red
GND black ,
reset- yellow
and BKGD – purple

Credit to iozo from DK forum.
VVDI Key tool Programs 433MHz Remotes Mazda 323 Protege
Done! Have tested remote generation on VVDI Keyrtool. Have a big success with Mazda 323 Protege
Car: Mazda 323 Protege
Key programmer: Xhrose VVDI Key Tool
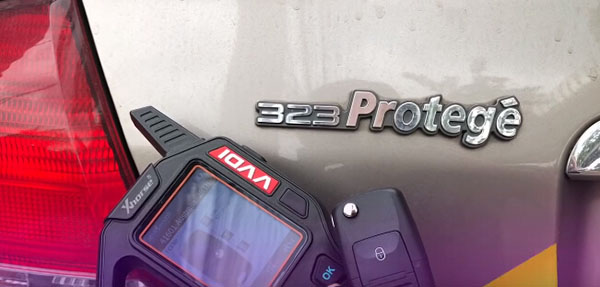
Frequency: 433MHz ASK
Transponder chip: 8C

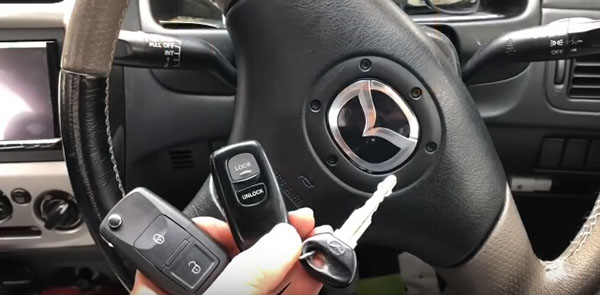
Remote and key used for key programming
Generate a remote

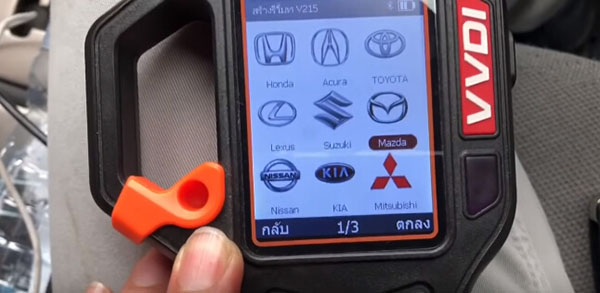
Remote/Smart Program – Remote Key – Asia – Mazda
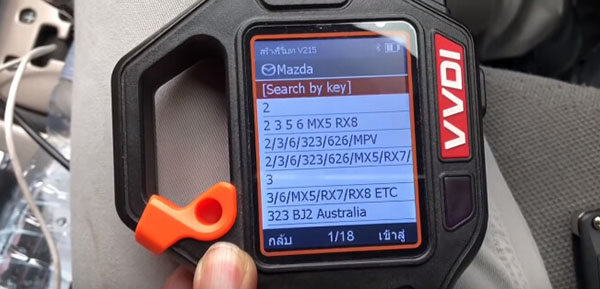
Search by key: 1292 40601 Australia 2BT


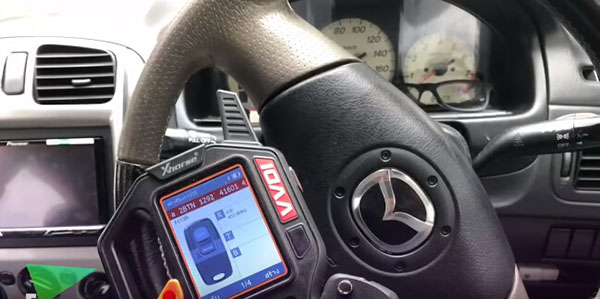
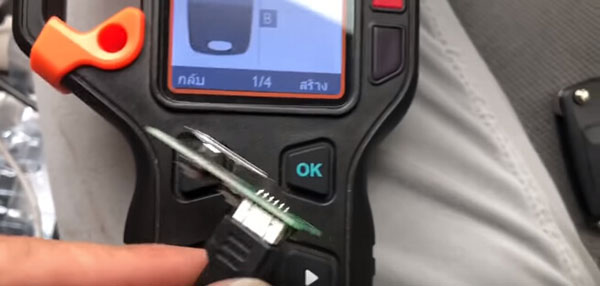
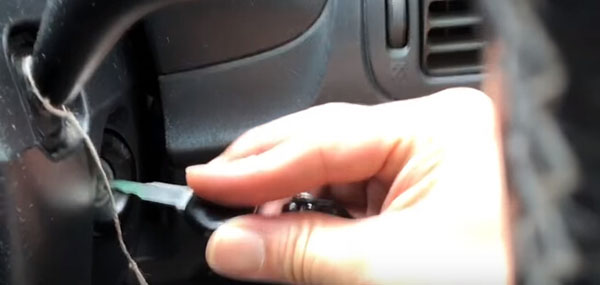
Connect the remote module to the VVDI cable
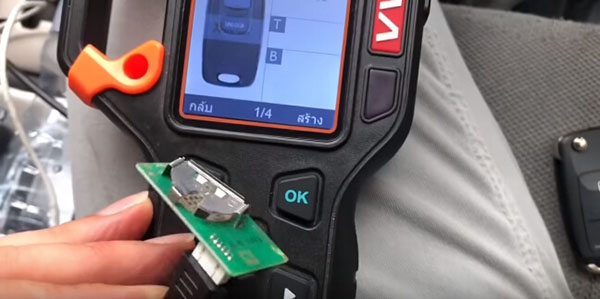
Press {Gen} to make a remote
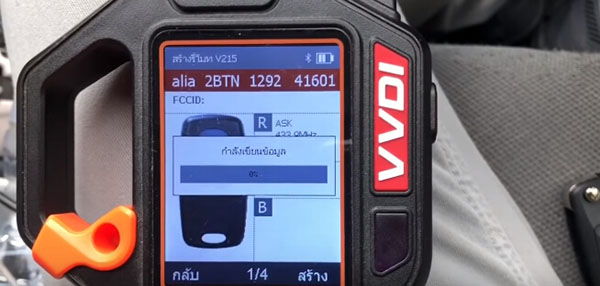
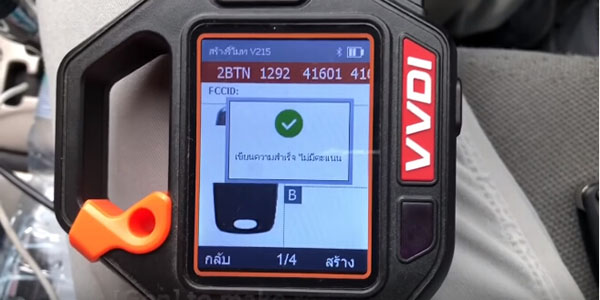
Successful!
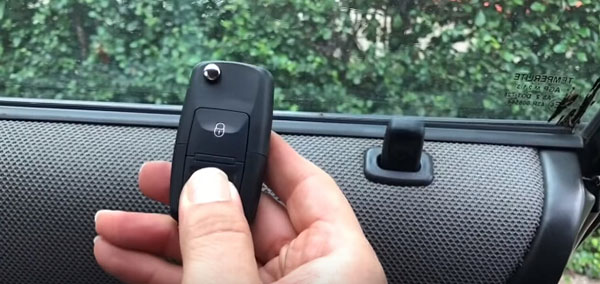
Fill the battery then install it to the remote shell

Program the remote by manual

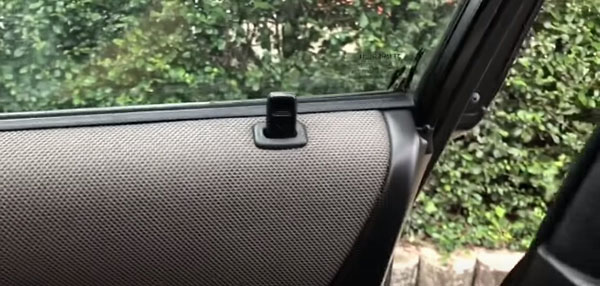
- Open the door
- Turn on – lock for 3 times
- Close- open driver door for 3 times…Door cycle once
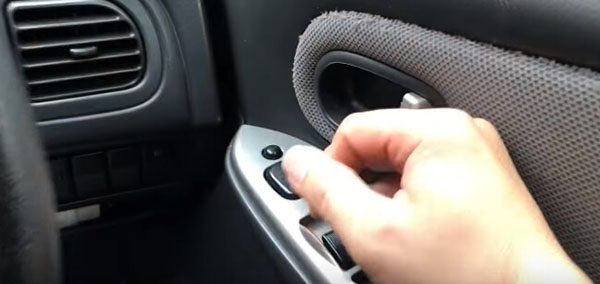
- Press the unlock button on the remote twice…Door cycle once
- Close the driver door…Door cycle twice
Test the remote
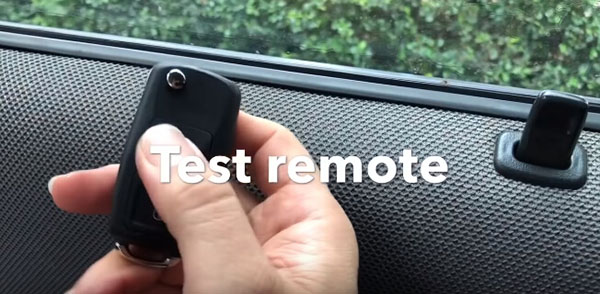

The new remote is working!
VVDI Key tool Programs 433MHz Remotes Mazda 323 Protege
Done! Have tested remote generation on VVDI Keyrtool. Have a big success with Mazda 323 Protege
Car: Mazda 323 Protege
Key programmer: Xhrose VVDI Key Tool
Frequency: 433MHz ASK
Transponder chip: 8C
Remote and key used for key programming
Generate a remote
Remote/Smart Program – Remote Key – Asia – Mazda
Search by key: 1292 40601 Australia 2BT
Connect the remote module to the VVDI cable
Press {Gen} to make a remote
Successful!
Fill the battery then install it to the remote shell
Program the remote by manual
- Open the door
- Turn on – lock for 3 times
- Close- open driver door for 3 times…Door cycle once
- Press the unlock button on the remote twice…Door cycle once
- Close the driver door…Door cycle twice
Test the remote
The new remote is working!
VVDI MB Adapt Mercedes W207 2011 ESLwithout renew EIS
Here’s the guide to personalize Mercedes E-class W207 2011 ESL (key with BGA chip) using Xhorse VVDI MB Tool without renewing the EIS. The process of calculating the password, reading the EIS data and programming ESL is performed by the VVDI MB.

Insert key into EIS
Open VVDI MB software
Open VVDI MB software

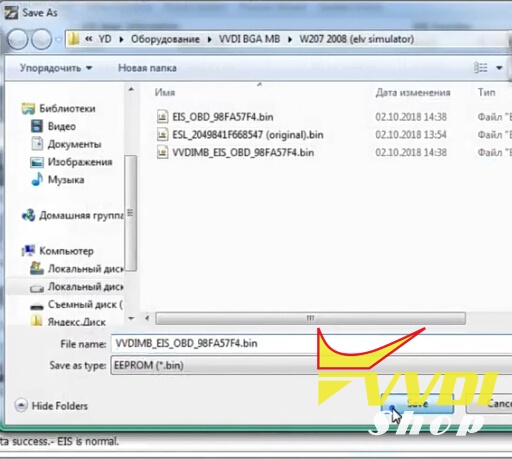
Select EIS Tools, Read EIS data and save it
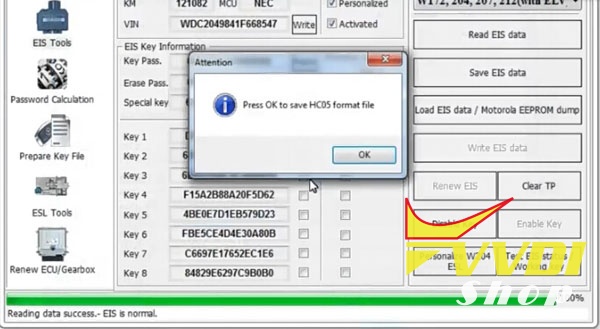
Save HC05 format file as well
Go to Password Calculation
Tick lost all working key
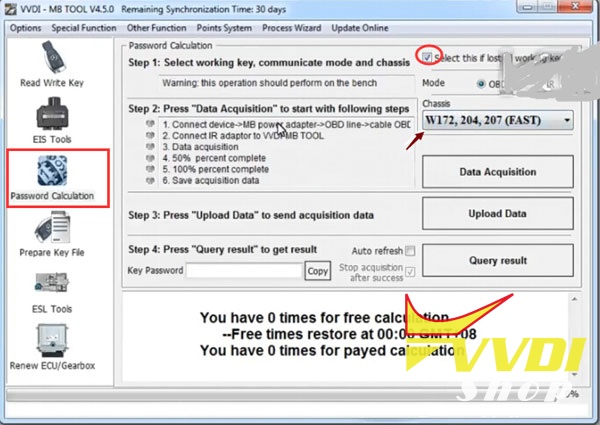
Select Mode OBD and Chassis W172,204,207 (FAST)
Follow steps below to finish
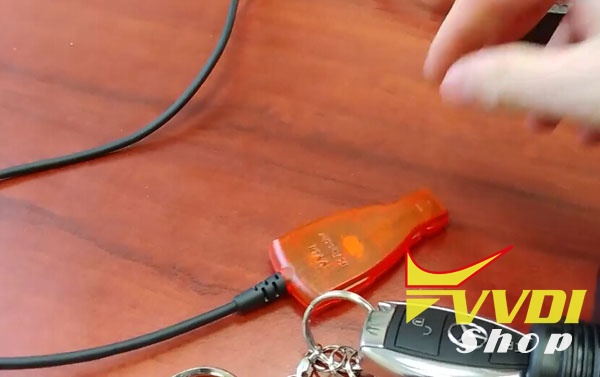
1. Connect VVDI MB tool with MB power adapter and OBD cable
2. Connect IR adapter to VVDI-MB tool
3. Press Data acquisition
4. wait until 100% complete
5. Save acquisition data

This opeartin need about 18 minutes. Connect EIS with cable before continue
Don’t connect ESL to cable.
Don’t connect ESL to cable.

Press Upload Data, update eis data saved above

Success find key password

Copy the password
Untick if lost all working key and select IR mode
Select Chassis W172,204,207,212 (with ELV)

Step 1: Connect IR adapter to VVDI MB
Step 2: Data acquisition
1.Insert working key to ignition, wating 5 seconds
2.Take out working key, insert again, last insret to IR reader,
3.Data acquisition
4.Insert working key to ignitoon, waiting 30s,
5.Insert working key to device IR reader, wait end
6. Save acquisition data
Step 3: Press Upload Data to send acquisition data
Step 4: Press Query Result to get key password

Select ESL Tools


Select Load VVDI-MB EIS Data with key password

and paste key password to corresponding area

Connect EIS with Xhorse ESL emulator

Tick Auto clear TP and personalized
Press Write button
Writing data
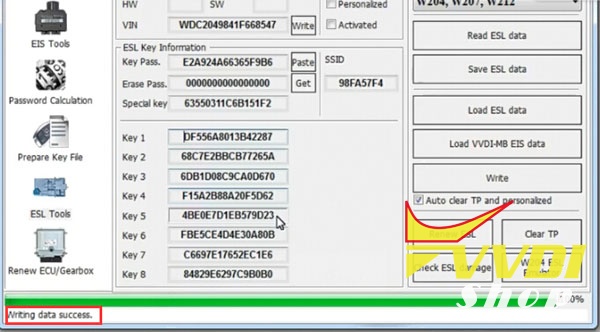
Writing data success
Remove and insert key to EIS and repeat several times.
Done.