ابزار Xhorse VVDI
Xhose VVDI نرم افزار برنامه نویس اصلی و سخت افزارابزار Xhorse VVDI
Xhose VVDI نرم افزار برنامه نویس اصلی و سخت افزارXhorse Dolphin XP005L No M3 Clamp Cutting Setting?
Question:
I would like to know how to duplicate a sx9 key with Xhorse Dolphin II.
I can’t find the M3 clamp in the machine menu.


Answer:
Don’t need to choose M3 clamp option in settings.
Direct replace M3 clamp when cutting sx9 key (or other tibbe keys)

Read also:
Xhorse VVDI Prog Ford Transit BCM BK2T Pinout
Here comes the Ford Transit BCM BK2T-14B476 Nec70F3637 pinout to Xhorse VVDI Prog.


this is vvdi prog connetion diagram


How to Solve Xhorse B5 Super Remote Error Convert Failed?
Problem:
Any idea why I failed to reset the Xhorse XEB510EN B5 Super Remote? error convert failed.


Solution:
You don’t need to convert or reset B5 super remote.
Just re-generate remote directly then program it.
Xhorse Multi Prog Clear Peugeot 308 MED17.1 P0016 fault code
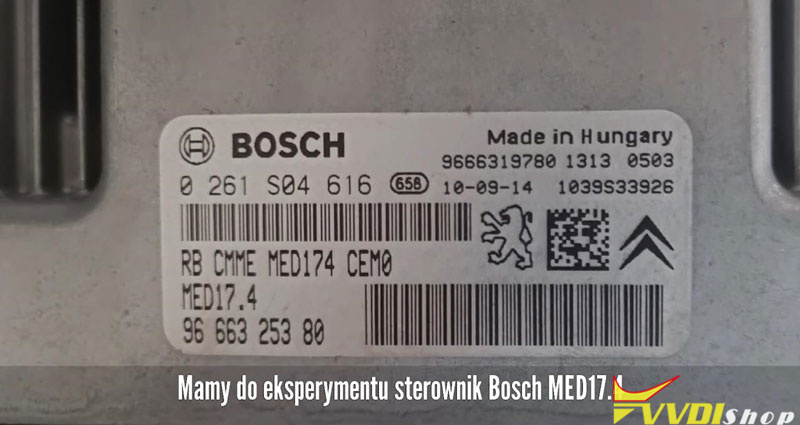
This is a tutorial on how to remove 2010 Peugeot 308(1.6 petrol engine) P0016 fault code with Xhorse Multi-Prog Programmer. The check engine was on the dashboard, and the fault code was red with a diagnostic tester. In addition, we also need ECU Soft Service for modification.

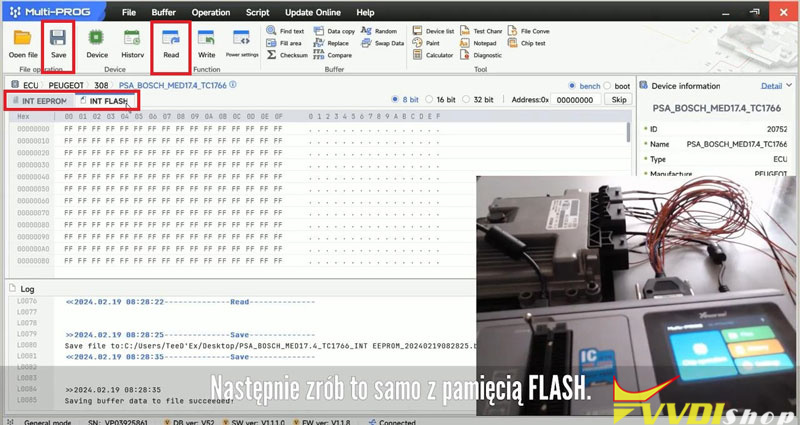
Step1. Read EEPROM & FLASH
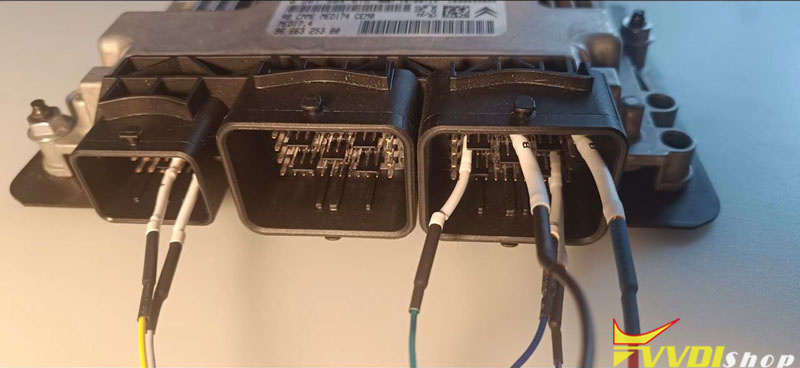
It’s a Bosch ME7.4 controller for the experiment ECU.
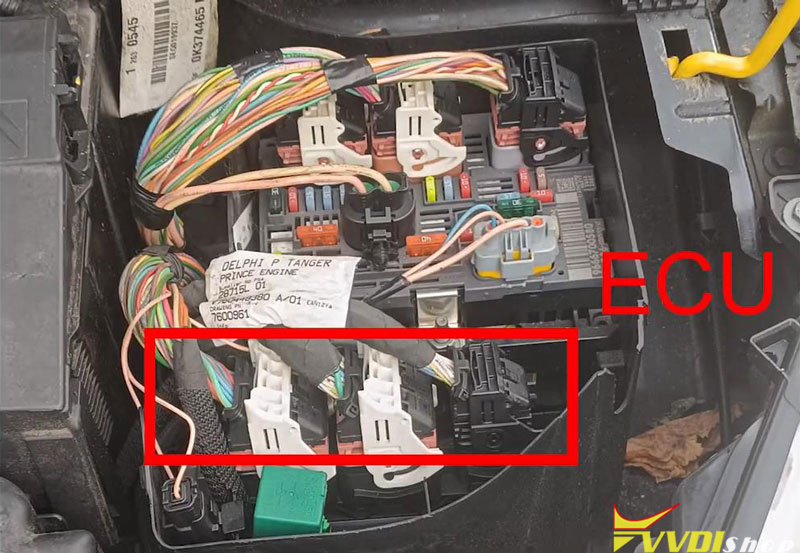
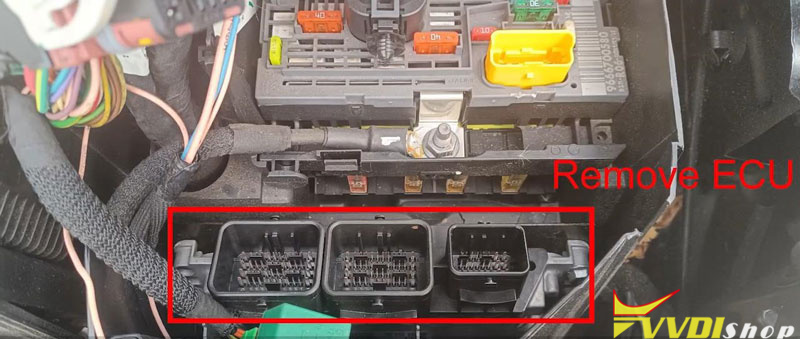
Here’s the location to remove:
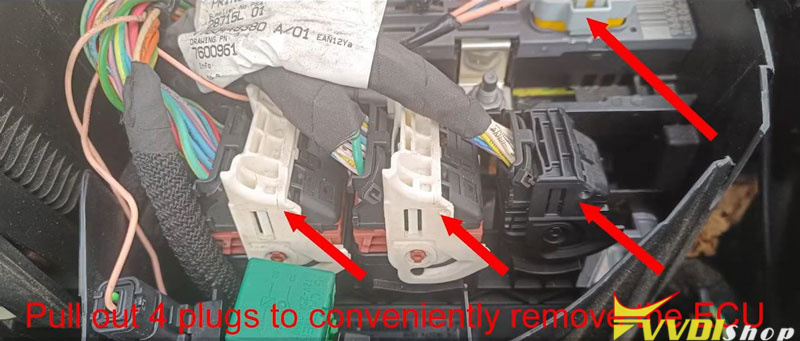
Pull out 4 plugs to conveniently remove the ECU.
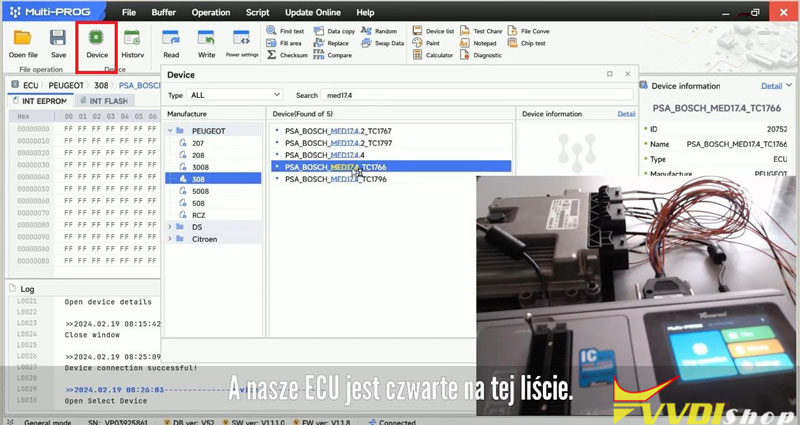
Run Multi Prog software.
Device >> PEUGEOT >> 308 >> PSA BOSCH MED17.1 TC1766
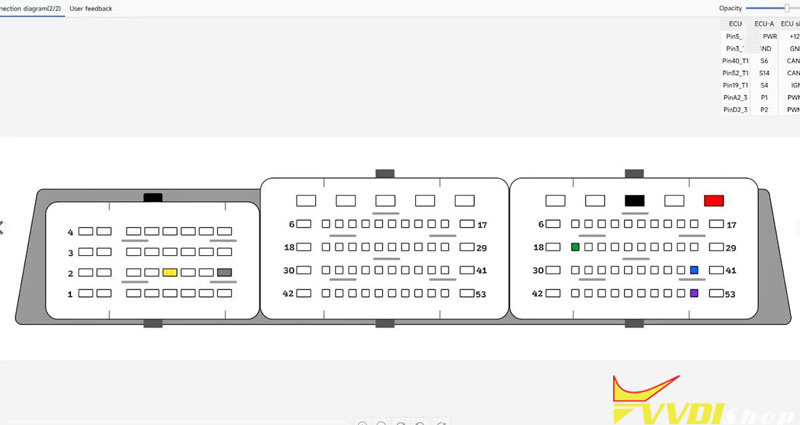
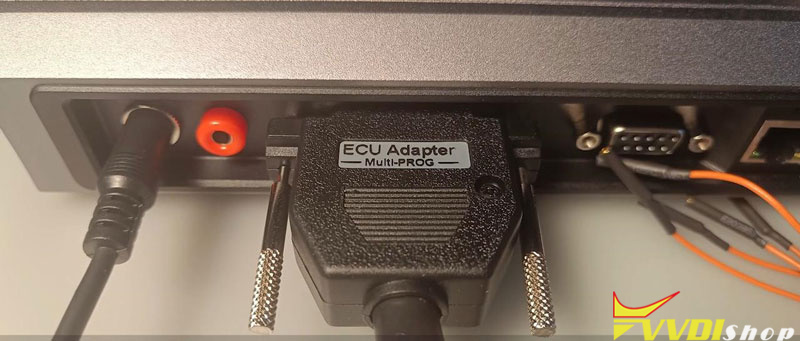
Follow the diagram to connect controller via ECU adapter in bench mode.
Turn on power to read EEPROM & Flash data.
Then save all data files.
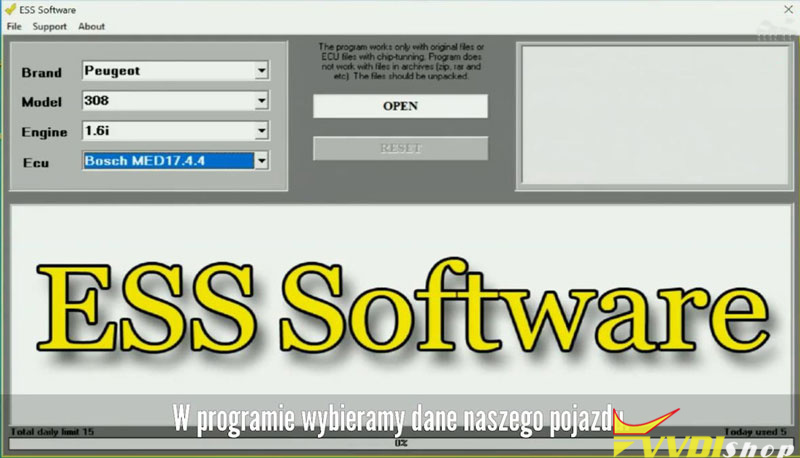
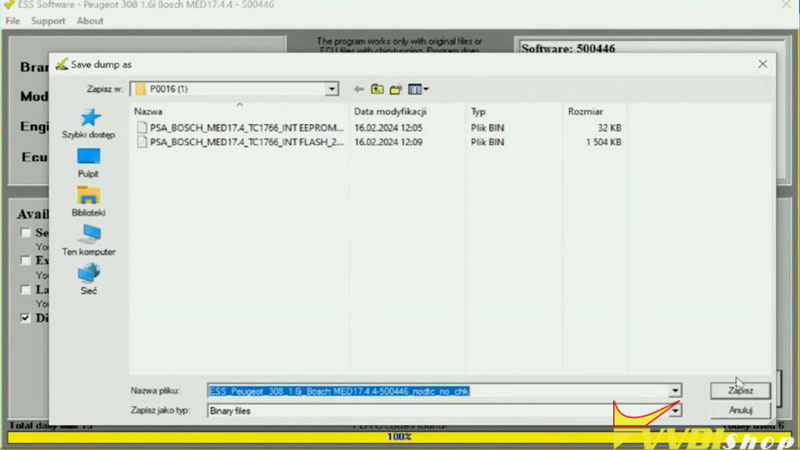
Step2. Modification by ECU Soft Service
Open ESS software,
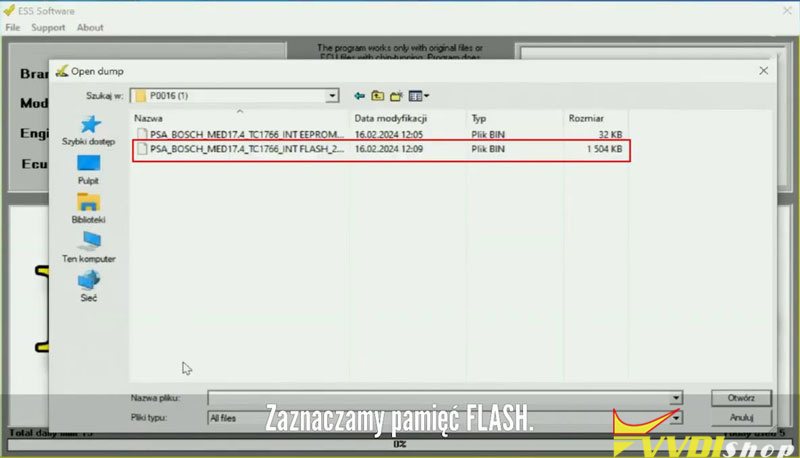
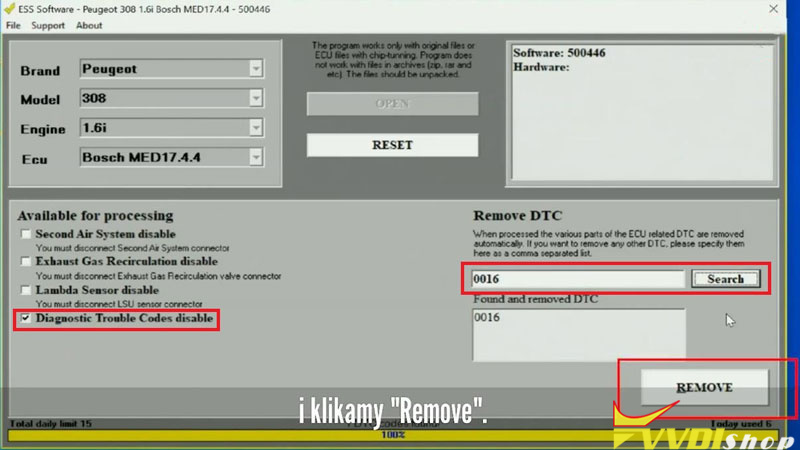
Select vehicle model >> Open FLASH file >> Selected “Diagnostic Trouble Codes disable”>> Enter trouble codes: P0016 >> Remove
Save the new file.
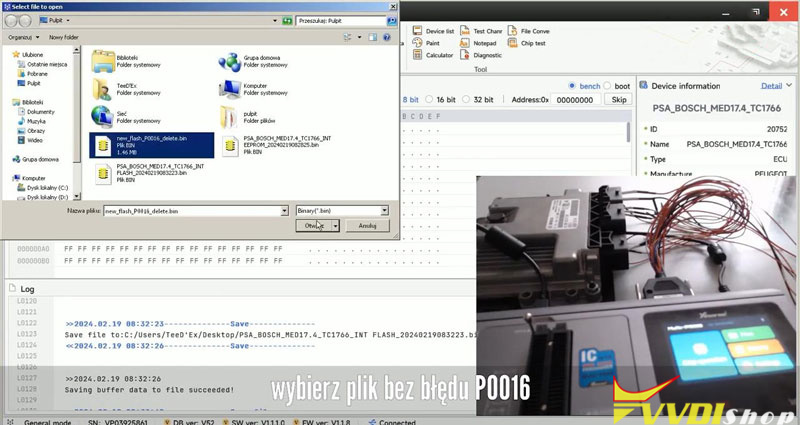
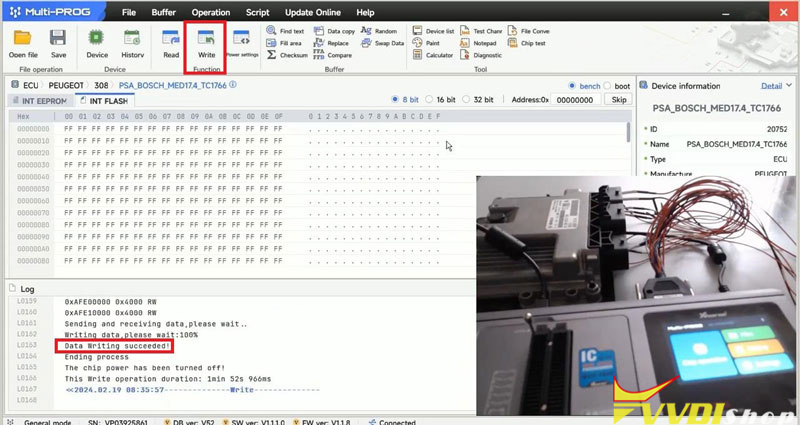
Step3. Write Data
Go back to Multi-Prog software,
Open file >> Select the new file without fault code P0016 >> Save
Write the new file back to ECU.
Now there are no fault codes in the car anymore.

How to Enable Xhorse Dolphin II Developer Mode?
If your Xhorse dolphin xp005l (dolphin ii) key cutting machine does not bring new updates and whenever you update it stucks on screen, you may need to enter developer mode to update firmware.


Here is the guide to enter developer mode.
Go to System

Press the question mark icon on the right top of the screen

Press the QR code

Press Yes to clear all data and enter Developer Mode (factory mode).

Update firmware in Developer mode.
Then switch to normal mode to update firmware again.
It should be fine.