ابزار Xhorse VVDI
Xhose VVDI نرم افزار برنامه نویس اصلی و سخت افزارابزار Xhorse VVDI
Xhose VVDI نرم افزار برنامه نویس اصلی و سخت افزارXhorse Condor 2 Error Code 6 Solution
Here comes the solution to Xhorse Condor XC-Mini Plus II error code 6. Hope it helps if the same error occurs.

Solution:
When decoding or cutting keys by Condor 2, Error Code 6 indicates abnormal conductivity in the probe or cutter.
Follow the step-by-step guide below to solve it.
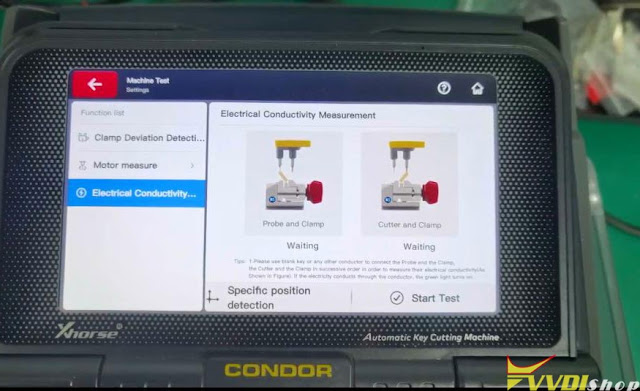
Step 1: Conductivity Test
Perform a conductivity measurement to diagnose the problem:
1.Navigate to Settings > Machine Test > Electrical Conductivity Measurement.


2.Follow the on-screen prompts to connect either the probe or cutter (not both).
3.Start the test.
Step 2: Test Results
If both the probe and cutter light up green simultaneously:
This indicates a short circuit between the probe and cutter.
Step 3: Inspect for Iron Filings
Check for iron filings around the three screws above the probe.

Clean the area thoroughly to remove all debris.
Step 4: Reinstall Screws
If the problem persists, remove the three screws above the probe.
Clean the area around the hole to ensure no iron filings remain.
Reinstall the screws, but:
Do not overtighten, as this can damage the insulation plastic ring on the screws, causing a short circuit.


Step 5: Check Conductive Wires
Restart the test. If the probe green light turns on before connecting:
- Indicates the probe is in a short circuit state.
Inspect the conductive wires on the probe disk for damage.
- Damaged wires should be wrapped with insulating tape.


Conclusion:
Retest conductivity using the Xhorse Condor XC Mini Plus II Key Cutting Machine’s test interface.
If the issue persists, consider replacing faulty components or contacting the manufacturer.
Xhorse Condor II Error Code 42 Solution
Problem:
I got error code 42 when decoding HU83 key blank with xhorse condor ii key cutting machine.
I have cleaned several times Also made calibration again Still same. Any advice?
Solution:
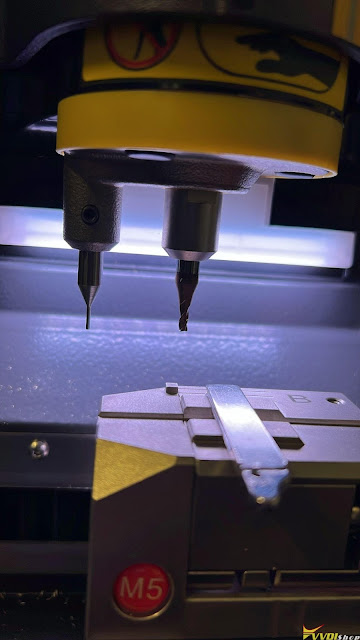
As the condor ii said, probe and cutter are not at same height.
Clean the probe/cutter or do a height level adjustment.
How to do height level adjustment?
•Click Device Info at the bottom
•then click “Height Level Adjustment”
•Next you will want to READ the onscreen directions and follow them exactly.
Feedback:
It works after adjusting height level.
How to Check if Xhorse Condor II Battery is Good or Not
If you cannot turn on Xhorse Condor XC-Mini, Condor XC Mini Plus or Condor II key cutting machine, you may need to test the 24v voltage output of the battery to check if needs a battery replacement.
Follow this way to test Xhorse Condor battery:
1.Remove these screws to take out the battery.
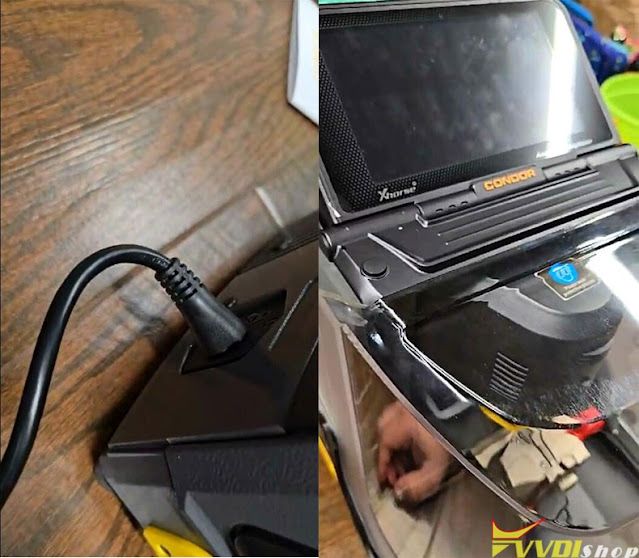
2.Connect 220V power supply on the top
Only when 220V power supply is plugged in at the top, you can measure 24V voltage output at the bottom. If you power the 220V but cannot measure 24V voltage, there is a problem with the battery or power supply. If there is no 24V voltage output, the battery does not charge and needs to be replaced.
Xhorse Condor II Error Code 57 Working Solution
Problem
Xhorse Condor II key cutting machine had error code 57.
The probe is short-circuited.
Solution
Just as it indicated, the probe is short-circuited.
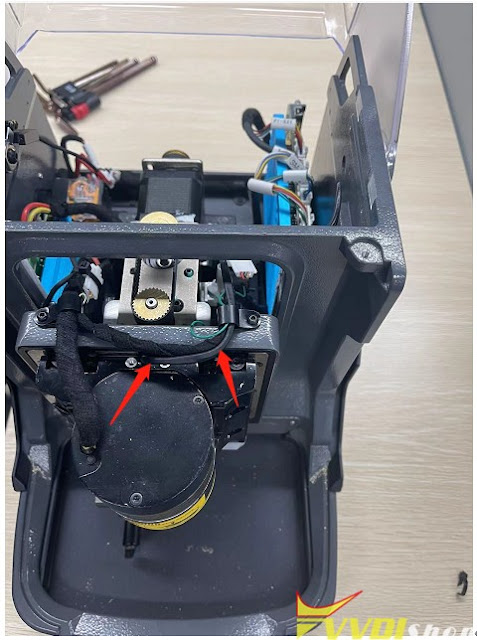
Follow guides below to disassemble machine
Then check the probe catheter.
Check if it is broken and report result to www.vvdishop.com
Xhorse Condor Mini Plus II Error Code 3 Solution
Problem:
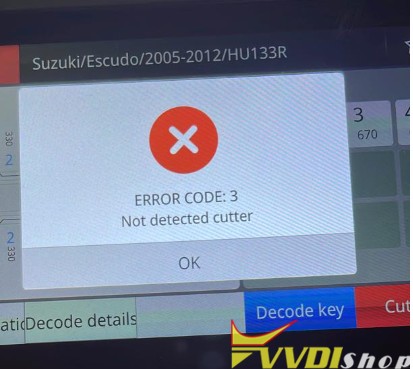
I had a problem cutting Suzuki HU133R key blank. My Xhorse Condor II key cutting machine gave me error code 3. Not detected cutter. Any advice?
Solution:
First of all, do an Electrical Conductivity test.
In Condor II main menu, go to Settings->Machine Test-> Electrical Conductivity Measurement->Start Test
If there is a problem with the conductivity test, do following:
https://www.vvdishop.com/service/xhorse-condor-ii-conductivity-test.html


