ابزار Xhorse VVDI
Xhose VVDI نرم افزار برنامه نویس اصلی و سخت افزارابزار Xhorse VVDI
Xhose VVDI نرم افزار برنامه نویس اصلی و سخت افزارXhorse Condor II Setup, Calibrate and Update Guide
This is a guide on how to setup, calibrate & test, update Xhorse Condor XC-Mini Plus II key cutting machine for the first time. Read this article carefully to learn.
How to prepare Condor II?
- Plug in device, and power it up.
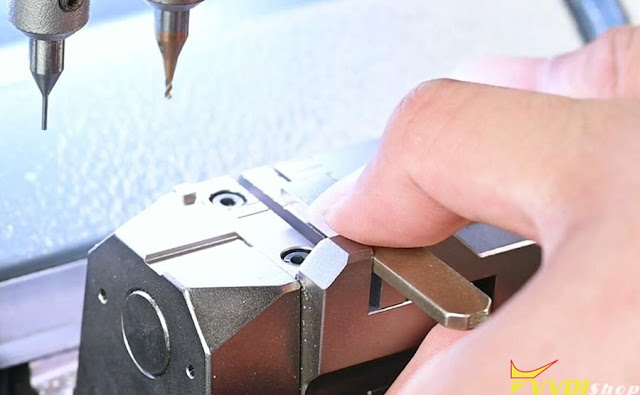
- Remove brands & loosen milling bolts with provided hex wrench, then insert probe into left-side clamp, cutter into right-side.
- Align probe and cutter at visually even height once tightened.
- Fully inset M5 clamp from right to left into clamp vice, secure in place.
How to setup & bind Condor II?
- Select preferred language, accept privacy policy and continue.
- Connect to WiFi
- Log in Xhorse account to get security code, press “OK” to bind device.
Device activation success.
How to calibrate & test Condor II?
- Setting >> Device calibration >> Height calibration >> Start
Tip: install M5 clamp then select A position(side A is upwards) and tighten left, don’t insert key blank.
- Once complete begin “Cutting Calibration”, insert HO01 test key, align with last mark, flat and secured into place before starting.
Use debris brush to remove all metal shavings from the clamp and key surfaces then continue.
- Clamp Deviation >> M5-A clamp, insert and align HON66 test key to fifth and final marker. Press “Start”.
When completed, move on to side-B and place key blank into the channel, sitting atop of the clamp surface before tightening.
Tip: Incorrect insertion will result in an error code and red flashing hazard to signal need of adjustment. Simply correct and continue.
- Begin “Motor Measurement”. Run each test once to ensure proper function and movement of all rotors, for all 4 angles off motion.
- In order to test the “Electrical Conductivity”, use a key blank to ground the probe or cutter to the clamp. Green circle means good connection.
How to finish settings & upgrade?
- Select “Cutting Setting” to see available adjustments or setup options available to make the Xhorse Condor 2 your perfect cutting machine.
- Go to Update and install any every time they are available to ensure perfect function.
Once updated, check out the fully-packed, ready to work Key and Vehicle Lists.
https://www.vvdishop.com/service/set-up-calibrate-and-update-xhorse-condor-ii.html
How to Cut Toyota TOY43 Key with Xhorse Condor 2?
There’s one more way to decode a key on Xhorse Condor XC-Mini Plus II key cutting machine: that’s through Universal Key Duplication. It does copy the key exactly. This can be used as an alternative method once all keys lost or cut by bitting was unsupported.
Today we’re going to use a TOY43 as demonstration, this key does not have a shoulder.
Universal key duplication >> Standard double-sided key >> Tip align >> M5-A clamp
It’s suggested to use M5 clamp side A, and put it to the third line.
We’ll just pop the blade in, make sure it’s nice and straight to that third line.
Press “Decode key”.
Condor Mini Plus 2 starts decoding automatically…
Universal key decode success.
It’s looking pretty spot-on. This key is actually in good condition, so doing it this way will quite well. However, if you can do the all keys lost or cut by bitting method, it’s more highly recommended.
Alright now that, we’ve decoded the key.
We’ve got a blank key, so we can continue to put in the same position and start cutting.
Xhorse Condor 2 Cut 2022 Ford Maverick HU198T
I’m gonna attempt to cut a 2022 Ford Maverick HU198T key with Xhorse Condor XC-Mini Plus II key cutting machine. I’ll decode it first then cut it.
Unfortunately, I can’t find the HU198T option under Maverick, so I’m going to try with Escape HU198T that may work.
Fix on a working key on M5 clamp.
Automotive >> Brand/ model >> Ford >> Escape >> HU198T >> Decode
Key learning success.
It’s 4534343122.
Install a new key blank on M5 clamp.
Starting cutting >> Cut
Side one is done, it looks all right.
We’re gonna see what we end up with one thing: the 20+ Bronco, 20+ Escape and 20+ Maverick. You may have to cut the mill, the tip of this key down if you notice. The 101 is angled over a little bit but let’s try cutting it anyway. And see what happens.
Let’s continue to cut the other side.
Flip over the key blank:
Starting cutting >> Cut
Xhorse Condor 2 is a new machine for me, but it does work in ease.
The new key can open the door & switch ignition on well.
Perfect work!
How to Cut House Key with Xhorse Condor II Built-in Database?
Kwikset & Schlage cut are the newly added functions on Xhorse Condor XC-Mini Plus II key cutting machine for household keys. As long as you have the M4 Clamp& bitting codes, household key cutting is an easy job.
How to cut a Kwikset key on Condor II?
https://www.youtube.com/watch?v=MgORz31GApA
Household key >> Kwikset >> Other >> KS1FT
M4 Clamp should be shoulder align.
Put a new key blank on clamp.
Input its bitting codes:24374
Start cutting >> OK
Condor Mini Plus will starts cutting automatically.
Just wait until 100% completed.
Perfectly done!
How to cut Schlage key on Condor II?
https://www.youtube.com/watch?v=2bMz4RhH9eU
Household key >> Schlage >> Other >> SH7
Fix a new key blank on M4 Clamp firmly.
Enter key bitting codes: 487472
Start cutting >> OK
Condor 2 Machine will finish the cutting automatically.
Just let it do.
When cutting is completed, we can see it did a great job.
*Only Condor II has house key database.
Xhorse Key Cutting Machine is specially designed for locksmiths to experience smart & easy key cutting. Follow us to learn more new features and developments.
How to Cut a Regular Key to a Flip Key with Xhorse Condor II?
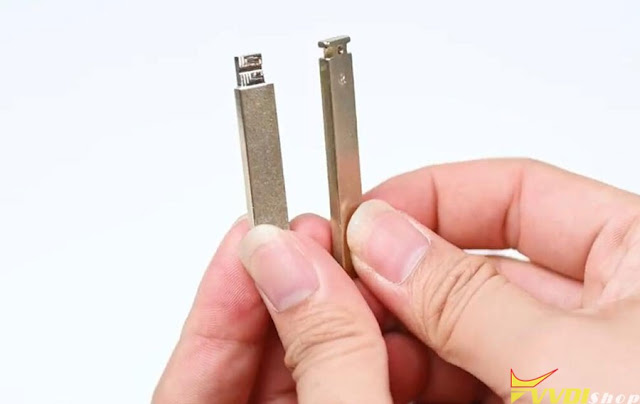
Xhorse Condor XC-Mini Plus II key cutting machine released a new feature- modifying a regular key blade to a flip key blade in June 2022.
In manual cutting, you can modify an ordinary key to a key that can be applied in a flip remote.
Check out how it works.
I. Tail Reshaping
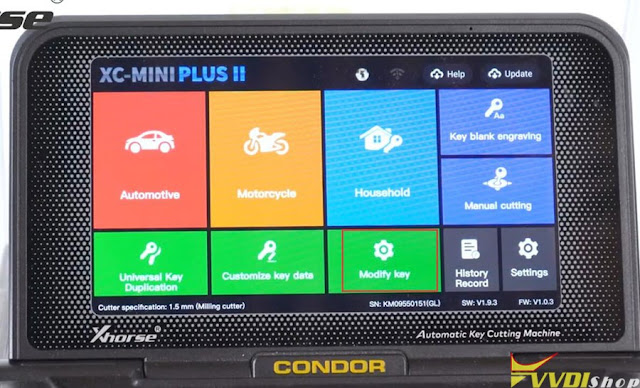
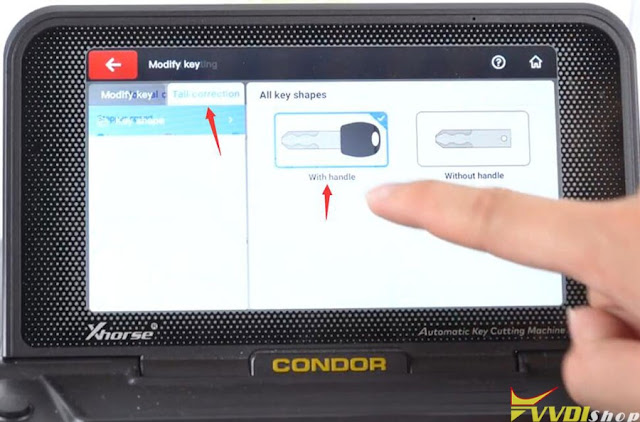
Enter Modify Key menu – Tail correction- with Handle
Tighten the M5 clamp and tap initialize
Insert an ordinary key blade
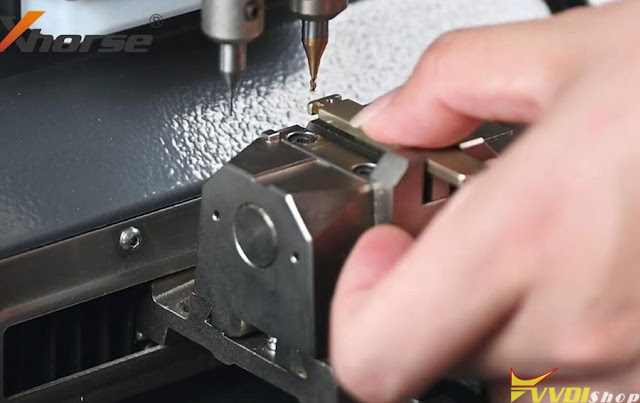
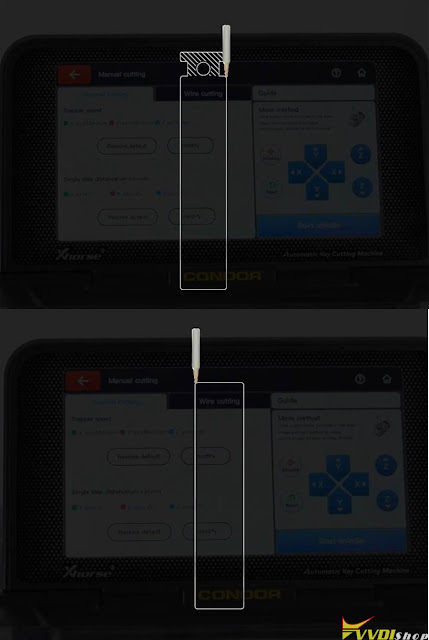
make sure that the top of the cutting area of the key blade is flush and conductive
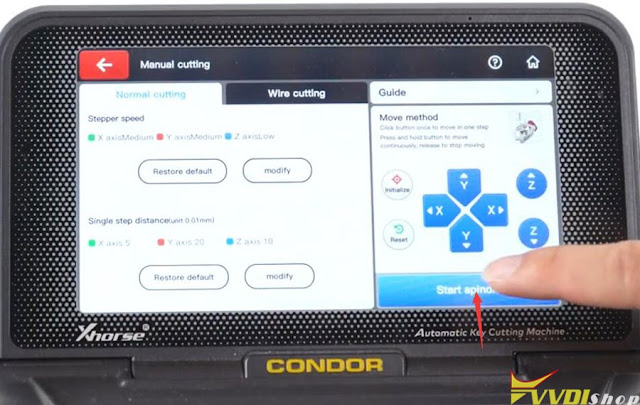
Press Start spindle and move the cutter to an appropriate position to cut the tail of the key
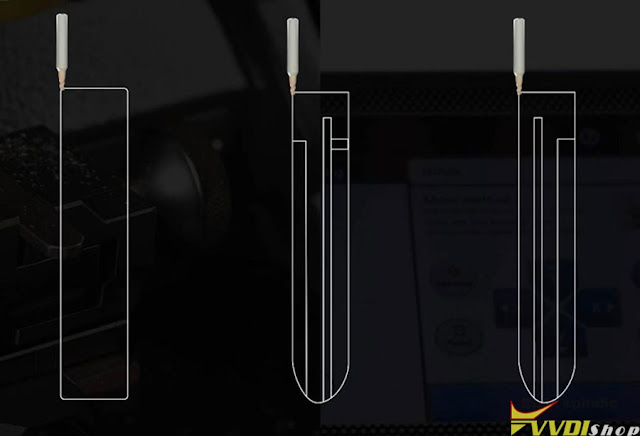
In this step, you can completely remove the key tails of different shapes
for example, modify those to these
Now you can see the tail of the key removed
II. Groove cutting
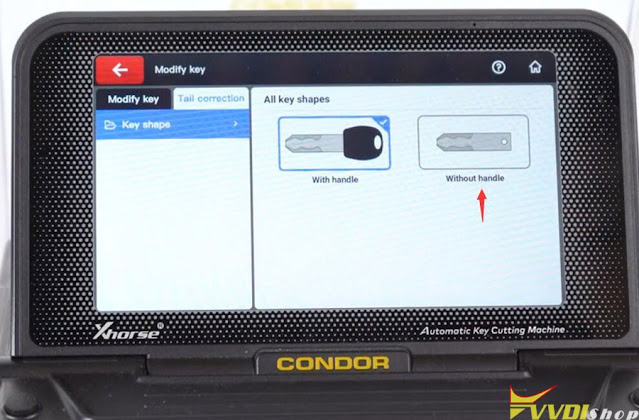
We choose without handle this time
Insert the key blade again
Start cutting
in this step, the Xhorse condor ii will detect the key itself and start automatic cutiing
all you need to do is make sure you remove the tail
cutting key completed.
clean the shavings
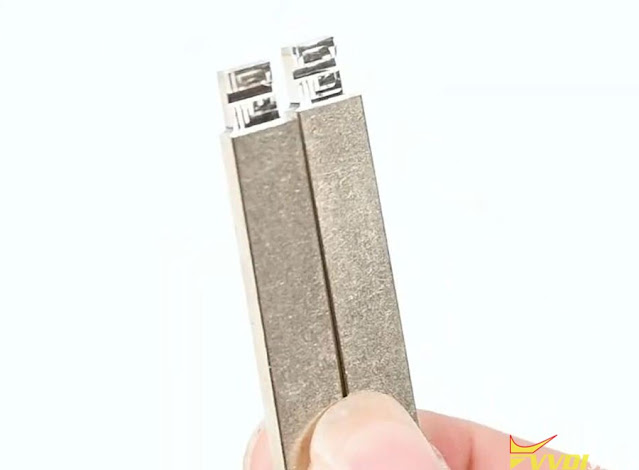
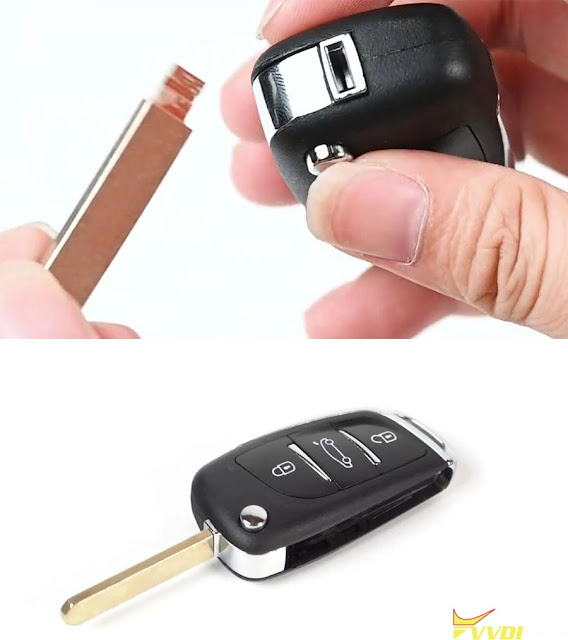
now you got yourself a brand-new key blade
you can stick the key blade to your flip key remote
.jpg)
.jpg)
.jpg)
.jpg)
.jpg)
.jpg)
.jpg)
.jpg)
.jpg)
.jpg)
.jpg)
.jpg)
.jpg)
.jpg)
.jpg)
.jpg)
.jpg)
.jpg)
.jpg)
.jpg)
.jpg)
.jpg)
.jpg)
.jpg)
.jpg)
.jpg)
.jpg)
.jpg)
.jpg)
.jpg)
.jpg)
.jpg)
.jpg)
.jpg)
.jpg)
.jpg)
.jpg)
.jpg)
