ابزار Xhorse VVDI
Xhose VVDI نرم افزار برنامه نویس اصلی و سخت افزارابزار Xhorse VVDI
Xhose VVDI نرم افزار برنامه نویس اصلی و سخت افزارHow to Use and Program Xhorse Digital Smart Key XSBTK0EN
Say goodbye to fumbling for keys! The Xhorse Bluetooth Digital Smart Key turns your phone into a digital car key and smart diagnostic tool. Offering keyless entry, touchless locking, and remote start. No network? No problem! Plus, it’s super easy to install via OBD. Monitor your vehicle’s status and control it all from the SmartKey Box app(available on iOS & Android).
In this article, we’ll introduce how to start and use XSBTK0EN Smart Key, including full installation and activation. Upgrade your ride’s security and convenience today!
Step 1. Key Programming
NOTE: For vehicle security, this product requires the use of Xhorse professional equipment during the initial installation.
If you’re an automotive locksmith, make sure you have a battery and a pressing tool ready – tweezers are highly recommended for this process, and any Xhorse generation matching device.
If you’re an individual car owner, the first-time installation will require assistance from a professional automotive locksmith or repair shop to complete the process.
Here’s taking VVDI Key Tool Plus for demonstration.
- To start, carefully press and disassemble the device. Inside, you’ll find a built-in key.
- Be sure to install the battery correctly, paying close attention to the positive and negative terminals(with the correct polarity).
- Once the battery is installed, you can proceed to program it with the vehicle. As you would with a regular key.
It’s that simple! Now let’s dive into the operation steps using a BYD vehicle.
- Remote Program
Insert the Bluetooth Key Remote Module with the battery installed.
Remote Program >> BYD >> Han ID46/4A 433.92 >> Generate
Burn success.
- Detect Chip And Frequency
After generating, check the chip and frequency.
If successfully identified, proceed to the next step.
If the module is not recognized, it indicates that it is in a disabled state.
In this case, insert it back into the OBD port, pair it with the phone’s Bluetooth and use the phone to unlock the car once to activate.
- Immo Programming
Immo programming >> BYD >> 2021-(new) >> Smart key programming >> Start programming >> Key programming
Key number: 2
User the new smart key(Bluetooth Key Remote Module) and hold it close to the induction coil.
Programmed successfully.
- Test Functionality
Next, you can test the remote module.
Make sure it has the battery installed during the testing process.
If the test is successful, you’re all set!
Step 2. Bind The Device
Download and install the SmartKey Box app.
Note:
Programming completed, battery must be removed before using it.
Insert the device into the car’s OBD port, open the app and connect the device.
Then, pair the device with your phone through learning mode.
Step 3. Write OBD Diagnostic Program(Optional)
Enter “OBD diagnosis”, select the corresponding vehicle model and write the OBD diagnostic program to the device.
Note:
If your vehicle model is not currently listed in the supported models, it will not affect the functionality of your phone’s digital key. You simply won’t be able to access real-time vehicle and fault information. We are constanttly working to expand support and will provide updates as they become available.
Once you’ve completed these steps, the device is good to go!
How to Remove Xhorse XSKF30EN Knife Style Smart Key Shell
How to remove/disassemble the Xhorse XSKF30EN crystal knife style universal smart remote key shell?
Check the instructions below:
You will need this small key shell removal tool.
There is a small button on the back of the remote.
Press the button and pull the the part
There are 3 holes on the bottom.
Insert key removal tool into the smallest hole and pry upwards.
Then you can remove key shell.
https://www.vvdishop.com/service/disassemble-xhorse-xskf30en-smart-key.html
Xhorse Smart Remote Reset Guide
Problem:
How do you erase & reset xhorse vvdi xm38 prox once it’s programmed to a car?
No re-writing it doesn’t reset it and it won’t program to another vehicle successfully? Any solution?
Solution:
Xhorse smart remote can be rewritten, you need to generate the key over again, just like you did last time.
If you fail to re-write remote, reset xhorse smart key like this.
Xhorse Smart Remote has 2 types: XM38 Smart Remote and NXP Smart Remote.
Part 1. XM38 Remote
Try the hardware reset function. Remove battery, hold lock button, insert battery and wait a few seconds.
1.Remove battery
2.Press and hold Lock button, then install battery
3.Light on PCB keeps on
4.Go ahead and burn remote controls
*If your XM38 is Chinese version, it will not work on Global version device.
Part 2. NXP Smart Remote
1.Check battery capacity
2.Switch battery
3.If the problem remains, send back to factory
Possible to Generate Ford 902Mhz Smart Key with Xhorse Key
This is a frequently asked question of Xhorse keys. People say that no one can do Autel ikey and Xhorse either.
Here is the clue.
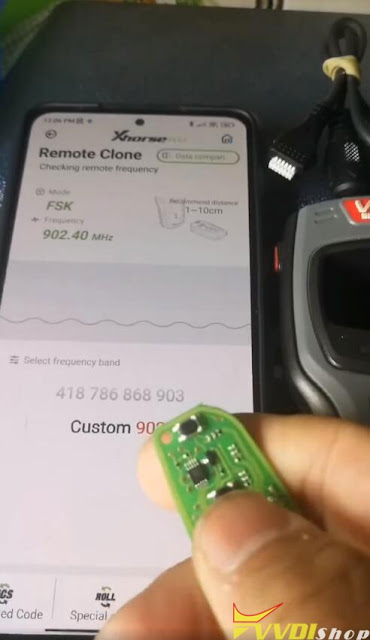
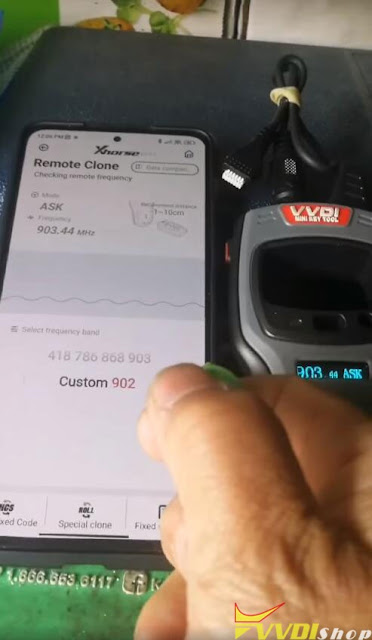
You can generate a xhorse proximity with 902Mhz profile (image below).
It works, just generation and test frequency.
People have made a lot of these on the Xhorse universal proximity type.
The remote worked, lock, unlock works.
The remote start worked. But to starts the vehicle, only when the key in the slot.
The proximity function won’t work.
Xhorse Smart Key 2019 Ford 902Mhz Remote Works Car Not Start?
Here comes with the similar problem:
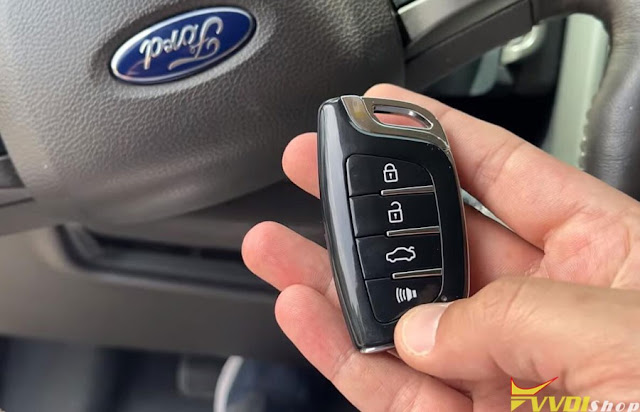
Program 2019 Ford Expedition remote / start key using xhorse universal smart key. Remote working, car recognizes when key is in the car, green light on the start button but car doesn’t start only when key in the slot.
Answer:
You have generated wrong remote. Xhorse cannot do proximity with 902MHz.
Xhorse and autel had 433 & 315mhz frequency and may be converted to one or other but this new truck use 902 mhz that this smart universal key don’t have so it would not work!!!
These are 902mhz, xhorse, keydiy, or autel, none of them can generate 902mhz keys.
YOU HAVE TO USE THE REMOTE WITH THE SAME EXACT BUTTONS!!!
This new generation is called motion sensing fob. From 2019 and up.
The FCC ID, part number, and button configurations must match with the original remote.
.jpg)
.jpg)
.jpg)
.jpg)
.jpg)
.jpg)
.jpg)
.jpg)
.jpg)
.jpg)
.jpg)
.jpg)
.jpg)
.jpg)
.jpg)
.jpg)


