ابزار Xhorse VVDI
Xhose VVDI نرم افزار برنامه نویس اصلی و سخت افزارابزار Xhorse VVDI
Xhose VVDI نرم افزار برنامه نویس اصلی و سخت افزارXhorse Garage Remote Frequency Different from Original Solution
There are many different brands of garage remotes with different frequencies on the market. If you find that the copied function is unavailable or the remote control distance is too short, it’s probably due to the Xhorse Garage Remote frequency is different from the original remote. To solve these problems, you need to set the same frequency as the original remote.
There are 2 ways to set same frequency as original remote: set frequency on garage remote(without device) & set frequency by VVDI key tool device.
Method1. Set Frequency on Garage Remote
- Enter the set-frequency mode.
Press and hold the Lock and Pause buttons simultaneously, you can see the LED light turns on. When the light turns off, release the buttons.
- Set frequency.
Press the Up button. Different press times correspond to different frequency points. For example, if we press it twice, the LED will flash twice, which means it is set as the second frequency point.
- Double check frequency
After setting frequency successfully, release all buttons. Wait 5 seconds, the remote LED light will flash again for you to confirm which frequency point it’s at right now. The number of flashes corresponds to the frequency set.
You can refer to the frequency reference table:
- Exit set-frequency mode
After the remote LED light stops flashing, press the Lock and Pause buttons immediately. When the LED light turns on and then off, release the buttons.
Method2. Set Frequency by VVDI Key Tool
If the frequency you need is not in the frequency reference table, you can use VVDI Key Tool series device to set frequency at random point. Such as Key Tool, Mini Key Tool, Key Tool Max, Key Tool Max PRO or Key Tool Plus.
Here we take Mini Key Tool as an example to set the frequency of Masker, and the operation steps are as follows:
- Connect to the device.
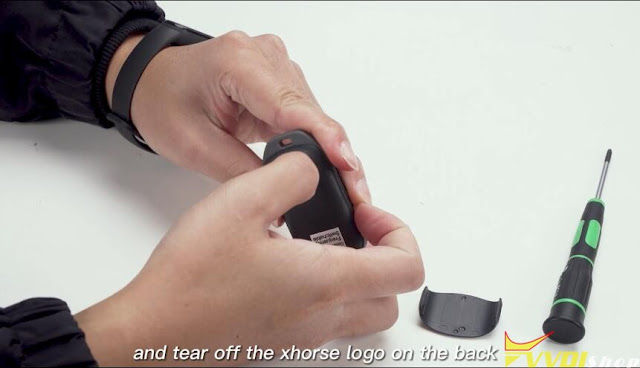
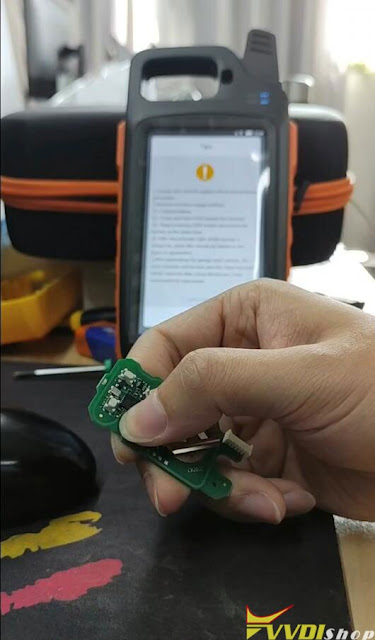
Remove the Xhorse logo and loosen the screw. Open key shell to take out the PCB board inside. After pairing Mini Key Tool to the phone via Bluetooth, we connect the device to Masker with a programming cable.
- Generate copy program.
Garage remote >> AA_Xhorse_copy program >> Update copy remote V108 support edit frequency >> Generate
It is worth mentioning that Masker adds an interface to support wired generating, which is more stable than wireless generation. So we don’t need to read the tips for wireless generating. Just tap “OK” to start the generating.
- Customize frequency
Special function >> VVDI remote function >> Garage door key customization >> Read >> Modify
First we read the information of the Masker. Then we can see the current frequency value in the table. We just need to tap the frequency value, enter any value you want. Tap “Settings” to modify the frequency.
Now we successfully get a remote that sets our required frequency.
How to Change Xhorse Remote Frequency by Key Tool Max
Users are allowed to switch the frequency of Xhorse XKGHG1EN garage remote manually, over 20 frequencies are available.
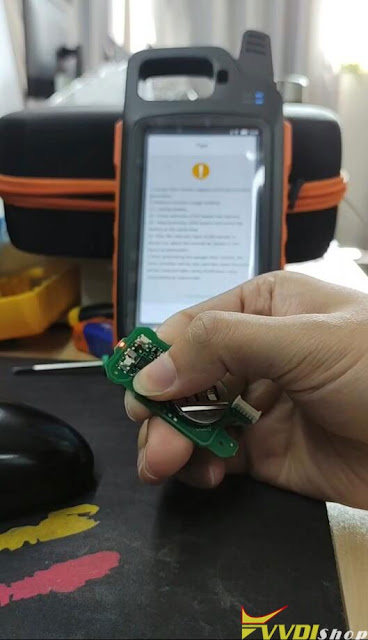
XKGHG1EN Garage Remote is wired remote, so you need to disassemble the key shell to switch frequency.
Remove cover of the garage remote
Tear off the xhorse logo on the back
Unscrew the screw with a screwdriver
Take out cover and take out the PCB of the garage remote
You can change frequency via xhorse vvdi key tool plus, key tool max, key tool max pro and mini key tool.
Here we use key tool max pro to change garage remote frequency.
Connect key tool max with garage remote PCB via remote programming cable
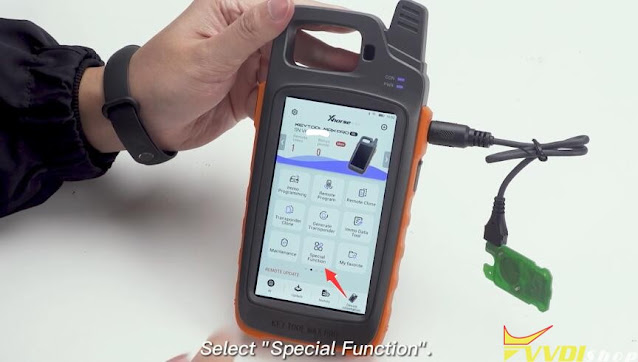
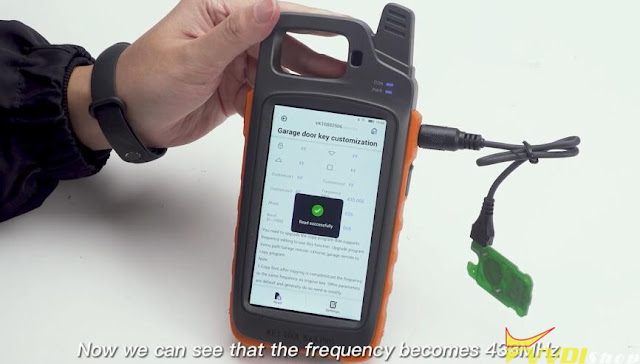
Select Special Function->VVDI Remote Function->Garage door key customization
Read remote frequency, it is 315Mhz
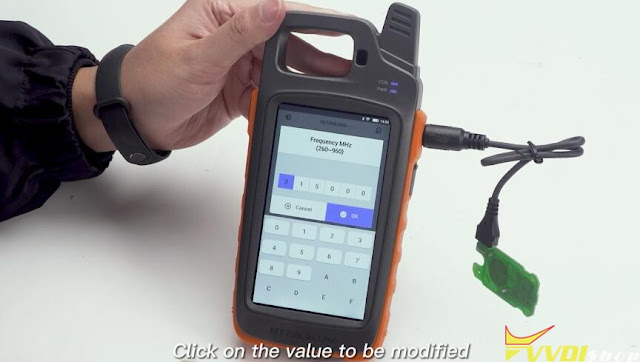
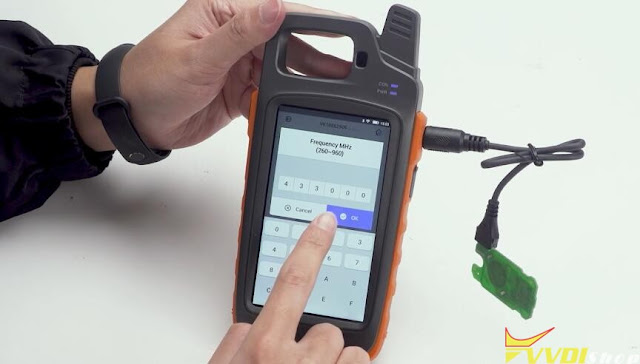
Press the value that need to be changed, i.e 433MHz
Press Frequency offset KHz
the value needs to be within the range it shows, i.e 26
Press settings to complete the modification
Read xhorse garage remote information again, the frequency now goes to 433MHz.
Cannot Generate Xhorse XKGHG1EN Garage Remote Solution
Problem:
I had a problem generating XKGHG1EN Garage Remote with xhorse vvdi key tool max pro. It fails me and asks me to put in X/XN wireless or XT superchip remote. Any idea?
Solution:
1. Don’t install battery when generating remote.
2. Xhorse XKGHG1EN Garage Remote is wire remote, and cannot put in directly into the conduction coil. Need to connect garage remote with key tool max pro via remote programmer cable.
How to Change Xhorse XKGHG1EN Garage Remote Frequency?
There are many different brands of remote in the aftermarket, different manufacturers maybe with different frequency.
If the original remote and xhorse garage remote frequency is different, it may cause remote cloning to fail, or even remote cloning successfully but the working distance too short, working not good.Xhorse garage remote support set frequency function (20 frequency point) to ensure frequency same as the original remote.
1. Set frequency operation
Enter Set frequency mode
Press and hold the “”Lock” and “Pause” buttons at the same time, remote LED goes on, keep pressing two buttons until the remote LED goes off, then release the buttons.
2. Set frequency
Press the “Up” button, press once, LED flash once, for the different frequencies with different press times, refer to the following frequency reference table.
3. Double check frequency
After set frequency successfully, release all buttons, wait for 5 seconds, remote LED will flash, the flashing times depends on set frequency
4. Exit set frequency mode
After remote LED stop flashing, press the “Lock” and “Pause” buttons immediately, meanwhile the LED goes on, keep pressing 2 buttons until LED goes off.
Then release the button, set frequency operation completed
Which Xhorse key tool to change the frequency?
Xhorse key tool, mini key tool, key tool max, key tool max pro, key tool plus will change frequency at random point.
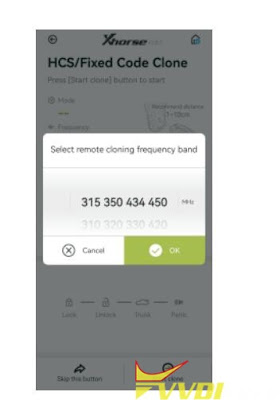
For example use Key Tool Max to clone 320.5MHZ original remote.
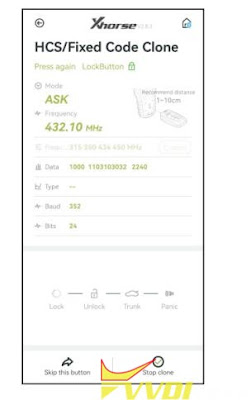
Enter key tool max HCS/Fixed Code clone interface and select 320 frequency range
.jpg)
.jpg)
.jpg)
.jpg)
.jpg)
.jpg)
.jpg)
.jpg)
.jpg)
.jpg)
