ابزار Xhorse VVDI
Xhose VVDI نرم افزار برنامه نویس اصلی و سخت افزارابزار Xhorse VVDI
Xhose VVDI نرم افزار برنامه نویس اصلی و سخت افزارVVDI Key Tool Plus Add Subaru Ascent 2019 Key
What’s up guys! Today I’m gonna show how to add a smart key for 2019 Subaru Ascent with Xhorse VVDI Key Tool Plus by OBD. So let’s get started.
Immo programming >> Subaru >> Select from model >> Ascent >> 2019 >> With smart >> Start programming >> Key count
Key Tool Plus display the number of matched keys: 2
Add a key >> Yes
During matching, make sure all doors are in their current positions.
Keep a matched key close to start button…
Checking ID code, please wait…
.jpg)
.jpg)
.jpg)
Please place the keys to be matched close to the start button in turn within 60 seconds.
The number of matched keys=2
After all operations are completed, click OK to go to the next step.
Number of registered keys: 3
Please turn off the ignition.
Please turn on the ignition with each matched key in turn within 60 seconds.
Number of keys registered: 3
Note:
- The key should be located in the car, near to the ignition switch button(ignitable area).
- During matching, please ensure that all doors remain in their current positions.
Check two keys, both the original and the new one can work.
Perfect done.
.jpg)
.jpg)
.jpg)
.jpg)
Xhorse Adds Renault 2016- Key Programming
Xhorse VVDI Key Tool Plus and Key Tool Max Pro released Renault and Daica Immobilizer software update on November 11th, 2024.
Xhorse is once again setting a new benchmark with a groundbreaking update to its IMMO database, specifically targeting RENAULT and DACIA vehicles. This vital update empowers automotive locksmiths to provide their customers with the most reliable, cutting-edge security solutions available today.
Before releasing this crucial update, Xhorse conducted extensive on-vehicle testing to ensure its reliability, safety, and efficiency, guaranteeing that the latest features meet the highest standards of performance.

Add following Renault and Dacia IMMO key programming models:
Renault
Smart Key
SCENIC 2016-
MEGANE 2015-
MEGANE SCENIC 2016-
QM6 (SAMSUNG QM6)
SM6 (SAMSUNG SM6)
TALISMAN 2015-
KADJAR 2016-
KOLEOS 2016-
ESPACE 2015-
Flip Key
MEGANE 2002-2008, 2008-2015, 2015-
SCENIC -2006, 2006-
MEGANE SCENIC 2002-2008, 2008-2015, 2015-
MODUS 2004-2012
CLIO 2006-2012
CLIO III
SM5 (SAMSUNG SM5) 2003-2004 2005-2009
SM6 (SAMSUNG SM6)
SM7 (SAMSUNG SM7) 2003-2004 2005-
QM6 (SAMSUNG QM6)
DUSTER 2014-2018, 2018-
KANGOO I
KANGOO II 2008-
KANGOO III 2020-
TRAFIC II Ph2
TWINGO I Ph3 2001-2006
SOLENZA
PRIMASTER
ESPACE 2015-
MASTER 2011-2016
KADJAR 2016-
TALISMAN 2015-
KOLEOS 2016-
SAFRANE 2009-
OROCH 2016-
ALASKAN 2016-
DOKKER LOGAN 2010-2013, 2013-
SANDERO 2013-2020
LODGY KWID (BRAZIL) 2023-2024
SYMBOL 2013-2018
TRIBBER 2014-2018
LAGUNA 2007-2011
Dacia
Flip Key
DOKKER
LODGY
DUSTER 2014-2018
SANDERO 2013-
LOGAN 2010-2013, 2013-

With the automotive industry increasingly shifting toward more sophisticated, secure technologies, the ability to stay ahead of these developments and seamlessly integrate them into your services will be a key differentiator for professional locksmiths.
This update is a prime example of Xhorse’s commitment to helping you remain at the forefront of the industry, ensuring that you can continue to offer top-tier security solutions to your customers.
https://www.vvdishop.com/info/xhorse-renault-dacia-immo-update-nov.-2024.html
VVDI Key Tool Plus 2021 VAG RH850 Calculate Failed 10102
Problem:
I have problem with KM repair on VW Transporter 2021 rh850 cluster. I read processor 3 times but every time i get error on picture… calculate failed error code 10102. I work with xhorse vvdi key tool plus. rh850 is under that menu.

Solution:
This is mqb49 5c type it’s not supported.
Mileage correction is not supported for MQB49/5C.
VVDI Key Tool Plus VAG IMMO4 Service Mode All Keys Lost Guide
If you encounter issues while using Xhorse VVDI2 or VVDI Key Tool Plus in service mode AKL, there’s no need to worry! Here we’ll guide you through the operating methods and essential precautions to help you navigate the process smoothly.

The following login modules are supported for service model AKL.
CDCXX+24C32, NEC24C64(2013-)
A3/TT/R8(CDC32XX), AUDI A1, AUDI Q3
NEC24C32
NEC24C64
NEC24C64 USE TFT COLOR DISPLAY(-2012)
NEC24C64 USE TFT COLOR DISPLAY(2013-)

Without the car key, these login modules cannot obtain immo data from the dashboard. The specific operating methods are as follows:
Step1. Backup ABS coding
More functions >> ABS Coding >> Backup


Step2. Remove the chip, read the data
Remove the 24C32 or 24C64 chip from the dashboard, read the EEPROM data with VVDI PROG programmer and save the dump file.
Step3. Generate service EEPROM
Service Mode >> BDM Method: Prepare service mode EEPROM >> Generate service EEPROM


Step4. Write service EEPROM dump to the chip
Write service EEPROM dump to the dashboard’s 24C32 or 24C64 EEPROM chip.
Step5. Restore the dashboard, select the login module
Restore the dashboard to the car and select the correct login module.
Step6. Load original EEPROM dump, activate OBD, write EEPROM
Load original EEPROM dump, activate the car’s OBD, write it back to the car via OBD.
More functions >> Write EEPROM

Step7. Read and save immo data, prepare a dealer key, add the key, reset the dashboard
Read immo data, save file to generate a dealer key. Add the dealer key and reset the dashboard(for smart keys, learning is required).
Step8. If ABS lost coding, restore it.
Step1 reminds you that ABS backup is necessary. If coding is lost, enter more functions to restore ABS.
More functions >> ABS coding >> Restore


IMPORTANT NOTES
Note1.
During step1 to step4, ensure you select the correct module and proceed with reading as normal. Typically, this should not present any issues, but make sure to save the original data first. Never write service mode data without first backing up the original data.
To differentiate between files, it’s advisable to use distinct file names for the service mode file and the original data. After writing the service mode data, compare it with the generated service mode file to ensure it can be written correctly.
In step5, confirm that you select the correct login module. It’s recommended to take a photo of the automatic diagnostic type when initially connecting the devices for automatic diagnosis.
For example, if the device automatically identifies as 24C64(2013-), but in step5, you select the TFT color display(-2012), you will encounter a failure prompt in step6. In this case, re-diagnose the dashboard to determine the correct type, select the corresponding type, enter more function and write EEPROM to resolve the issue.

Note2.
After writing the original EERPOM data, the device will prompt you to restore the dashboard(as if typically requires a reset after writing the original EE). However, since this is for service mode AKL, the dashboard can only be restored after reading the immo data.
Therefore, do not tap on reset at this point, or it will indicate that the car key is not detected during immo data reading.
This is common issue, so you must be cautious. The restoration can only be done after reading the immo data. If this step is accidentally performed incorrectly, the solution is to repeat the process: generate the service mode file, write it again and then perform the OBD write back to the EEPROM operation.
Note3.
When writing original EEPROM data, follow the prompts.
For mechanical keys, insert the key to turn on the dashboard and write the original EEPROM data via OBD.
For smart keys, short-circuit OBD pin1 and pin16, then turn on the dashboard and write the original EERPOM data via OBD.
Additionally, the Audi Q3 has specific requirements. In this case, you need to short-circuit the ELV, then turn on the dashboard and write the original EEPROM data via OBD. Otherwise, an error message stating “car key required” will be displayed, preventing writing via OBD.

https://www.vvdishop.com/service/vvdi-key-tool-plus-vw-immo4-akl-service-mode-guide.html
How to Add Lincoln MKC 2019 Key with VVDI Key Tool Plus
Xhorse VVDI Key Tool Plus is really good at most of these newer Fords and Lincoln. This is a Lincoln MKC 2019. We will show how to add smart key to this model.

Select IMMO programming->Lincoln->MKC-> smart key programming->2016 onwards


Read key number. There are 2 keys in the system.

Then we Read PIN Code. Turn on ignition switch.
If the vehicle has active alarm, you need to disable the alarm. Xhorse has a Ford AKL alarm bypass cable. In this case, it does not have active alarm. Press OK to continue.

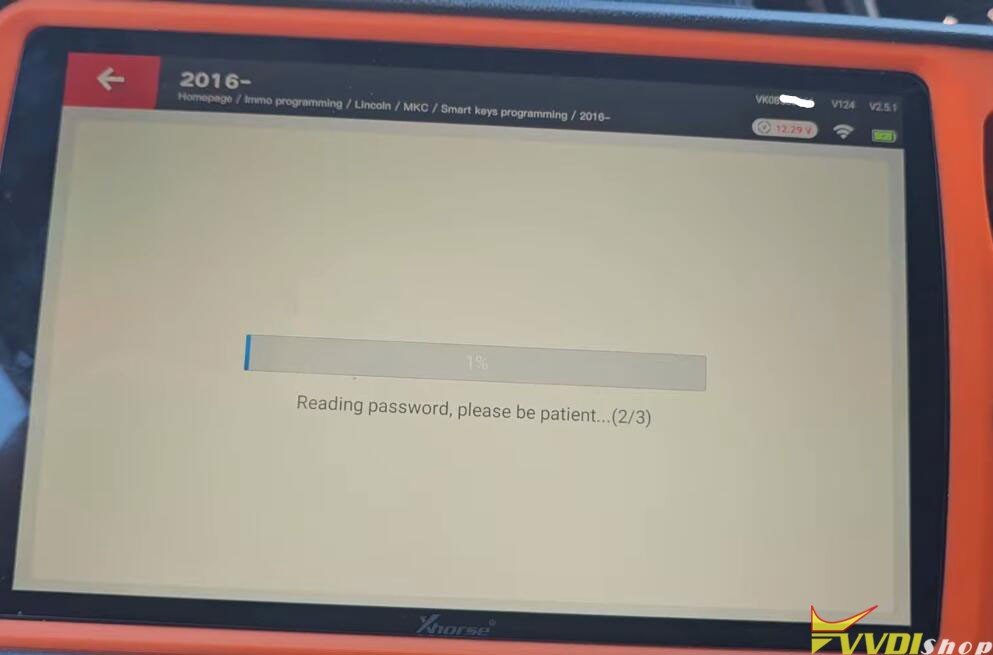

Reading password is in progress.
Switch ignition off and wait for 10 seconds, then switch ignition on.
Read password completed.

Select Add a key function in vvdi key tool plus.
Open then close the driver door. Turn off the ignition switch.
Insert the new key to be programmed to key slot.


Key programming successfully.


Switch ignition off wait 10 seconds then we’ll switch the ignition back on. It is done.